
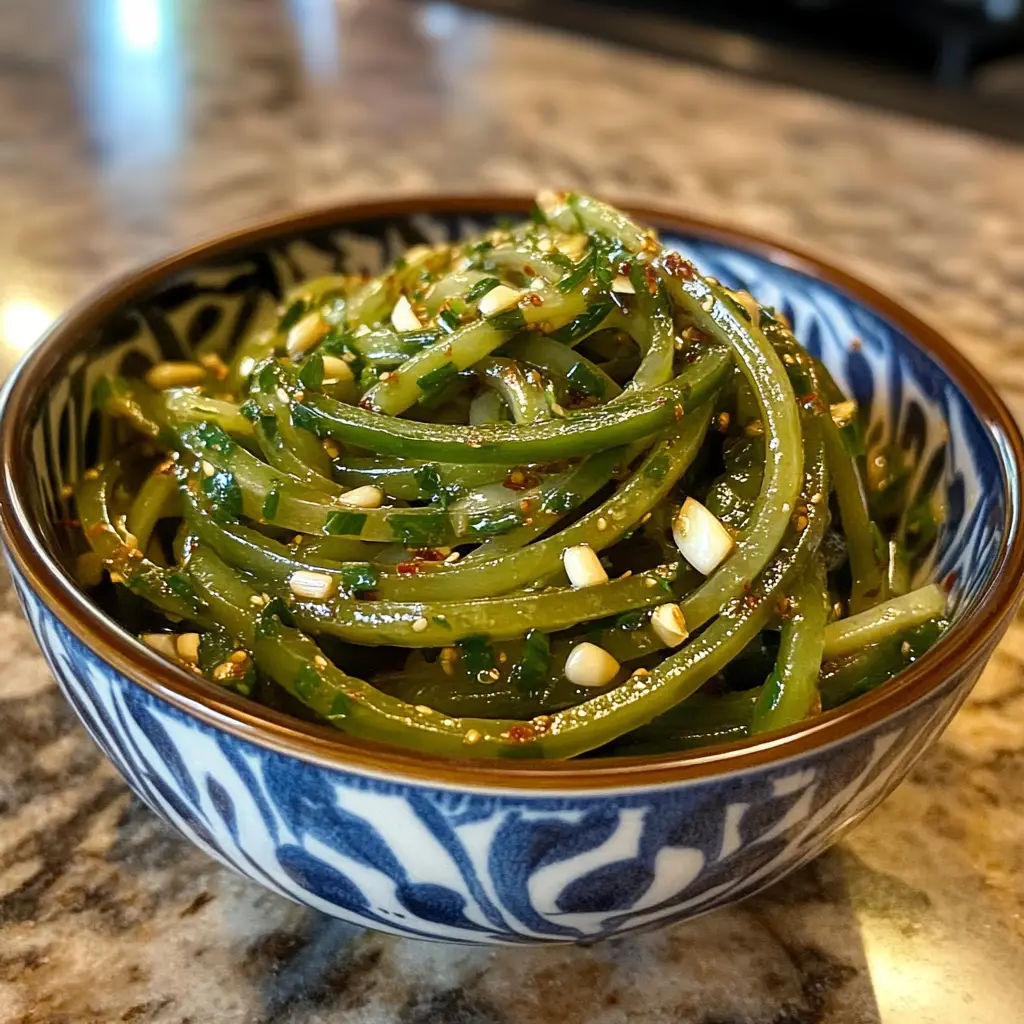
Introduction to Pickled Garlic Scapes
Hey there, fellow food lovers! If you’re like me, you’re always on the lookout for quick and delicious ways to elevate your meals. That’s where pickled garlic scapes come in! These vibrant green delights are not only a unique treat but also a fantastic way to preserve the bold flavor of garlic. Perfect for busy days, this recipe is a simple solution that adds a tangy twist to your dishes. Whether you’re impressing guests or just treating yourself, pickled garlic scapes are sure to become a staple in your kitchen!
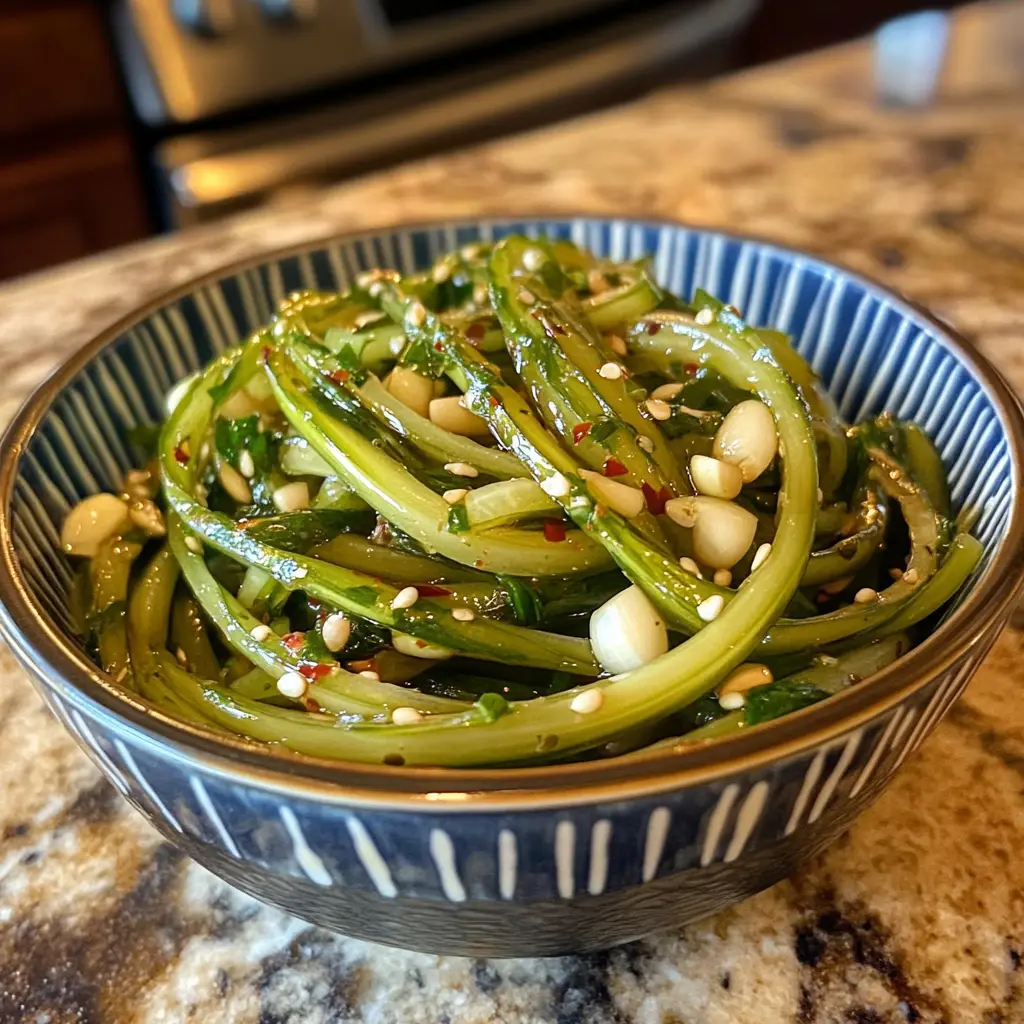
Why You’ll Love This Pickled Garlic Scapes
Let me tell you, pickled garlic scapes are a game changer! They’re incredibly easy to make, taking just 25 minutes from start to finish. The tangy flavor adds a delightful kick to any dish, making them a versatile addition to your meals. Plus, they’re a healthy snack option that can brighten up your lunch or dinner. Trust me, once you try them, you’ll wonder how you ever lived without them!
Ingredients for Pickled Garlic Scapes
Gathering the right ingredients is key to making delicious pickled garlic scapes. Here’s what you’ll need:
- Garlic Scapes: These tender green stalks are the star of the show! They have a mild garlic flavor and a crunchy texture.
- White Vinegar: This tangy liquid is essential for the pickling process, giving the scapes their signature zing.
- Water: Used to dilute the vinegar, balancing the acidity for a perfect brine.
- Salt: This not only enhances flavor but also helps preserve the scapes, keeping them crisp and tasty.
- Sugar: Just a touch of sweetness to balance the tanginess of the vinegar.
- Black Peppercorns: These add a subtle warmth and depth to the brine.
- Red Pepper Flakes: For those who like a little heat, these flakes bring a spicy kick to the mix.
- Mustard Seeds: These tiny seeds add a unique flavor and a bit of crunch to your pickles.
Feel free to get creative! You can swap out white vinegar for apple cider vinegar for a different flavor profile. If you prefer a milder taste, reduce the amount of red pepper flakes. For exact measurements, check the bottom of the article where you can find everything you need for printing!
How to Make Pickled Garlic Scapes
Now that you have your ingredients ready, let’s dive into the fun part—making pickled garlic scapes! This process is straightforward and rewarding. Follow these simple steps, and you’ll have a delicious batch of pickles in no time!
Step 1: Prepare the Garlic Scapes
First things first, give those garlic scapes a good wash under cold water. This removes any dirt or grit. Next, trim off the tough ends and cut the scapes into 2-3 inch pieces. This size is perfect for pickling and makes them easy to enjoy later!
Step 2: Make the Brine
In a medium pot, combine the white vinegar, water, salt, and sugar. Stir it well to dissolve the salt and sugar. Then, bring this mixture to a boil over medium heat. The aroma of the vinegar will start to fill your kitchen, and trust me, it’s a good sign!
Step 3: Cook the Scapes
Once your brine is boiling, it’s time to add the garlic scapes. Carefully drop them into the pot and let them cook for about 2-3 minutes. This quick cooking helps to soften them just a bit while still keeping that delightful crunch!
Step 4: Add Spices
After cooking, remove the pot from heat. Now, it’s time to add the black peppercorns, red pepper flakes, and mustard seeds. Stir everything together, and let those spices mingle with the scapes. The flavors will start to dance, creating a mouthwatering brine!
Step 5: Pack the Jars
Grab your sterilized jars and start packing in the garlic scapes. Make sure to fill them tightly but not too squished. Once packed, pour the hot brine over the scapes, ensuring they are fully submerged. This step is crucial for that perfect pickled flavor!
Step 6: Seal and Cool
Now, seal the jars with their lids. Let them cool to room temperature on your countertop. This cooling process allows the flavors to develop even further. It’s like a little magic happening right in your kitchen!
Step 7: Refrigerate
Finally, pop those jars into the refrigerator. For the best flavor, let them sit for at least 24 hours before diving in. The longer they sit, the more flavorful they become. Trust me, the wait will be worth it!
Tips for Success
- Always use fresh garlic scapes for the best flavor and crunch.
- Make sure your jars are properly sterilized to prevent spoilage.
- Experiment with spices! Add dill or coriander for a unique twist.
- Label your jars with the date to keep track of freshness.
- For a milder taste, reduce the cooking time of the scapes.
Equipment Needed
- Medium Pot: A sturdy pot for boiling the brine. A large saucepan works too.
- Measuring Cups: For accurate ingredient measurements. You can use a kitchen scale if you prefer.
- Sterilized Jars: Glass jars with lids for storing your pickles. Mason jars are perfect!
- Cutting Board and Knife: Essential for prepping the garlic scapes.
Variations
- Herb-Infused: Add fresh herbs like dill or thyme to the brine for an aromatic twist.
- Spicy Kick: Increase the amount of red pepper flakes or add sliced jalapeños for extra heat.
- Sweet and Sour: Substitute some of the sugar with honey or maple syrup for a different sweetness.
- Vinegar Swap: Try using apple cider vinegar or rice vinegar for a unique flavor profile.
- Garlic Lovers: Toss in a few whole cloves of garlic for an extra punch of flavor!
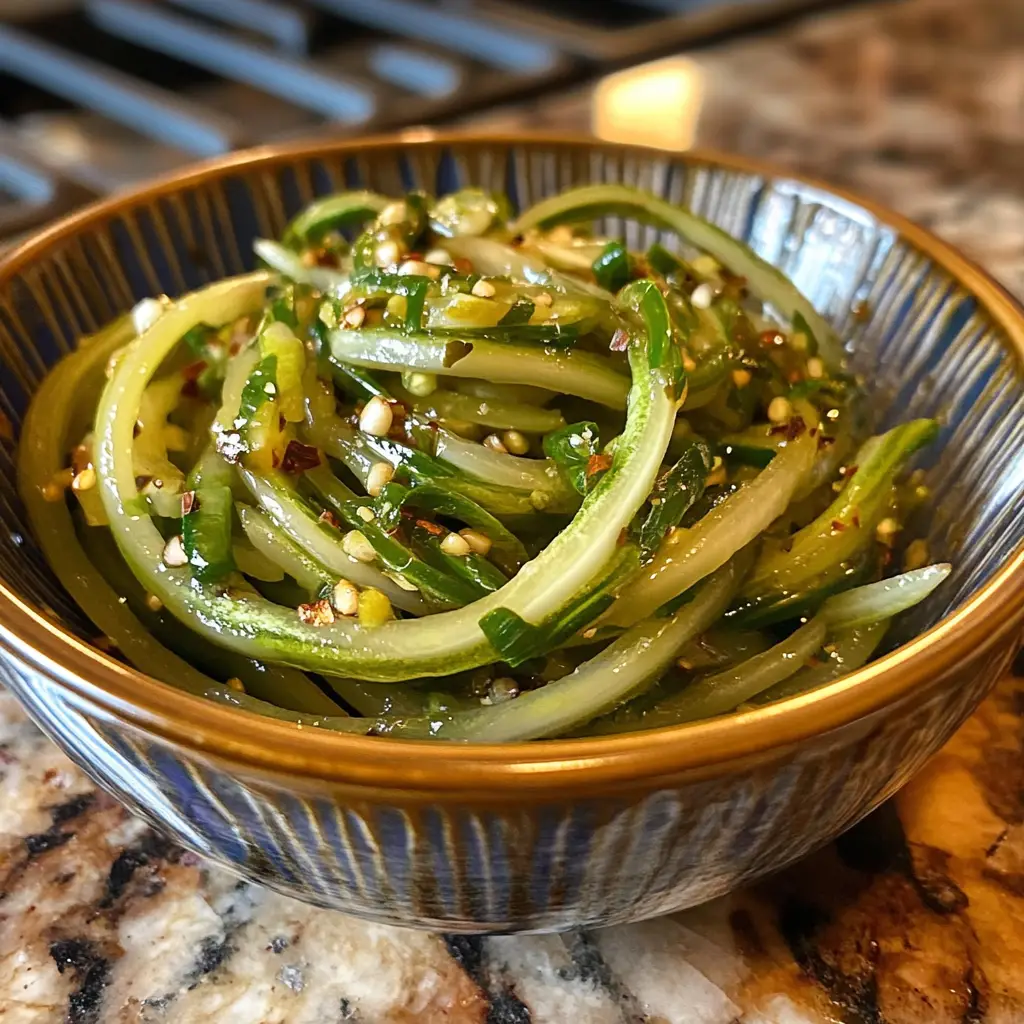
Serving Suggestions for Pickled Garlic Scapes
- Serve as a tangy snack alongside cheese and crackers for a delightful appetizer.
- Add to salads for a crunchy, flavorful twist that brightens up any dish.
- Use as a garnish on grilled meats or fish for an extra pop of flavor.
- Pair with a refreshing cocktail or sparkling water for a perfect summer sip.
- Present in a beautiful jar on your dining table for a charming centerpiece.
FAQs about Pickled Garlic Scapes
As you embark on your pickling adventure, you might have a few questions about pickled garlic scapes. Here are some common queries I’ve encountered, along with helpful answers!
How long do pickled garlic scapes last?
Once refrigerated, pickled garlic scapes can last up to two months. Just make sure to keep them sealed tightly in their jars!
Can I use other types of vinegar for pickling?
Absolutely! While white vinegar is traditional, you can experiment with apple cider vinegar or rice vinegar for a different flavor profile.
What are some creative ways to use pickled garlic scapes?
These tangy treats are versatile! Use them in salads, as a garnish for grilled meats, or even in sandwiches for an extra zing.
Are pickled garlic scapes healthy?
Yes! They’re low in calories and packed with flavor, making them a great addition to a healthy diet. Plus, garlic scapes have their own health benefits!
Can I adjust the spice level in the recipe?
Definitely! If you prefer a milder flavor, simply reduce the amount of red pepper flakes or skip them altogether. Tailor it to your taste!
Final Thoughts
Making pickled garlic scapes is more than just a recipe; it’s a delightful culinary adventure! The joy of transforming simple ingredients into something tangy and flavorful is truly rewarding. Each jar you create is a testament to your creativity and love for good food. Plus, the versatility of these pickles means they can brighten up any meal or snack. Whether you’re sharing them with family or savoring them solo, pickled garlic scapes are sure to bring a smile to your face. So, roll up your sleeves and enjoy the process—your taste buds will thank you!
Print
Pickled Garlic Scapes: Discover Their Amazing Benefits!
- Total Time: 25 minutes
- Yield: 4 jars 1x
- Diet: Vegan
Description
Pickled garlic scapes are a delicious and tangy way to preserve the unique flavor of garlic scapes while enjoying their numerous health benefits.
Ingredients
- 1 pound garlic scapes
- 2 cups white vinegar
- 1 cup water
- 1/4 cup salt
- 1 tablespoon sugar
- 1 teaspoon black peppercorns
- 1 teaspoon red pepper flakes
- 1 teaspoon mustard seeds
Instructions
- Wash and trim the garlic scapes, cutting them into 2-3 inch pieces.
- In a pot, combine vinegar, water, salt, and sugar. Bring to a boil.
- Add the garlic scapes to the boiling mixture and cook for 2-3 minutes.
- Remove from heat and add peppercorns, red pepper flakes, and mustard seeds.
- Pack the garlic scapes into sterilized jars and pour the hot brine over them, ensuring they are fully submerged.
- Seal the jars and let them cool to room temperature.
- Refrigerate for at least 24 hours before consuming for best flavor.
Notes
- These pickled garlic scapes can last in the refrigerator for up to 2 months.
- Adjust the spice level by adding more or less red pepper flakes.
- Great as a snack, in salads, or as a garnish for various dishes.
- Prep Time: 15 minutes
- Cook Time: 10 minutes
- Category: Preserving
- Method: Pickling
- Cuisine: American
Nutrition
- Serving Size: 1 jar (approx. 1/2 cup)
- Calories: 50
- Sugar: 1g
- Sodium: 800mg
- Fat: 0g
- Saturated Fat: 0g
- Unsaturated Fat: 0g
- Trans Fat: 0g
- Carbohydrates: 10g
- Fiber: 1g
- Protein: 2g
- Cholesterol: 0mg
Keywords: Pickled Garlic Scapes, Garlic Scapes Recipe, Pickling Garlic Scapes, Healthy Snacks
