
Introduction to No-Bake Nanaimo Bars
Hey there, fellow dessert lovers! If you’re anything like me, you know that life can get pretty hectic. Between juggling work, family, and everything in between, finding time to whip up a delicious treat can feel impossible. That’s where these No-Bake Nanaimo Bars come in! They’re a delightful solution for busy days when you want to impress your loved ones without spending hours in the kitchen. With their crumbly base, creamy custard filling, and rich chocolate topping, these bars are sure to bring smiles all around. Trust me, you’ll want to keep this recipe close at hand!
Why You’ll Love This No-Bake Nanaimo Bars
These No-Bake Nanaimo Bars are a dream come true for busy moms and professionals alike. They come together in just 20 minutes, making them a quick and easy dessert option. Plus, there’s no baking involved, so you can skip the oven and the mess! The combination of flavors and textures is simply irresistible, ensuring that every bite is a delightful experience. Trust me, once you try them, you’ll be hooked!
Ingredients for No-Bake Nanaimo Bars
Let’s dive into the delicious components that make up these No-Bake Nanaimo Bars! Each ingredient plays a vital role in creating that perfect balance of flavors and textures. Here’s what you’ll need:
- Graham cracker crumbs: These provide the base and a delightful crunch. You can use gluten-free graham crackers if needed.
- Unsweetened cocoa powder: This adds a rich chocolate flavor to the base, making it extra indulgent.
- Shredded coconut: It brings a tropical twist and a chewy texture that complements the other layers beautifully.
- Unsalted butter: Softened butter binds the base together and adds a creamy richness. Make sure it’s at room temperature for easy mixing.
- Powdered sugar: This sweetens the base and the custard filling, giving it that melt-in-your-mouth quality.
- Vanilla custard powder: This is the secret to the creamy custard layer. It adds flavor and a lovely yellow hue.
- Milk: Just a splash helps to create a smooth custard filling. You can use any milk you prefer, including plant-based options.
- Dark chocolate: Chopped dark chocolate is melted for the luscious topping. It adds a rich finish that ties everything together.
- Additional unsalted butter: This is mixed with the chocolate to create a glossy finish that’s hard to resist.
For those who want to get creative, feel free to add nuts or other toppings for extra flavor! You can find the exact quantities for each ingredient at the bottom of the article, ready for printing. Happy baking—or should I say, no-baking!

How to Make No-Bake Nanaimo Bars
Now that we have our ingredients ready, let’s get to the fun part—making these No-Bake Nanaimo Bars! Follow these simple steps, and you’ll have a delicious dessert in no time.
Step 1: Prepare the Base
Start by grabbing a mixing bowl. Combine the graham cracker crumbs, cocoa powder, shredded coconut, and softened butter. Use a spatula or your hands to mix everything together until it resembles wet sand. This is where the magic begins!
Once mixed, press the mixture firmly into the bottom of a greased 8×8 inch pan. Make sure it’s even and compact. This base is the foundation of your bars, so don’t skip this step! It should feel sturdy and ready to hold the layers above.
Step 2: Make the Custard Filling
In another bowl, whisk together the vanilla custard powder, milk, and the remaining softened butter. Keep whisking until the mixture is smooth and creamy. This custard filling is what makes these bars so special!
Once it’s ready, gently spread the custard mixture over the base layer in the pan. Use a spatula to ensure it’s evenly distributed. This layer adds a delightful creaminess that balances the chocolate and crumbly base.
Step 3: Melt the Chocolate Topping
Now, let’s make that luscious chocolate topping! In a microwave-safe bowl, combine the chopped dark chocolate and the additional unsalted butter. Microwave in short bursts, stirring in between, until melted and smooth. Be careful not to overheat it!
Once melted, pour the chocolate mixture over the custard layer. Use a spatula to spread it evenly. This rich chocolate layer is the crowning glory of your No-Bake Nanaimo Bars!
Step 4: Assemble and Chill
After layering the chocolate, it’s time to chill! Cover the pan with plastic wrap and place it in the refrigerator. Let it set for at least 2 hours. This step is crucial for achieving that perfect texture.
Once set, remove the bars from the pan and cut them into squares. Serve chilled and watch as everyone enjoys these delightful treats. You’ll be the star of the dessert table!
Tips for Success
- Make sure your butter is softened for easy mixing.
- Press the base firmly into the pan for a sturdy foundation.
- Let the bars chill for the full 2 hours to set properly.
- Use a sharp knife to cut clean squares for a polished look.
- Store leftovers in an airtight container in the fridge for freshness.
Equipment Needed
- Mixing bowls: A set of various sizes is handy. You can also use a large pot if needed.
- Spatula: A rubber spatula works best for mixing and spreading. A wooden spoon is a good alternative.
- 8×8 inch pan: Any square baking dish will do, even a glass one!
- Microwave-safe bowl: For melting chocolate. A small saucepan can work too.
Variations
- Nutty Delight: Add chopped walnuts or almonds to the base for a crunchy texture.
- Minty Fresh: Incorporate a few drops of peppermint extract into the chocolate topping for a refreshing twist.
- Fruit Fusion: Top the bars with fresh berries or a drizzle of fruit sauce for a fruity flavor boost.
- Vegan Version: Substitute butter with coconut oil and use dairy-free chocolate for a plant-based treat.
- Spiced Up: Add a pinch of cinnamon or nutmeg to the base for a warm, cozy flavor.
Serving Suggestions
- Pair your No-Bake Nanaimo Bars with a scoop of vanilla ice cream for a delightful contrast.
- Serve alongside a cup of freshly brewed coffee or tea to enhance the flavors.
- For a festive touch, garnish with a sprinkle of shredded coconut or a drizzle of chocolate sauce.
- Present them on a colorful platter for a beautiful dessert display at gatherings.
FAQs about No-Bake Nanaimo Bars
As you embark on your No-Bake Nanaimo Bars journey, you might have a few questions. Don’t worry; I’ve got you covered! Here are some common queries that fellow dessert enthusiasts often ask:
Can I make No-Bake Nanaimo Bars ahead of time?
Absolutely! These bars are perfect for making in advance. Just store them in the refrigerator for up to a week. They’ll be ready whenever you need a sweet treat!
What can I substitute for custard powder?
If you can’t find custard powder, you can use instant vanilla pudding mix as a substitute. It will give you a similar creamy texture and flavor.
Can I freeze No-Bake Nanaimo Bars?
Yes, you can freeze them! Just wrap the bars tightly in plastic wrap and place them in an airtight container. They’ll keep well for up to three months. Thaw them in the fridge before serving.
How do I store leftovers?
Store any leftover bars in an airtight container in the refrigerator. This keeps them fresh and delicious for days!
Can I add different toppings to my Nanaimo Bars?
Definitely! Feel free to get creative. You can add nuts, sprinkles, or even a drizzle of caramel for an extra special touch. The possibilities are endless!
Final Thoughts
Making No-Bake Nanaimo Bars is more than just whipping up a dessert; it’s about creating sweet memories with loved ones. The joy of sharing these delightful treats is unmatched, especially when you see the smiles they bring. Whether it’s a busy weeknight or a special occasion, these bars are a quick and satisfying solution. Plus, the no-bake aspect means less time in the kitchen and more time enjoying life. So, gather your ingredients, roll up your sleeves, and let the magic happen. You’ll be amazed at how something so simple can bring so much happiness!
PrintNo-Bake Nanaimo Bars: A Deliciously Easy Recipe!
- Total Time: 2 hours 20 minutes
- Yield: 16 bars 1x
- Diet: Vegetarian
Description
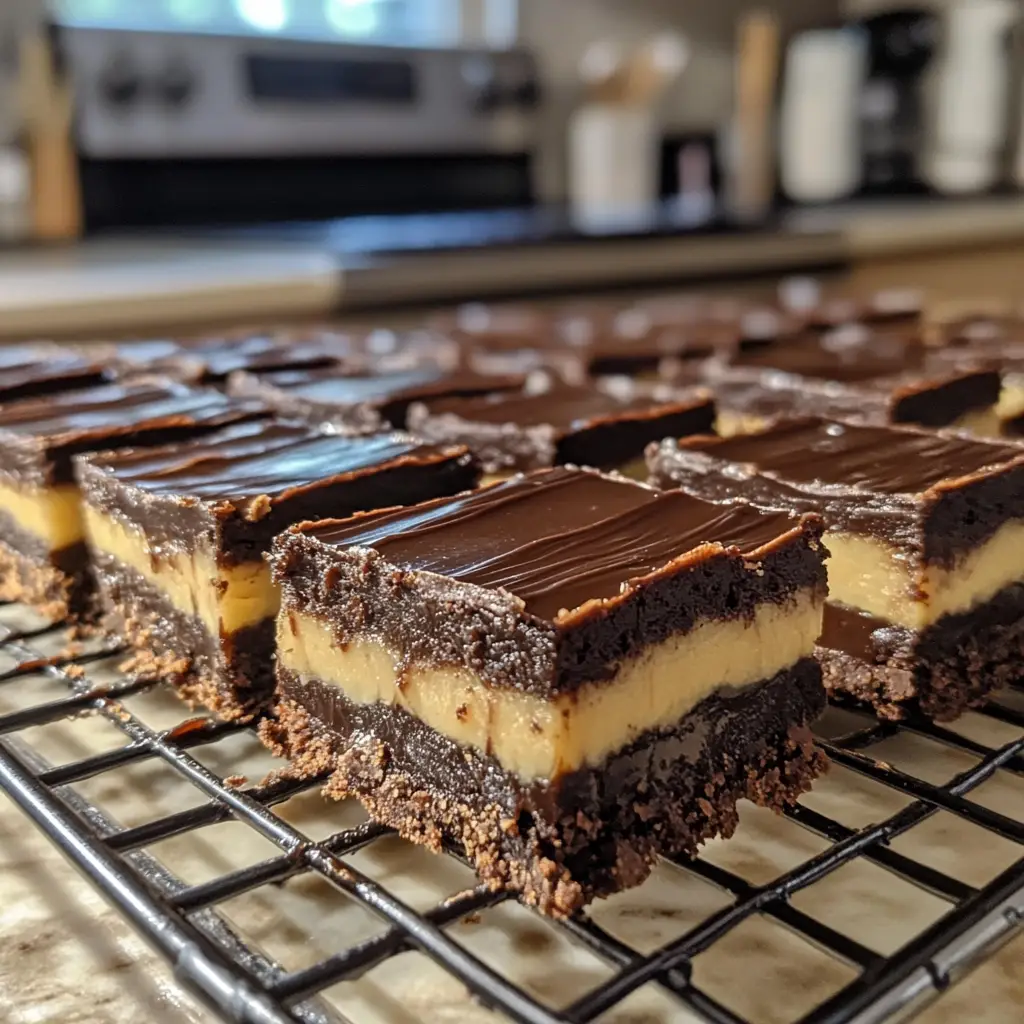
No-Bake Nanaimo Bars are a delicious and easy dessert that requires no baking. They consist of a crumbly base, a creamy custard filling, and a rich chocolate topping.
Ingredients
- 1 cup graham cracker crumbs
- 1/2 cup unsweetened cocoa powder
- 1/2 cup shredded coconut
- 1/2 cup unsalted butter, softened
- 1 cup powdered sugar
- 2 tablespoons vanilla custard powder
- 2 tablespoons milk
- 4 oz dark chocolate, chopped
- 2 tablespoons unsalted butter
Instructions
- In a mixing bowl, combine graham cracker crumbs, cocoa powder, shredded coconut, and softened butter.
- Add powdered sugar and mix until well combined.
- Press the mixture into the bottom of a greased 8×8 inch pan to form the base.
- In another bowl, whisk together custard powder, milk, and remaining butter until smooth.
- Spread the custard mixture over the base layer in the pan.
- Melt the dark chocolate and remaining butter together, then pour over the custard layer.
- Refrigerate for at least 2 hours until set.
- Cut into squares and serve chilled.
Notes
- For a gluten-free version, use gluten-free graham crackers.
- Store in the refrigerator for up to a week.
- Feel free to add nuts or other toppings for extra flavor.
- Prep Time: 20 minutes
- Cook Time: 0 minutes
- Category: Dessert
- Method: No-Bake
- Cuisine: Canadian
Nutrition
- Serving Size: 1 bar
- Calories: 200
- Sugar: 15g
- Sodium: 50mg
- Fat: 10g
- Saturated Fat: 6g
- Unsaturated Fat: 4g
- Trans Fat: 0g
- Carbohydrates: 25g
- Fiber: 2g
- Protein: 2g
- Cholesterol: 20mg
Keywords: No-Bake Nanaimo Bars, dessert, easy recipe, Canadian dessert
