
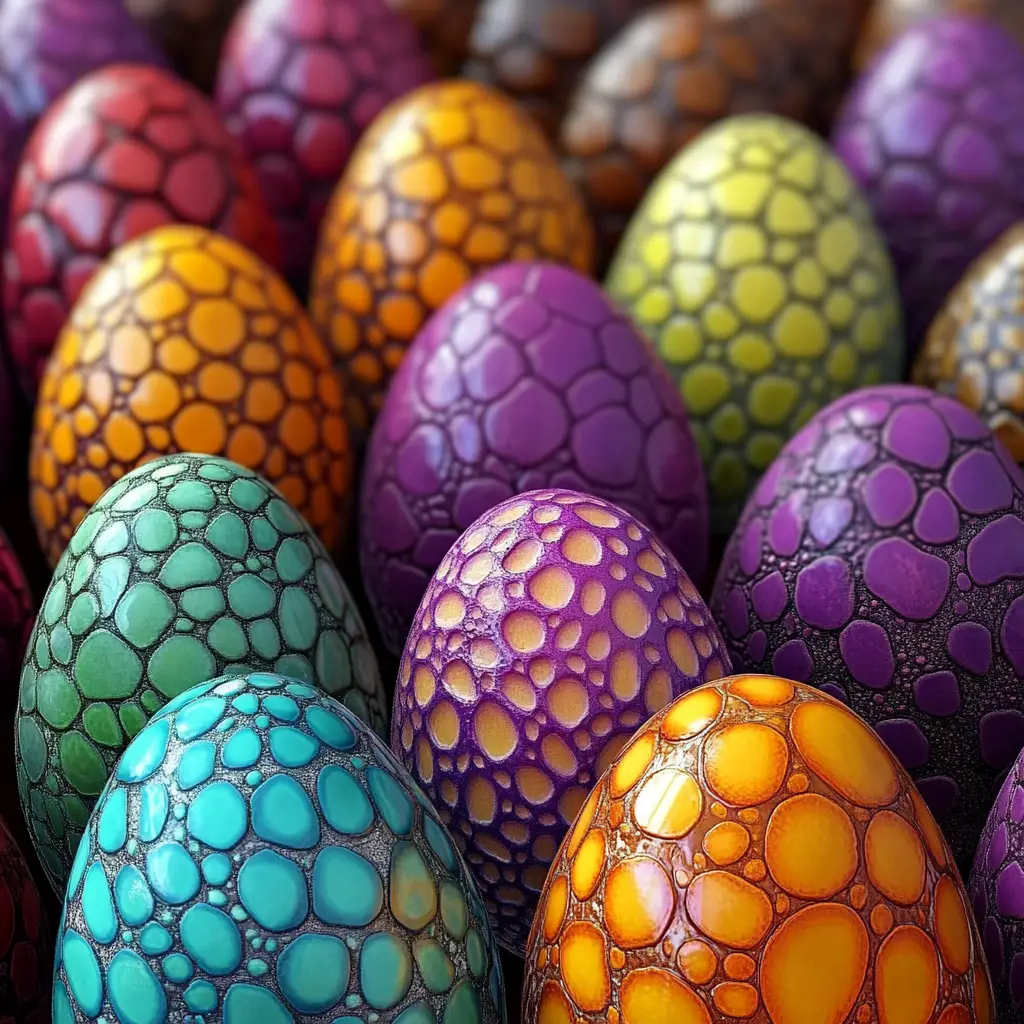
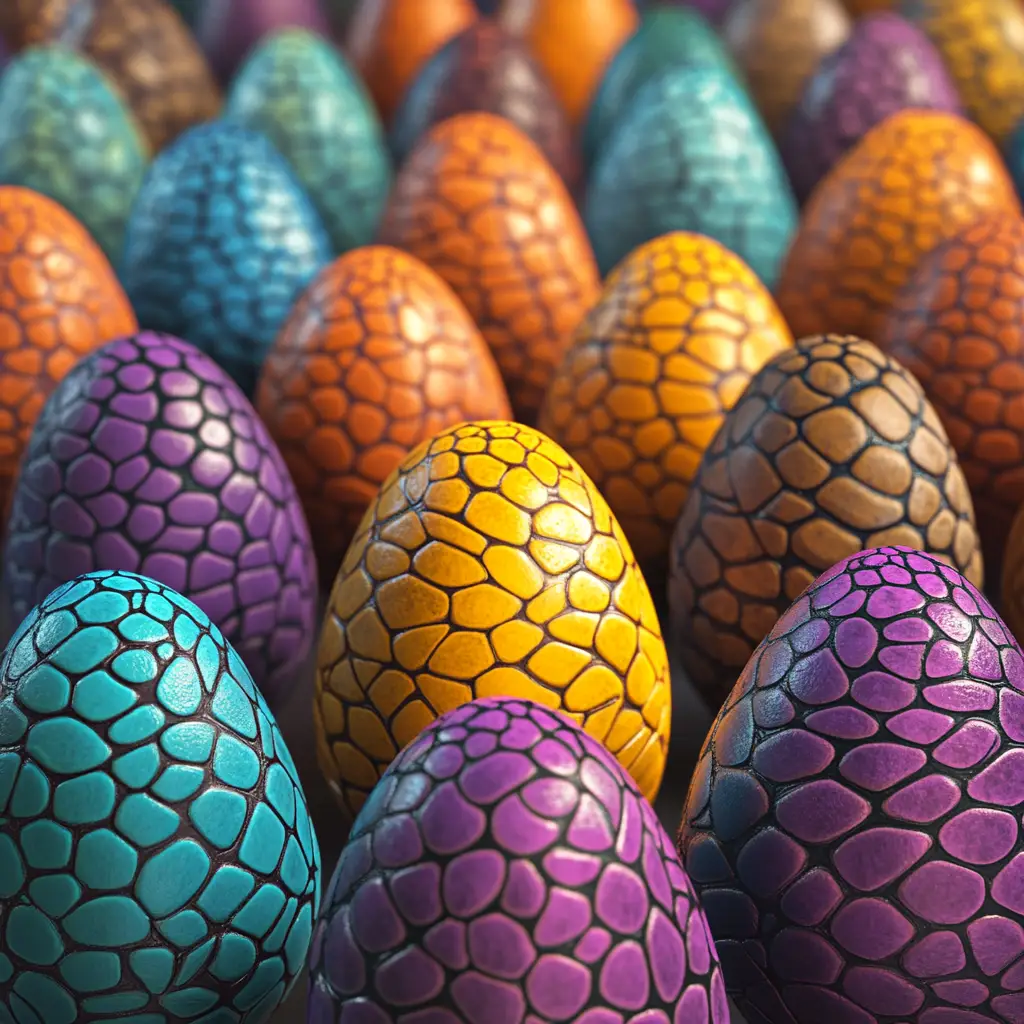
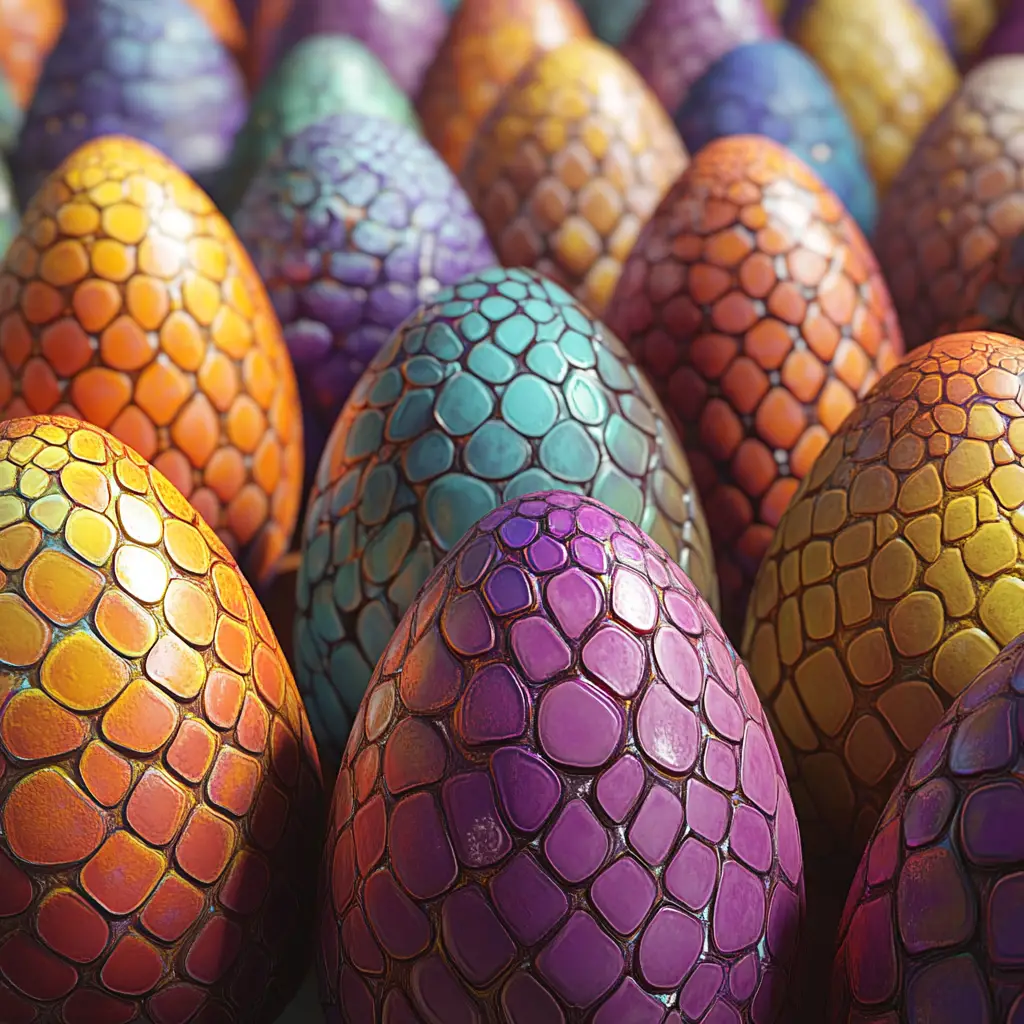
Bring science and creativity together in one roaring adventure with these DIY Baking Soda Dinosaur Eggs. If you’re searching for a project that captivates kids, encourages hands-on exploration, and offers an educational twist, this activity checks every box. These dino eggs are more than just a fun craft—they combine sensory play, chemistry, and surprise elements in one unforgettable experience.
Perfect for rainy days, weekend projects, classroom experiments, or dinosaur-themed parties, these baking soda eggs are sure to keep children of all ages engaged. Inside each egg is a hidden plastic dinosaur, just waiting to be discovered by a curious young paleontologist. With ingredients you probably already have at home, this is one of the easiest and most exciting ways to entertain and educate at the same time.
Let’s dive into this prehistoric experiment and learn exactly how to make these fizzy, hatching dinosaur eggs.
Baking Soda
The key ingredient that makes this whole project possible is baking soda, also known as sodium bicarbonate. This household staple is a weak base and, when combined with an acid like vinegar, produces a chemical reaction that releases carbon dioxide gas. This is the reaction responsible for the fizzing effect that makes these dinosaur eggs so exciting to “hatch.”
You’ll need a generous amount of baking soda for this activity—especially if you plan on making several eggs. Aim for at least 2 to 3 cups to get started. The more you make, the more fun it is to watch each egg bubble and fizz apart, revealing the hidden dinosaur inside.
Baking soda is safe, non-toxic, and readily available in most kitchens. It’s also a great way to introduce children to basic chemistry in a fun and interactive format.
Vinegar
Vinegar is the second essential ingredient in this experiment. As an acidic liquid, it reacts with baking soda to produce carbon dioxide gas. This is what creates the bubbling, foaming effect that makes each dino egg seem like it’s coming to life.
White distilled vinegar is the best choice for this activity because it has a higher acetic acid concentration than most other types and produces the most visible reaction. You can use a small bowl of vinegar to drop the eggs into, or fill a squirt bottle or dropper with vinegar to apply it slowly. Both methods work well and offer slightly different sensory experiences.
Be sure to use enough vinegar to fully activate each egg. Watching the bubbling reaction is not only fun—it’s also a great opportunity to explain chemical reactions in simple terms to young learners.
Water
Water is used to create the dough-like consistency needed to mold the baking soda into egg shapes. When added gradually, water helps the baking soda stick together and become moldable. The consistency you’re aiming for is similar to wet sand. If you add too much water, the mixture will become runny and hard to shape. In that case, just add more baking soda until the mixture becomes thick and pliable again.
Use clean, room-temperature water. There’s no need to measure exactly—just pour slowly while mixing until the texture feels right. Stir thoroughly to make sure all the baking soda is evenly moistened and ready to be molded into eggs.
Plastic Dinosaurs
What makes this project truly exciting for kids is the hidden surprise inside each egg. Small plastic dinosaurs are ideal for this purpose. They fit neatly inside the baking soda shell and are sturdy enough to withstand being enclosed and later revealed through a fizzy reaction.
You can find miniature dinosaur toys at most toy stores, craft supply shops, or online. Choose dinosaurs that are small enough to be completely enclosed in your egg but large enough that kids will enjoy discovering and identifying them once they hatch.
Including a variety of different dinosaur types can add an extra element of surprise and educational value. Encourage kids to name their dinosaurs, match them to pictures, or create mini habitats for their new prehistoric pets.
Food Coloring (Optional)
While not necessary for the reaction, food coloring adds a vibrant touch to your dino eggs and makes the activity even more visually appealing. Choose fun, bold colors like green, blue, orange, or red to give the eggs a prehistoric look.
Add a few drops of food coloring to your baking soda mixture while you’re mixing the water in. Stir thoroughly to distribute the color evenly. You can also divide the mixture into different bowls to create multiple colors for a rainbow collection of eggs.
Keep in mind that food coloring can stain hands, so using gloves may be helpful during the mixing and shaping process. If you prefer a natural look, you can skip this step entirely.
Directions
Now that you’ve gathered your materials, it’s time to start crafting your baking soda dinosaur eggs. This step-by-step guide will walk you through the entire process from start to finish.
1. Prepare the Baking Soda Mixture
Start by pouring 2–3 cups of baking soda into a large mixing bowl. If you’re making multiple eggs, you may want to work in batches or prepare a larger quantity. The baking soda should be dry and clump-free for best results.
2. Add Color (Optional)
If you’re using food coloring, now is the time to add it. Add a few drops directly into the baking soda and stir with a spoon or your hands until the color is evenly mixed. You can use more than one color in separate bowls to create a variety of eggs.
3. Form a Dough
Slowly pour water into the colored baking soda mixture, stirring as you go. You’re aiming for a dough-like consistency—moldable but not too wet. If the mixture becomes too watery, add a bit more baking soda until it firms up. Keep stirring and kneading until the mixture can be easily shaped in your hands.
4. Shape the Dino Eggs
Grab a handful of the baking soda dough and flatten it slightly in your palm. Place a plastic dinosaur in the center, then wrap the mixture around it, pressing and shaping it into an egg. Make sure the toy is fully covered so that it remains a surprise when hatched.
Repeat this process for each dinosaur until all are encased in their own fizzy eggs.
5. Use a Mold for Extra Fun
If you have silicone molds or plastic egg containers, you can use them to create more uniform and decorative shapes. Press the baking soda mixture into the mold, insert the dinosaur, then add more mixture to cover it completely. This is a great way to get consistently sized eggs that look extra polished.
6. Dry the Eggs
Place the finished eggs on a tray or plate lined with parchment paper. Let them air dry for at least 24 hours. They should become firm and hard to the touch. If you need to speed up the process, you can place them in the oven on the lowest setting (around 150°F or 65°C) for 1–2 hours. Keep an eye on them to prevent over-drying or cracking.
Once dry, the eggs are ready for hatching—or can be stored in a dry container until you’re ready for action.
7. Time to Hatch
Now comes the best part: hatching the eggs. Place one in a shallow bowl and pour vinegar over it, or hand your child a dropper or squirt bottle filled with vinegar. As the vinegar hits the surface, it will react with the baking soda, creating bubbles and fizzing as the egg starts to dissolve.
This reaction is the highlight of the experience—kids love watching the bubbling egg slowly give way to the dinosaur hidden inside. It’s both mesmerizing and educational, making it a memorable way to teach simple science concepts.
8. Break Open the Egg
As the fizzing slows down, kids can gently break open the remaining shell to fully reveal their dinosaur. This tactile step adds another layer of excitement to the activity. Be sure to have towels or paper nearby to clean up any overflow.
Encourage children to describe what they see, guess which dinosaur they’ve discovered, and think about how real paleontologists uncover fossils. It’s a great way to blend imaginative play with scientific thinking.
Educational Twist
This entire activity is an excellent opportunity to introduce kids to the basics of chemical reactions. When baking soda (a base) meets vinegar (an acid), they react to form carbon dioxide gas, water, and a salt. This reaction creates the bubbling and fizzing effect that makes the eggs “hatch.”
This simple experiment shows how chemistry is all around us—even in fun crafts. Use age-appropriate language to explain what’s happening and ask questions like:
-
What do you think is causing the bubbles?
-
What happens if you use more vinegar?
-
Does it fizz faster with warm vinegar?
Encouraging curiosity during the process can help kids connect fun with learning.
Tips for Success
-
Let eggs dry thoroughly before using.
-
Prepare everything before inviting kids to participate.
-
Use a tray or shallow dish for easy cleanup.
-
Label food coloring if you’re making different colors.
-
Consider doing this activity outside—it can get messy.
-
Have a towel or cloth ready to clean up spills.
Prep Time, Drying Time, and Hatching Time
-
Prep Time: 30 minutes
-
Drying Time: 24 hours (air dry) or 1–2 hours (low oven)
-
Hatching Time: 5–10 minutes per egg
FAQs
Can I use apple cider vinegar instead of white vinegar?
Yes, but white vinegar creates a more visible reaction and doesn’t add a strong scent.
What if my mixture is too wet?
Just add more baking soda until you get the right consistency.
Can I reuse the vinegar?
Yes, but after multiple uses it becomes diluted and less effective.
Can kids touch the ingredients?
Yes, but adult supervision is recommended, especially when food coloring is involved.
How long do the eggs last once made?
If stored in a dry, airtight container, they can last for weeks.
Conclusion
These Baking Soda Dinosaur Eggs are more than just a craft—they’re an adventure in learning, creativity, and surprise. With basic ingredients and a few simple steps, you can create an experience that teaches science, fosters imagination, and provides hours of fun.
Whether used in a classroom, at a birthday party, or during a family play session at home, these fizzy, colorful dinosaur eggs are sure to delight. Kids get to create, explore, and learn—all while having a blast.
So gather your supplies, get mixing, and prepare for a dino-mite day of fun and discovery.
