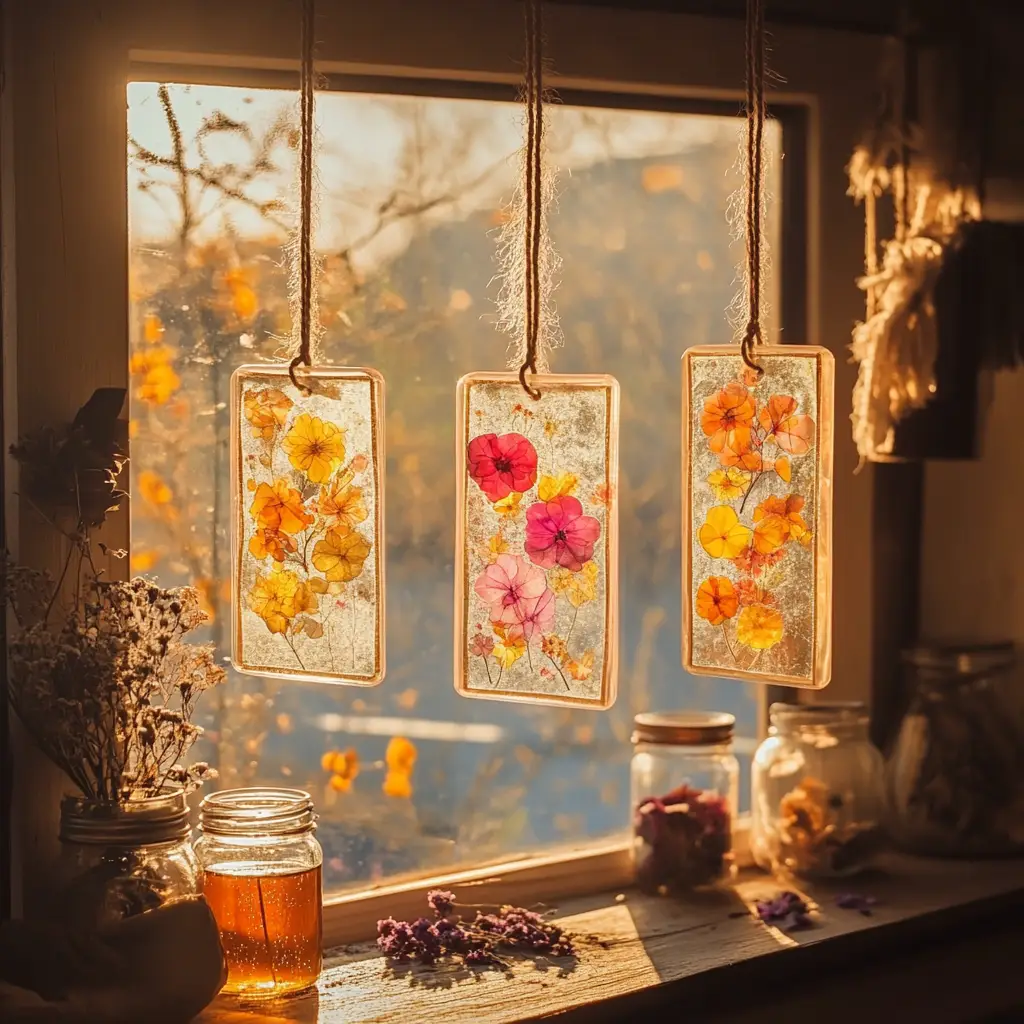
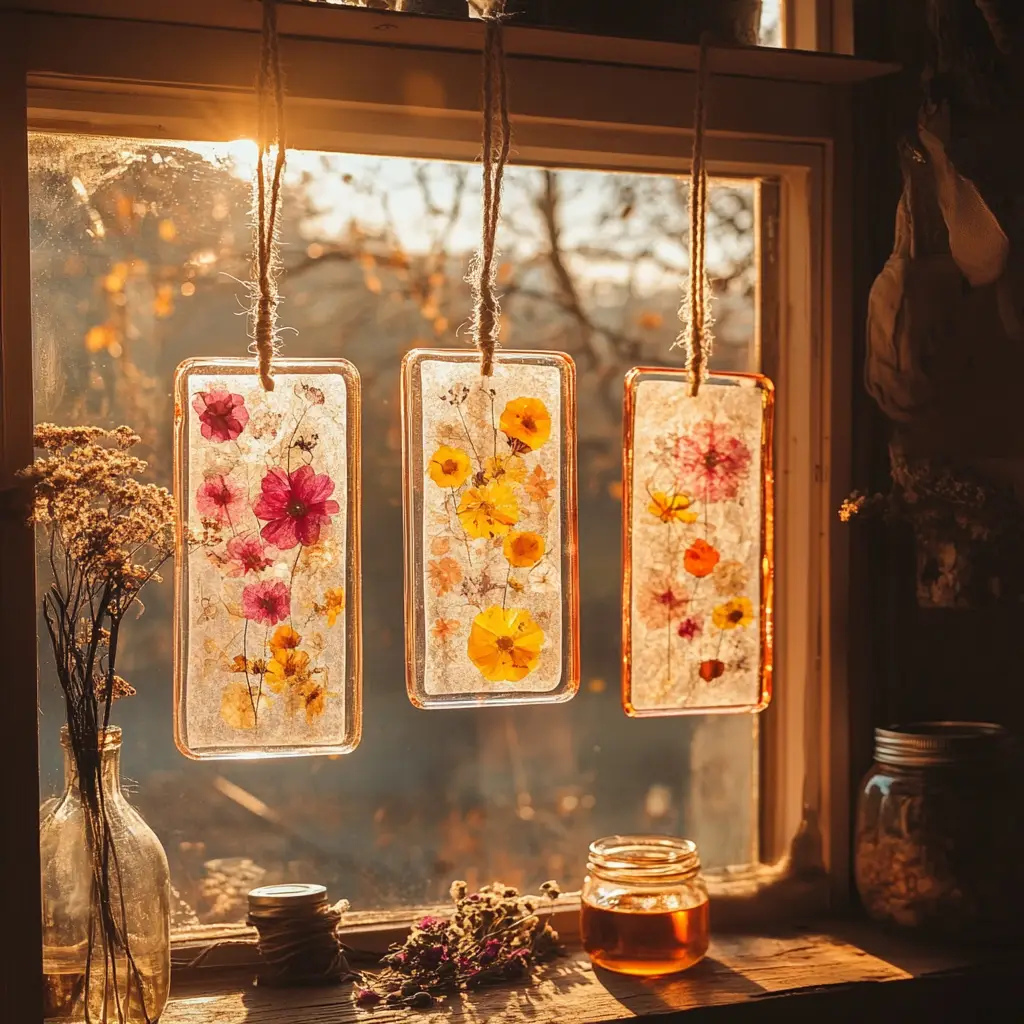
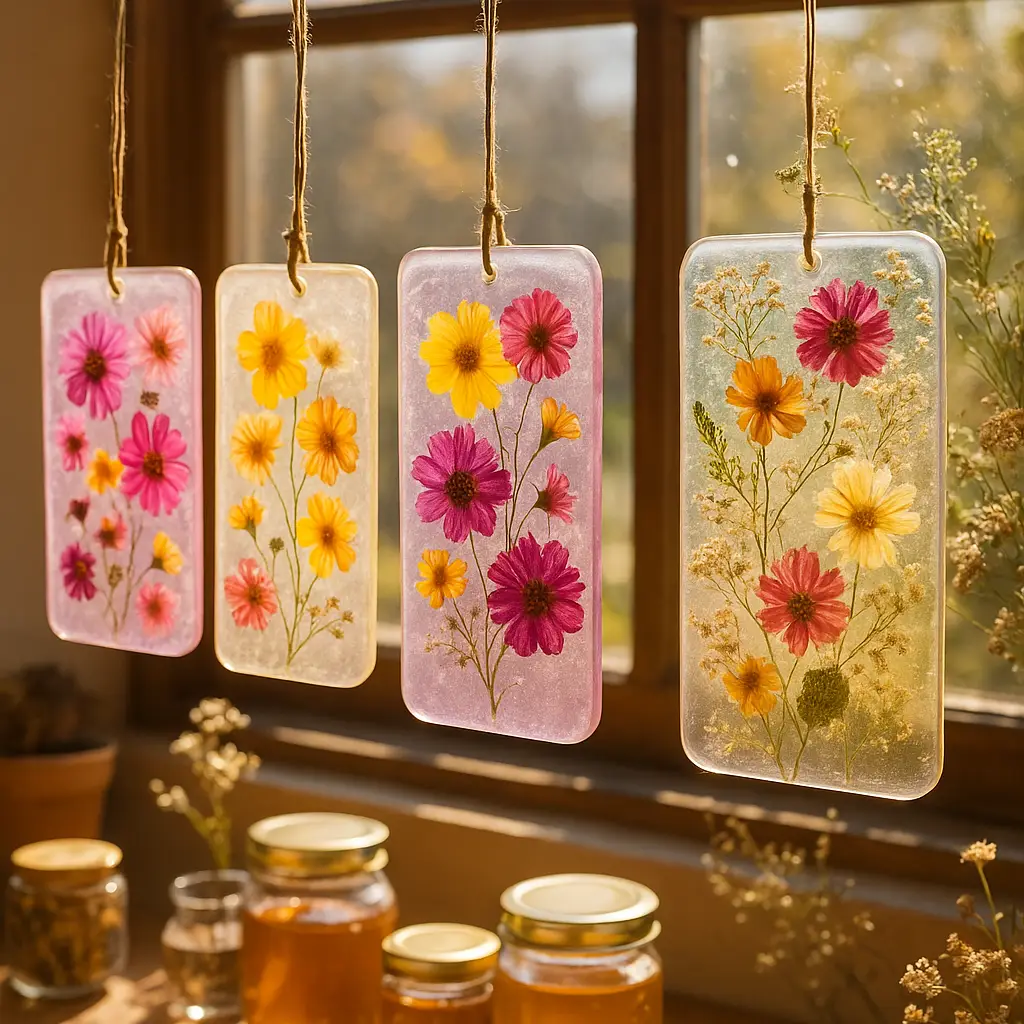
In the age of sustainability, there’s a growing desire for art and crafts that reflect our commitment to the planet. That’s where Bioplastic Suncatchers come in — a colorful, light-catching, and fully biodegradable craft made from ingredients you probably already have in your kitchen. These enchanting ornaments add natural beauty to any window or indoor space, turning sunlight into dazzling rainbows of color.
Bioplastic suncatchers are more than just beautiful; they’re also a hands-on way to learn about biodegradable materials, natural elements, and the science of polymers — making them a favorite for parents, teachers, eco-conscious crafters, and science lovers alike.
Whether you’re creating a whimsical display for your windows, decorating a child’s room, or making a heartfelt handmade gift, this guide will show you exactly how to create bioplastic suncatchers that are as meaningful as they are magical.
Why Is This Craft So Popular?
Bioplastic suncatchers are rapidly becoming a staple in eco-friendly DIY circles, and it’s easy to see why:
-
Eco-Conscious Living: They offer a sustainable alternative to traditional plastic craft materials. Bioplastics decompose safely over time, reducing long-term environmental impact.
-
Non-Toxic Ingredients: Safe for kids, pets, and the environment — these crafts use only water, cornstarch, and vinegar.
-
Hands-On Learning: These projects introduce key STEM/STEAM concepts such as chemical reactions, polymer formation, and material science in a fun, artistic way.
-
Creative Exploration: Each suncatcher can be uniquely designed with pressed flowers, leaves, glitter, dyes, and even scents.
-
Budget-Friendly: With minimal and affordable ingredients, this project makes sustainable crafting accessible for everyone.
People are drawn to bioplastic suncatchers because they tick all the right boxes: fun, functional, eco-conscious, and beautiful. Plus, they’re ideal for all ages and experience levels.
Why You’ll Love This Recipe
There are so many reasons to fall in love with bioplastic suncatchers, whether you’re a seasoned crafter or trying your hand at DIY for the first time:
-
???? Environmentally Responsible: Made from 100% natural, biodegradable materials.
-
???? Customizable: Let your imagination run wild with colors, textures, and shapes.
-
???? Kid-Friendly: A safe and engaging activity for children that also teaches science.
-
???? Aesthetic Appeal: Creates stunning visuals as sunlight passes through.
-
???? Perfect for Gifting: Handmade, heartfelt, and completely unique.
-
???? Low Cost, High Value: Uses ingredients you likely already have on hand.

Ingredients
To make the base for your bioplastic suncatchers, you’ll need:
-
1/2 cup water
-
2 tablespoons cornstarch
-
1 tablespoon white vinegar
Optional Add-Ins
To enhance the look and feel of your suncatchers, consider adding:
-
Food coloring or natural dyes (like beet powder or turmeric)
-
Pressed flowers or leaves
-
Fine glitter or biodegradable glitter
-
Tiny decorative beads
-
Essential oils for scent
Materials Needed
Before starting, gather the following tools and surfaces:
-
A mixing bowl and spoon or whisk
-
A small saucepan
-
A non-stick surface such as a silicone baking mat or parchment paper
-
Cookie cutters or silicone molds (optional for shaping)
-
A straw or skewer (to poke holes for hanging)
-
Twine or string for display
-
Heavy book or board (for flattening curled edges after drying)
Step-by-Step Instructions
Step 1: Mix the Ingredients
Start by combining the base ingredients in a bowl:
-
Add 1/2 cup water
-
Stir in 2 tablespoons cornstarch
-
Mix in 1 tablespoon white vinegar
Whisk until the mixture is smooth and free of lumps. This will ensure an even texture when cooking.
Step 2: Heat the Mixture
Pour the liquid into a saucepan and place it over low to medium heat. Stir constantly. You’ll begin to notice a transformation — the mixture will gradually thicken and turn from cloudy to translucent.
After about 3–5 minutes, the liquid will become gel-like. This is your bioplastic base.
???? Tip: Stir continuously to prevent clumping and scorching. Remove from heat as soon as it thickens.
Step 3: Add Color and Texture
Once removed from heat, allow the mixture to cool slightly (enough to handle, but still pliable). Then:
-
Divide into smaller portions if you want multiple colors.
-
Stir in food coloring or natural dyes.
-
Gently mix in glitter, dried petals, or small embellishments.
This is where you let your creativity shine! Each batch can have its own theme — a spring floral, a galaxy sparkle, or a citrusy scented mix.
Step 4: Shape the Suncatchers
Now, spoon the warm bioplastic onto your non-stick surface. Smooth it out using a spatula or the back of a spoon into circles or abstract blobs.
For more defined shapes:
-
Place cookie cutters on the surface and spoon the mixture inside.
-
Use a straw or skewer to poke a hanging hole near the top.
???? Note: The material sets quickly, so work efficiently when shaping.
Step 5: Let It Dry
Leave your suncatchers to dry at room temperature for 24–48 hours. Avoid direct sunlight or heat, which may warp the shape.
Factors like thickness and air humidity can affect drying time. Thinner layers dry faster and are more translucent, while thicker pieces take longer and result in a sturdier suncatcher.
Once dry, remove the suncatchers from the mat. If the edges have curled, place them under a heavy book for a few hours to flatten.

You Must Know
Here are important things to keep in mind:
-
Not Waterproof: These suncatchers are decorative and should be kept indoors or in dry environments.
-
Not for Outdoor Use: Exposure to rain or humidity may soften or warp the material.
-
Shelf Life: When kept dry and handled gently, they can last several months.
-
Experiment Carefully: Too much dye or moisture can alter the setting process. Stick to small amounts and test before going big.
Make-Ahead Tips
Planning a crafting session or prepping for a group? Here are a few helpful strategies:
-
Prepare Flowers in Advance: Press flowers or leaves a few days ahead of time between parchment and heavy books.
-
Mix Base Ahead (Short-Term): While it’s best to use the mixture immediately, you can keep it in a sealed container for up to an hour before it begins to harden.
-
Pre-Cut Mats: Set up drying surfaces and cookie cutters ahead of time so the bioplastic doesn’t cool before shaping.
-
Batch Drying: Dry large batches on baking trays covered in parchment paper.
Seasonal Adaptations
Celebrate the seasons with bioplastic suncatchers by using materials and colors inspired by nature’s cycles:
-
Spring: Light pastels, daisies, and violets. Use green tones and fresh herb petals.
-
Summer: Bright pinks, oranges, and yellows. Try sunflower petals or citrus-scented oils.
-
Autumn: Earth tones like rust, brown, and deep red. Incorporate fallen leaves and cinnamon scents.
-
Winter: Cool blues and silvers. Use glitter for a snow effect and pine or peppermint oils for fragrance.
Each season brings its own inspiration and natural decor to incorporate into your crafts.
Serving Suggestions: How to Use Your Suncatchers
These aren’t just for windows! Here are some creative ways to display or gift them:
-
Hang in Sunlit Windows for rainbow reflections.
-
Use as Ornaments on a seasonal tree.
-
Gift Tags for eco-conscious wrapping.
-
Classroom Crafts for Earth Day or science fairs.
-
Mobiles or Wall Art as part of a larger display.
-
Party Decorations for weddings, birthdays, or nature-themed events.
-
Bookmarks with flat shapes and a ribbon through the hole.
The gentle translucency and shimmer make them perfect for any setting where light can shine through.
Fun Variations to Try
-
Stained Glass Effect: Layer different colored bioplastics slightly before drying.
-
Impressions: Press lace, twigs, or textured fabric into the surface for a pattern.
-
Glow-in-the-Dark: Use glow pigments for a magical nighttime effect.
-
Scented Decor: Add essential oils like lavender, citrus, or peppermint to the mixture.
-
Letter Cutouts: Use small alphabet cookie cutters to spell names or messages.
Let your creativity lead — these suncatchers can be as simple or elaborate as you want.
Frequently Asked Questions
Are bioplastic suncatchers compostable?
Yes! They’re made from natural ingredients and will break down over time, especially in compost or moist soil. However, they should still be disposed of thoughtfully.
What’s the best way to store finished suncatchers?
Keep them flat in a dry place. Avoid stacking or placing them near moisture.
Can I use food-based natural dyes?
Absolutely! Some natural dye ideas include:
-
Beet powder: Red/pink tones
-
Turmeric: Bright yellow
-
Spinach juice: Green
-
Activated charcoal: Gray/black
Why did my suncatcher crack or become brittle?
Overcooking the mixture or making it too thin can lead to cracking. Stir gently and avoid overheating.
Can I hang these outside?
Not recommended. Exposure to rain or strong UV light will degrade them quickly. They are best enjoyed indoors.
Conclusion
Bioplastic suncatchers offer a delightful and sustainable way to express creativity, engage with science, and appreciate the beauty of nature. They’re more than a craft — they’re a symbol of conscious living and artistic expression. Whether you’re guiding a classroom full of eager learners or enjoying a peaceful solo afternoon of crafting, these DIY decorations add joy and eco-awareness to any space.
In a world filled with mass-produced plastic items, there’s something truly special about creating something handmade, biodegradable, and beautiful. So gather your ingredients, warm up your stove, and bring a little sunshine into your home — one suncatcher at a time.


