
Buttermilk Pie: Creamy, Golden Slice of Heaven!
Sensory-Rich Introduction with Immediate Craving
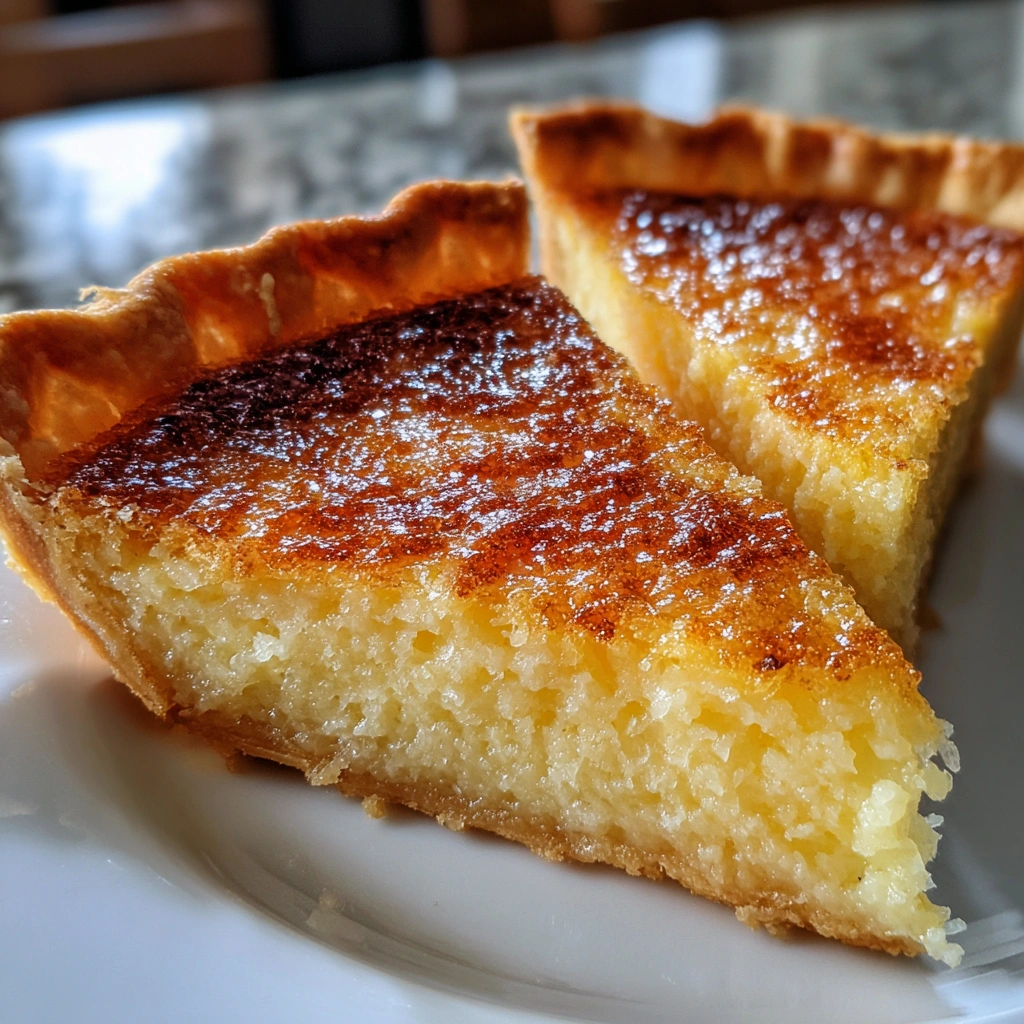
Imagine slicing into a golden-brown pie, the flaky crust giving way to a creamy, custard-like filling that glistens with a hint of vanilla. The aroma wafts through the kitchen, inviting you to take a bite. Buttermilk Pie is not just a dessert; it’s a nostalgic journey back to family gatherings, where laughter and love filled the air. This pie, with its perfect balance of sweetness and tanginess, is ideal for any occasion—be it a holiday feast, a summer picnic, or a cozy evening at home. Each slice is a reminder of simpler times, evoking warmth and comfort that only a homemade dessert can provide.
Why You’ll Love This Buttermilk Pie
- Texture Contrast: The flaky crust provides a delightful crunch that perfectly complements the smooth, creamy filling.
- Flavor Balance: The sweet and tangy notes of buttermilk, combined with a hint of nutmeg and vanilla, create a harmonious flavor profile that dances on your palate.
- Versatility: This pie can be enjoyed warm or chilled, making it suitable for any season or occasion.
- Ease of Preparation: With simple ingredients and straightforward steps, even novice bakers can create this delicious dessert with confidence.
- Universal Appeal: Buttermilk Pie is a crowd-pleaser, appealing to both traditionalists and those seeking something unique.
Essential Tools & Preparation Strategy
- Mixing Bowls: Essential for combining ingredients smoothly; opt for glass or stainless steel for durability.
- Rolling Pin: Necessary for rolling out the pie crust evenly; a marble rolling pin retains coolness, preventing the butter from melting.
- Pie Pan: A sturdy, preferably glass or ceramic pan is crucial for holding the pie’s shape during baking.
- Whisk: Important for achieving a smooth filling without lumps; a balloon whisk is ideal for aerating the mixture.
- Measuring Cups and Spoons: Accurate measurements ensure the right balance of flavors; consider using a digital scale for precision.
- Plastic Wrap: Useful for chilling the dough and keeping it fresh; opt for BPA-free options for health safety.
- Pastry Brush: Handy for applying egg wash or butter to the crust for a golden finish.
- Cooling Rack: Essential for allowing the pie to cool evenly, preventing a soggy bottom.
Ingredients & Their Roles in This Buttermilk Pie
Crust Ingredients
- All-Purpose Flour: Provides structure and stability to the crust.
- Unsalted Butter: Adds richness and flavor; chilled butter creates a flaky texture.
- Granulated Sugar: Sweetens the crust and enhances browning.
- Salt: Balances sweetness and enhances flavor.
- Ice Water: Helps bind the dough without melting the butter.
Filling Ingredients
- Buttermilk: The star ingredient, providing tanginess and creaminess.
- Granulated Sugar: Sweetens the filling, balancing the tang of the buttermilk.
- Unsalted Butter: Adds richness and depth of flavor.
- Eggs: Act as a binding agent, giving the filling its custard-like texture.
- Vanilla Extract: Enhances the overall flavor profile with warmth.
- Ground Nutmeg: Adds a subtle spice that elevates the pie’s taste.
- Salt: Enhances the sweetness and balances flavors.
Substitutions & Preparation Notes
- For a gluten-free option, substitute all-purpose flour with a gluten-free flour blend.
- Ensure all ingredients are at room temperature for a smooth filling.
Step-by-Step Guide to Perfect Buttermilk Pie
- Preheat the Oven: Set your oven to 350°F (175°C) to ensure even baking.
- Prepare the Crust: In a mixing bowl, combine flour, sugar, and salt. Cut in the chilled butter until the mixture resembles coarse crumbs.
- Form the Dough: Add ice water, one tablespoon at a time, mixing until the dough comes together. Form into a disk, wrap in plastic, and refrigerate for 30 minutes.
- Roll Out the Dough: On a floured surface, roll out the chilled dough to fit a 9-inch pie pan. Place the crust in the pan and trim the edges.
- Make the Filling: In a separate bowl, whisk together buttermilk, sugar, melted butter, eggs, vanilla, nutmeg, and salt until smooth.
- Combine and Pour: Pour the filling into the prepared crust, ensuring an even distribution.
- Bake: Place the pie in the preheated oven and bake for 40-45 minutes, or until the filling is set and the top is lightly golden. The center may still jiggle slightly.
- Cool: Allow the pie to cool completely before slicing and serving to ensure the filling sets properly.
Chef’s Notes & Pro Tips for Flawless Results
- Make-Ahead Instructions: This pie can be made a day in advance and stored in the refrigerator.
- Storage: Leftovers can be covered and stored in the fridge for up to 3 days.
- Equipment Recommendations: A glass pie pan allows you to monitor the crust’s browning.
- Customization Options: Experiment with different spices like cinnamon or cardamom for a unique twist.
Avoid These Common Cooking Mistakes
- Overmixing the Crust: This can lead to a tough texture. Mix just until combined.
- Not Chilling the Dough: Skipping this step can result in a crust that shrinks during baking. Always chill for at least 30 minutes.
- Underbaking: The filling should be set but slightly jiggly in the center. Keep an eye on the time.
- Using Cold Ingredients: Ensure butter and eggs are at room temperature for a smooth filling.
- Not Preheating the Oven: This can affect the baking time and texture. Always preheat before baking.
- Skipping the Nutmeg: This spice adds depth to the flavor; don’t omit it.
- Not Letting the Pie Cool: Cutting too soon can result in a runny filling. Allow it to cool completely.
Creative Variations & Customizations
- Coconut Buttermilk Pie: Add shredded coconut to the filling for a tropical twist.
- Chocolate Buttermilk Pie: Incorporate cocoa powder for a rich chocolate flavor.
- Lemon Buttermilk Pie: Add lemon zest and juice for a refreshing citrus kick.
- Spiced Buttermilk Pie: Experiment with chai spices for a warm, aromatic flavor.
- Nutty Buttermilk Pie: Fold in chopped pecans or walnuts for added texture and flavor.
Perfect Pairings: What to Serve With Buttermilk Pie
- Whipped Cream: A dollop adds richness and complements the pie’s creaminess.
- Fresh Berries: Strawberries or blueberries provide a refreshing contrast.
- Vanilla Ice Cream: A classic pairing that enhances the pie’s flavors.
- Caramel Sauce: Drizzling this over the pie adds an indulgent touch.
- Coffee or Tea: A warm beverage pairs beautifully for a delightful afternoon treat.
- Toasted Coconut: Sprinkling this on top adds a tropical flair.
- Sweet Iced Tea: A Southern-inspired pairing that complements the pie’s flavors.
- Cinnamon Sprinkle: A light dusting adds warmth and enhances the pie’s taste.
Storage & Meal Prep Instructions
- Refrigeration: Store the pie covered in the fridge for up to 3 days.
- Freezing: For longer storage, freeze the pie before baking. Wrap tightly in plastic wrap and foil. Thaw in the fridge before baking.
- Reheating: To reheat, place slices in a preheated oven at 350°F (175°C) for about 10-15 minutes until warmed through.
Nutrition Facts & Health Insights
| Nutrient | Amount per Serving (1 slice) |
|---|---|
| Calories | 250 |
| Sugar | 20 grams |
| Sodium | 150 milligrams |
| Fat | 12 grams |
| Saturated Fat | 7 grams |
| Unsaturated Fat | 4 grams |
| Trans Fat | 0 grams |
| Carbohydrates | 32 grams |
| Fiber | 1 gram |
| Protein | 4 grams |
| Cholesterol | 80 milligrams |
Health Benefits of Key Ingredients
- Buttermilk: Rich in probiotics, it aids digestion and contributes to gut health.
- Eggs: A great source of protein and essential nutrients, supporting overall health.
- Nutmeg: Contains antioxidants and has anti-inflammatory properties.
Frequently Asked Questions
- Can I use low-fat buttermilk? Yes, but it may slightly alter the texture.
- How do I know when the pie is done? The filling should be set but still slightly jiggly in the center.
- Can I make this pie gluten-free? Absolutely! Use a gluten-free flour blend for the crust.
- What can I substitute for buttermilk? Mix milk with a tablespoon of vinegar or lemon juice as a substitute.
- How long can I store leftovers? Leftovers can be stored in the fridge for up to 3 days.
- Can I freeze Buttermilk Pie? Yes, freeze before baking for best results.
- What if my filling is too runny? Ensure you bake it long enough; it should set as it cools.
- Can I add fruit to the filling? Yes, but be cautious with moisture levels to avoid a soggy pie.
Final Inspiration & Kitchen Confidence
As you embark on your journey to create this Buttermilk Pie, remember that every slice is a celebration of comfort and nostalgia. Embrace the process, and don’t be afraid to make it your own. Each pie you bake is a testament to your growing skills and creativity in the kitchen. So gather your ingredients, roll up your sleeves, and let the sweet aroma of Buttermilk Pie fill your home. You’ve got this!
Print
Buttermilk Pie: Creamy, Golden Slice of Heaven!
- Total Time: 1 hour 15 minutes
- Yield: 8 servings 1x
- Diet: Vegetarian
Description
Buttermilk Pie is a luscious dessert that boasts a creamy, custard-like filling nestled in a flaky, golden crust. Each bite offers a delightful balance of sweetness and tanginess, with a hint of vanilla that lingers on the palate, making it a comforting treat for any occasion.
Ingredients
- Crust:
- 1 1/2 cups all-purpose flour
- 1/2 cup unsalted butter, chilled and cubed
- 1/4 cup granulated sugar
- 1/4 teaspoon salt
- 3–4 tablespoons ice water
- Filling:
- 1 cup buttermilk
- 1 cup granulated sugar
- 1/4 cup unsalted butter, melted
- 3 large eggs
- 1 teaspoon vanilla extract
- 1/4 teaspoon ground nutmeg
- 1/4 teaspoon salt
Instructions
- Preheat the oven to 350°F (175°C).
- In a mixing bowl, combine flour, sugar, and salt for the crust. Cut in the butter until the mixture resembles coarse crumbs.
- Add ice water, one tablespoon at a time, mixing until the dough comes together. Form into a disk, wrap in plastic, and refrigerate for 30 minutes.
- Roll out the chilled dough on a floured surface to fit a 9-inch pie pan. Place the crust in the pan and trim the edges.
- In a separate bowl, whisk together buttermilk, sugar, melted butter, eggs, vanilla, nutmeg, and salt until smooth.
- Pour the filling into the prepared crust.
- Bake in the preheated oven for 40-45 minutes, or until the filling is set and the top is lightly golden. The center may still jiggle slightly.
- Allow to cool completely before slicing and serving.
Notes
- This pie can be made a day in advance and stored in the refrigerator.
- Store leftovers covered in the fridge for up to 3 days.
- For a gluten-free option, substitute the all-purpose flour with a gluten-free flour blend.
- Prep Time: 30 minutes
- Cook Time: 45 minutes
- Category: desserts
- Method: baking
- Cuisine: American
Nutrition
- Serving Size: 1 slice (1/8 of pie)
- Calories: 250
- Sugar: 20 grams
- Sodium: 150 milligrams
- Fat: 12 grams
- Saturated Fat: 7 grams
- Unsaturated Fat: 4 grams
- Trans Fat: 0 grams
- Carbohydrates: 32 grams
- Fiber: 1 gram
- Protein: 4 grams
- Cholesterol: 80 milligrams
Keywords: Buttermilk Pie, Southern dessert, custard pie, easy pie recipe, homemade pie, classic dessert, creamy pie, sweet and tangy, holiday dessert, pie crust, vanilla flavor, comfort food, traditional recipe, baking, American cuisine
