
Introduction to Cheesy Garlic Butter Bombs
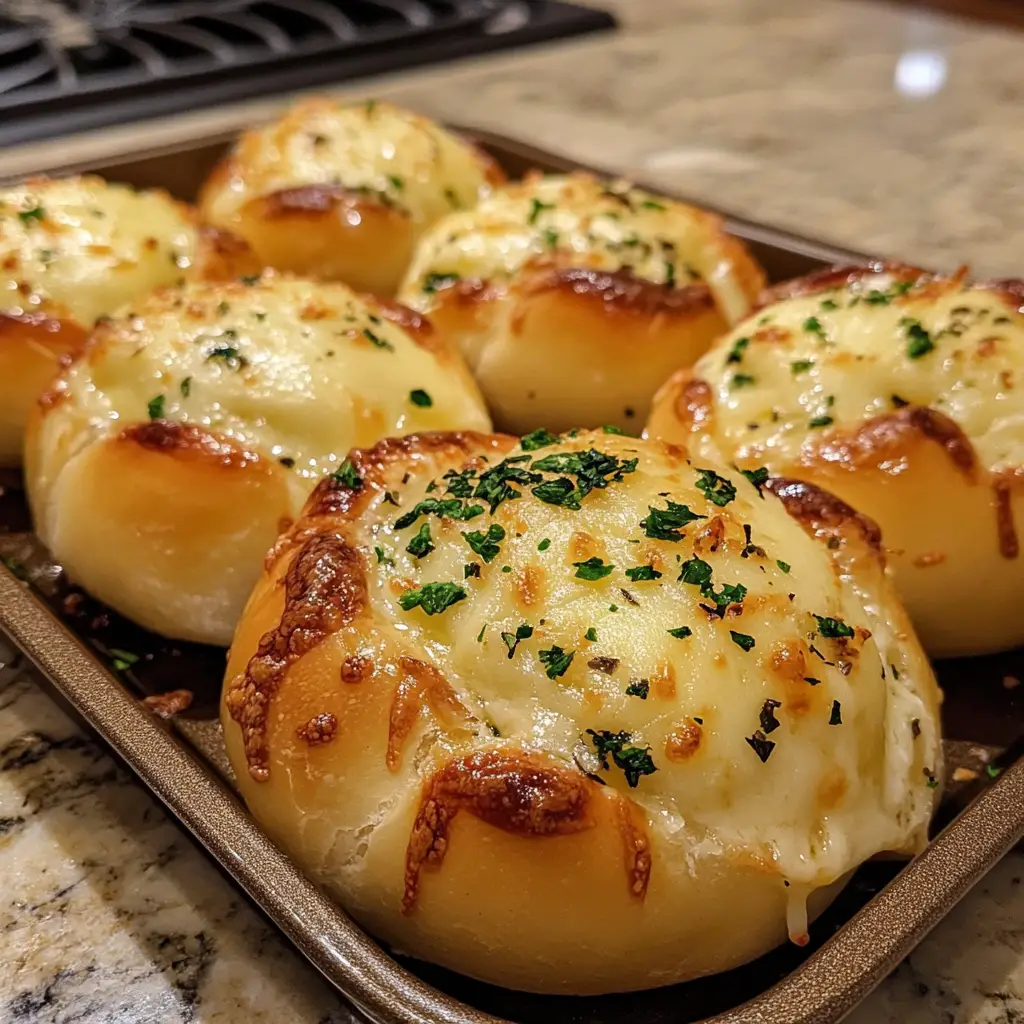
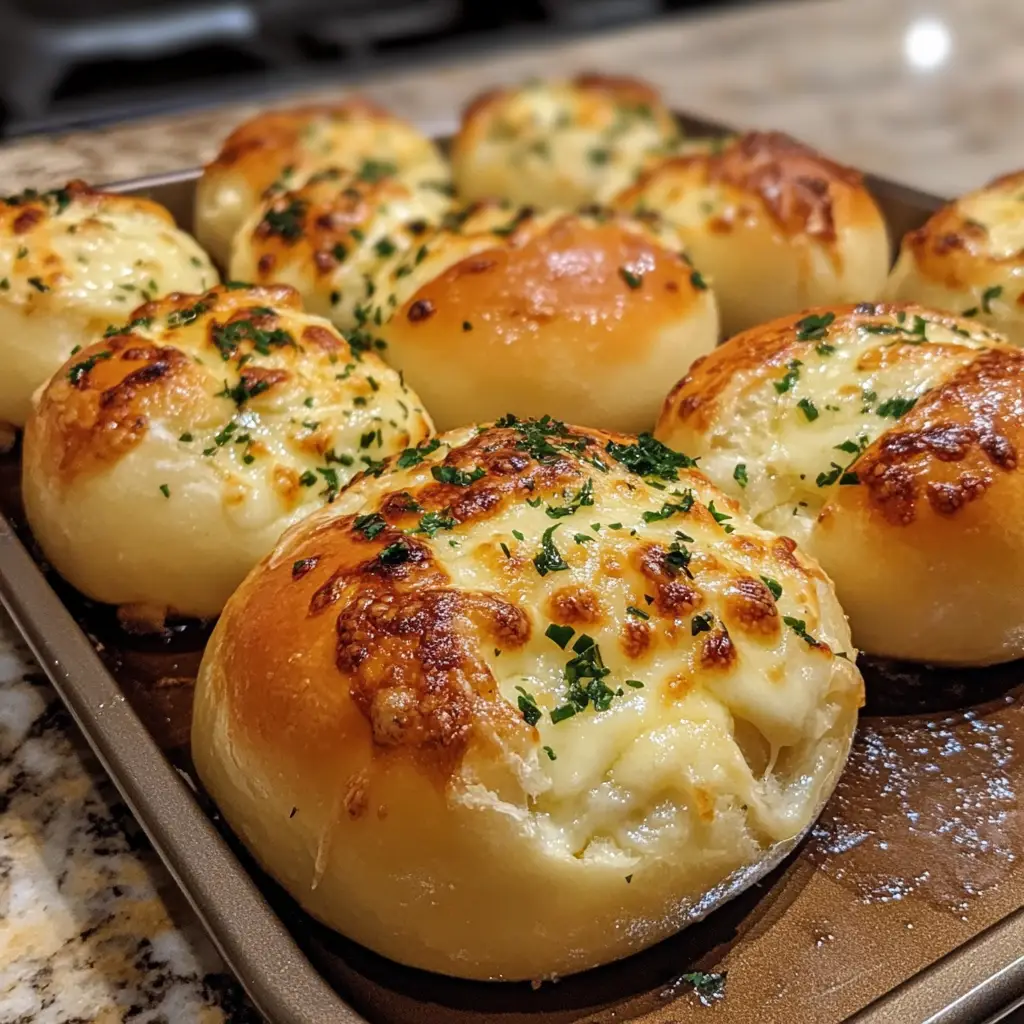
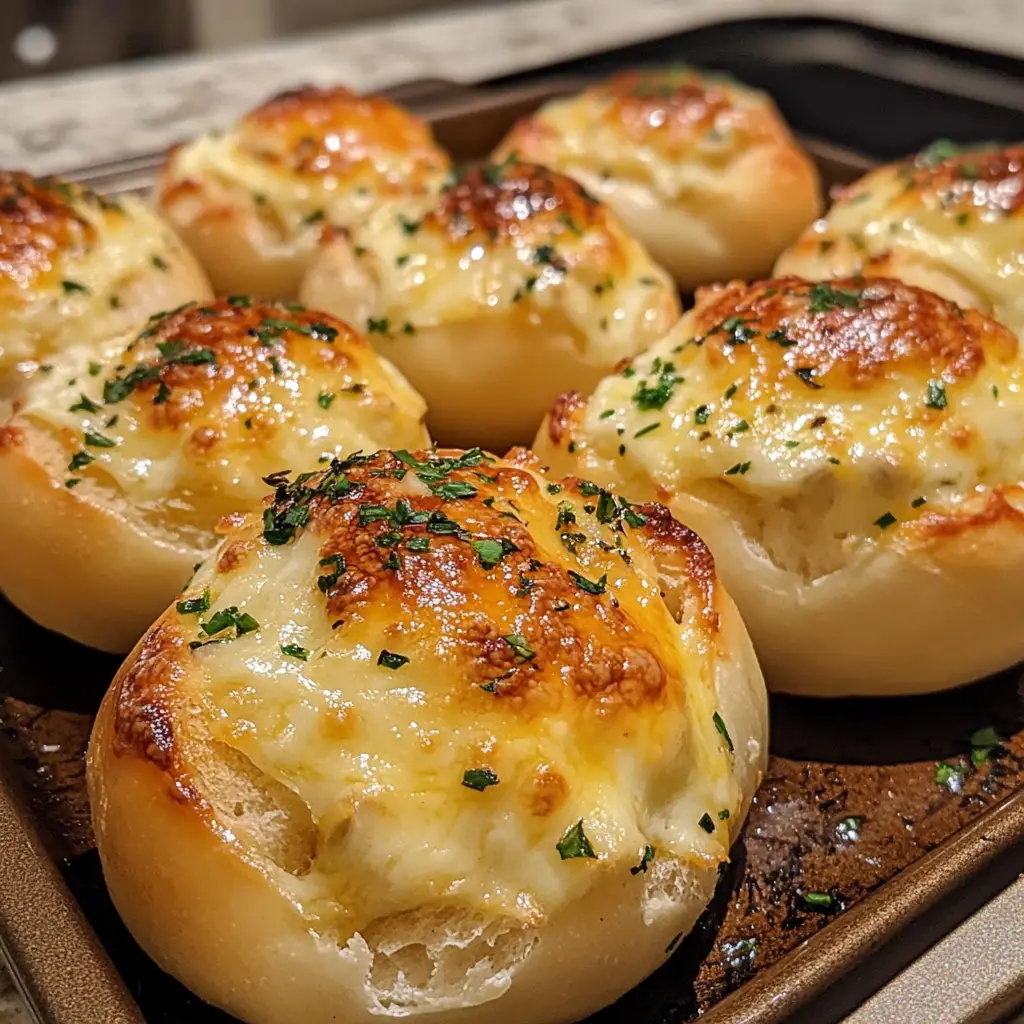
As a busy mom, I know how precious time can be, especially when it comes to meal prep. That’s why I absolutely adore these Cheesy Garlic Butter Bombs! They’re not just a quick solution for a hectic day; they’re also a delightful treat that can impress your loved ones. Imagine fluffy, buttery rolls bursting with gooey cheese and a hint of garlic. It’s comfort food at its finest! Whether you’re hosting a gathering or just want a cozy snack, these little bites of joy are sure to bring smiles all around.
Why You’ll Love This Cheesy Garlic Butter Bombs
These Cheesy Garlic Butter Bombs are a game-changer for busy lives! They come together in just 35 minutes, making them perfect for last-minute gatherings or a cozy family night. The combination of gooey cheese and rich garlic butter creates a flavor explosion that’s hard to resist. Plus, they’re versatile enough to serve as an appetizer, snack, or even a side dish. Trust me, everyone will be asking for seconds!
Ingredients for Cheesy Garlic Butter Bombs
Gathering the right ingredients is the first step to creating these delightful Cheesy Garlic Butter Bombs. Here’s what you’ll need:
- Refrigerated biscuit dough: This is the base of your bombs, providing a fluffy and buttery exterior. You can find it in the refrigerated section of your grocery store.
- Shredded mozzarella cheese: The star of the show! Its gooey texture melts beautifully, creating that irresistible cheesy center. Feel free to experiment with other cheeses like cheddar or pepper jack for a twist.
- Unsalted butter: This adds richness and flavor. Using unsalted allows you to control the saltiness of the dish better.
- Garlic: Freshly minced garlic infuses the butter with a robust flavor. If you’re in a pinch, garlic powder can work too, but fresh is always best!
- Fresh parsley: This adds a pop of color and a fresh taste. You can substitute it with dried parsley if fresh isn’t available.
- Salt: A little salt enhances all the flavors. Adjust to your taste, especially if you’re using salted butter.
- Black pepper: Just a pinch adds a subtle kick. You can also use red pepper flakes for a spicier version.
For exact measurements, check the bottom of the article where you can find everything listed for easy printing. Happy cooking!
How to Make Cheesy Garlic Butter Bombs
Now that you have all your ingredients ready, let’s dive into the fun part—making these Cheesy Garlic Butter Bombs! Follow these simple steps, and you’ll have a delicious treat in no time.
Step 1: Preheat the Oven
First things first, preheat your oven to 375°F (190°C). Preheating is crucial because it ensures even cooking. You want those bombs to rise perfectly and get that golden-brown color we all love!
Step 2: Prepare the Garlic Butter Mixture
In a mixing bowl, combine the melted butter, minced garlic, chopped parsley, salt, and black pepper. Stir it well until everything is blended. The garlic adds a punch of flavor, while the parsley gives a fresh touch. This mixture will coat your bombs and make them irresistible!
Step 3: Prepare the Biscuit Dough
Open the can of refrigerated biscuit dough carefully. It can be a bit of a surprise when it pops open! Separate the dough into individual biscuits. You should have about 12 biscuits, ready to be transformed into cheesy goodness.
Step 4: Fill the Biscuits
Take each biscuit and flatten it out gently with your hands. Aim for about a 3-inch round. Place a tablespoon of shredded mozzarella cheese in the center. Don’t be shy with the cheese; it’s the star of the show!
Step 5: Seal the Bombs
Now, here’s where the magic happens! Wrap the biscuit around the cheese, pinching the edges to seal it tightly. Make sure there are no gaps; we want all that gooey cheese to stay inside. Think of it as a little treasure chest of flavor!
Step 6: Dip in Garlic Butter
Next, dip each cheese-filled biscuit into the garlic butter mixture. Make sure to coat it well. This step is essential for infusing that rich garlic flavor into every bite. It’s like giving your bombs a warm, buttery hug!
Step 7: Arrange in Baking Dish
Place the dipped biscuits in a greased baking dish. Arrange them close together, but not touching. This allows them to cook evenly and get that lovely golden crust. If you have any leftover garlic butter, drizzle it over the top for extra flavor!
Step 8: Bake to Perfection
Finally, pop the baking dish into the preheated oven. Bake for 15-20 minutes or until they’re golden brown and puffed up. To check for doneness, look for a beautiful golden color and a delightful aroma filling your kitchen. Trust me, you’ll want to dive in right away!
Tips for Success
- Use fresh garlic for the best flavor; it makes a world of difference!
- Don’t overfill the biscuits with cheese; a tablespoon is just right.
- For a golden finish, brush the tops with a bit of melted butter before baking.
- Let the bombs cool for a few minutes before serving; they’ll be super hot!
- Experiment with herbs like oregano or basil for a unique twist.
Equipment Needed
- Baking dish: A 9×13 inch dish works well, but any oven-safe dish will do.
- Mixing bowl: Use any bowl you have on hand for mixing the garlic butter.
- Measuring spoons: Essential for accurate ingredient measurements.
- Oven mitts: Don’t forget these to protect your hands when handling hot dishes!
- Rolling pin (optional): If you prefer, you can use this to flatten the biscuits more evenly.
Variations of Cheesy Garlic Butter Bombs
- Herbed Cheese Bombs: Mix in some Italian seasoning or fresh herbs like thyme or rosemary with the mozzarella for an aromatic twist.
- Spicy Jalapeño Bombs: Add diced jalapeños or a sprinkle of crushed red pepper flakes to the cheese for a spicy kick.
- Cheesy Spinach Bombs: Incorporate fresh spinach or cooked frozen spinach into the cheese filling for a nutritious boost.
- Meat Lovers Bombs: Add cooked and crumbled bacon or sausage to the cheese filling for a heartier option.
- Gluten-Free Bombs: Use gluten-free biscuit dough to make these delicious bites suitable for those with gluten sensitivities.
Serving Suggestions for Cheesy Garlic Butter Bombs
- Pair with marinara sauce: A warm bowl of marinara makes a perfect dipping sauce.
- Serve with a fresh salad: A light green salad balances the richness of the bombs.
- Accompany with a glass of wine: A crisp white wine complements the garlic flavor beautifully.
- Garnish with extra parsley: A sprinkle of fresh parsley adds a pop of color and freshness.
- Present on a wooden board: Arrange the bombs on a rustic board for a charming display.
FAQs about Cheesy Garlic Butter Bombs
Can I make Cheesy Garlic Butter Bombs ahead of time?
Absolutely! You can prepare the bombs and place them in the baking dish. Cover and refrigerate them until you’re ready to bake. Just add a few extra minutes to the baking time if they’re cold from the fridge.
What can I use instead of mozzarella cheese?
If mozzarella isn’t your favorite, feel free to experiment! Cheddar, pepper jack, or even a blend of cheeses can add a unique twist to your Cheesy Garlic Butter Bombs.
How do I store leftovers?
Store any leftover bombs in an airtight container in the fridge for up to three days. Reheat them in the oven for a few minutes to regain that delicious, gooey texture.
Can I freeze Cheesy Garlic Butter Bombs?
Yes, you can freeze them! Just prepare the bombs, place them on a baking sheet, and freeze until solid. Then transfer them to a freezer bag. Bake from frozen, adding a few extra minutes to the cooking time.
What can I serve with Cheesy Garlic Butter Bombs?
These delightful bites pair wonderfully with marinara sauce for dipping. A fresh salad or a glass of wine can also complement their rich flavors beautifully!
Final Thoughts
Making Cheesy Garlic Butter Bombs is more than just cooking; it’s about creating moments of joy and connection. The aroma of garlic and melted cheese wafting through your kitchen can instantly lift spirits and bring family together. Whether you’re enjoying them as a snack or serving them at a gathering, these little bites are sure to spark smiles and compliments. Plus, they’re so easy to whip up, even on the busiest days! So, roll up your sleeves, embrace the mess, and let these cheesy delights bring warmth and happiness to your table. Happy cooking!
Print
Cheesy Garlic Butter Bombs: A Mouthwatering Delight!
- Total Time: 35 minutes
- Yield: 12 servings 1x
- Diet: Vegetarian
Description
Cheesy Garlic Butter Bombs are delicious, bite-sized rolls filled with gooey cheese and infused with garlic butter, perfect for any occasion.
Ingredients
- 1 can of refrigerated biscuit dough
- 1 cup shredded mozzarella cheese
- 1/2 cup unsalted butter, melted
- 4 cloves garlic, minced
- 1/4 cup fresh parsley, chopped
- 1/2 teaspoon salt
- 1/4 teaspoon black pepper
Instructions
- Preheat the oven to 375°F (190°C).
- In a bowl, mix melted butter, minced garlic, parsley, salt, and pepper.
- Open the biscuit dough and separate it into individual biscuits.
- Flatten each biscuit and place a tablespoon of mozzarella cheese in the center.
- Wrap the biscuit around the cheese and pinch to seal.
- Dip each cheese-filled biscuit in the garlic butter mixture.
- Place the biscuits in a greased baking dish.
- Pour any remaining garlic butter over the top.
- Bake for 15-20 minutes or until golden brown.
- Serve warm and enjoy!
Notes
- For extra flavor, add Italian seasoning to the garlic butter.
- These can be made ahead of time and baked just before serving.
- Experiment with different types of cheese for varied flavors.
- Prep Time: 15 minutes
- Cook Time: 20 minutes
- Category: Appetizer
- Method: Baking
- Cuisine: American
Nutrition
- Serving Size: 1 bomb
- Calories: 150
- Sugar: 1g
- Sodium: 300mg
- Fat: 10g
- Saturated Fat: 5g
- Unsaturated Fat: 3g
- Trans Fat: 0g
- Carbohydrates: 12g
- Fiber: 0g
- Protein: 4g
- Cholesterol: 20mg
Keywords: Cheesy Garlic Butter Bombs, appetizer, cheese rolls, garlic bread
