
Introduction to Chocolate Cashew Clusters Recipe
As a passionate home cook, I find joy in creating treats that not only satisfy my sweet tooth but also bring smiles to the faces of my loved ones. One of my all-time favorite recipes is the delightful Chocolate Cashew Clusters. These little bites of heaven are a perfect blend of rich chocolate and crunchy cashews, making them an irresistible snack for any occasion.
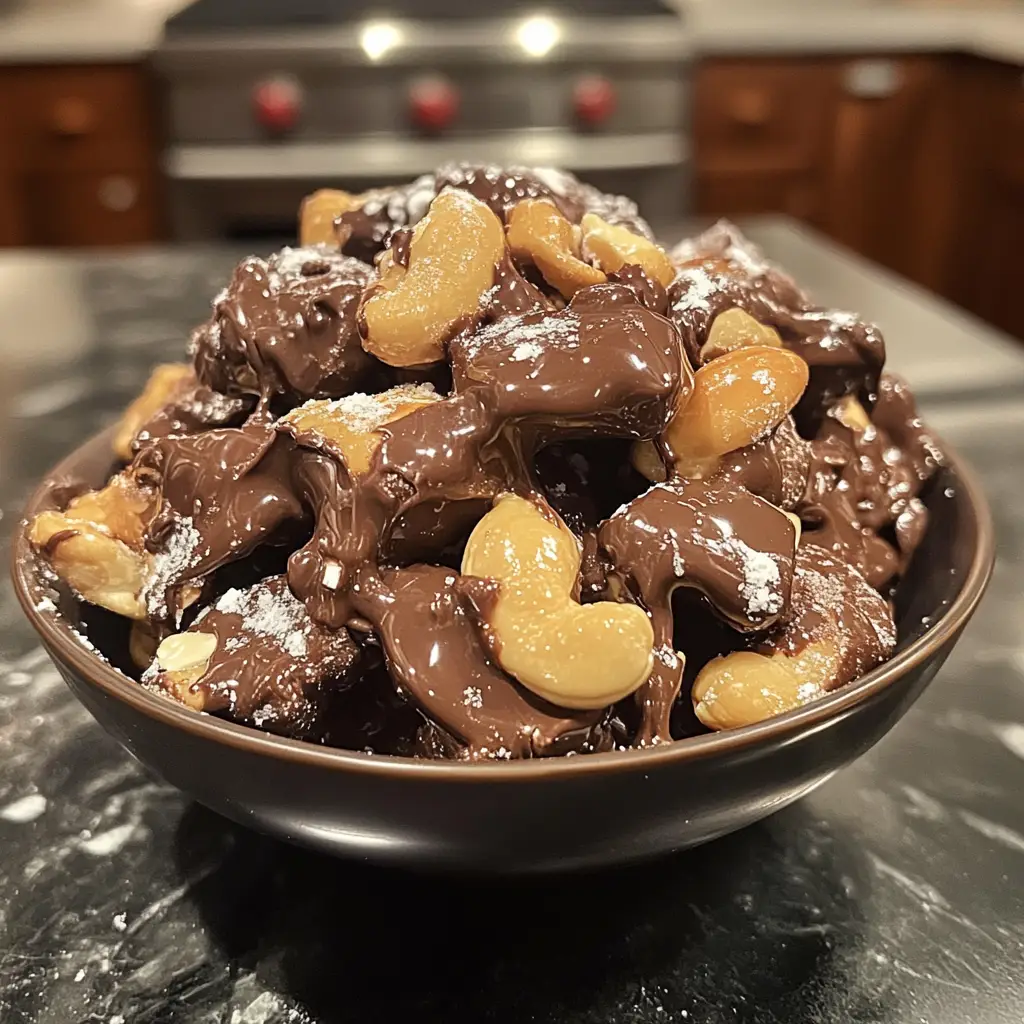
Let me take you back to the first time I made these clusters. It was a rainy afternoon, and I was looking for a cozy activity to lift my spirits. I rummaged through my pantry and found a bag of cashews and some chocolate chips. With a sprinkle of creativity and a dash of excitement, I decided to whip up something special. The aroma of melting chocolate filled my kitchen, and soon enough, I had a batch of these delightful clusters cooling on my countertop. The moment I took my first bite, I was hooked! The creamy chocolate enveloping the crunchy cashews was a match made in culinary heaven.
What I love most about this recipe is its simplicity. You don’t need to be a master chef to create these delicious treats. With just a few ingredients and minimal effort, you can impress your family and friends. Plus, they make for a fantastic homemade gift! Imagine presenting a beautifully packaged box of these clusters to someone special. It’s a heartfelt gesture that shows you care.
In this article, I’ll guide you through the process of making your own Chocolate Cashew Clusters. Whether you’re a seasoned cook or just starting your culinary journey, I promise you’ll find joy in creating these delightful snacks. So, let’s dive into the ingredients and get started on this sweet adventure!
Ingredients for Chocolate Cashew Clusters Recipe
Before we embark on our sweet adventure, let’s gather the ingredients for our Chocolate Cashew Clusters Recipe. I always believe that the quality of ingredients can make a world of difference in the final product. So, let’s make sure we have the best of the best!
Main Ingredients
- 1 cup of cashews – I prefer using raw or lightly salted cashews for a balanced flavor. You can also toast them lightly for an extra crunch!
- 1 cup of chocolate chips – Dark chocolate chips work wonderfully, but feel free to use milk or semi-sweet chocolate if that’s your preference. Just make sure they’re high-quality for the best taste!
- 1 tablespoon of coconut oil – This helps to smooth out the chocolate and gives it a lovely sheen. You can substitute it with butter if you prefer.
Optional Add-ons
- 1/2 teaspoon of vanilla extract – A splash of vanilla can elevate the flavor of the chocolate, adding a warm, inviting aroma.
- Pinch of sea salt – Sprinkling a little sea salt on top of the clusters before they set can enhance the sweetness and create a delightful contrast.
- Dried fruits or other nuts – If you want to get creative, consider adding dried cranberries, raisins, or even almonds for a twist on the classic recipe!
Now that we have our ingredients ready, it’s time to roll up our sleeves and get cooking! Remember, the beauty of this recipe lies in its flexibility. Feel free to mix and match based on your taste preferences. Let’s move on to the next step and start preparing our delicious clusters!
How to Prepare Chocolate Cashew Clusters Recipe
Now that we have our ingredients all lined up, it’s time to dive into the fun part—preparing our Chocolate Cashew Clusters! I can already smell the chocolate melting, and I can’t wait to share this delightful process with you. Let’s get started!
Step 1: Melting the Chocolate
The first step is to melt our chocolate chips. I usually opt for a double boiler method, which is a foolproof way to ensure the chocolate melts evenly without burning. If you don’t have a double boiler, you can use a microwave, but be sure to do it in short bursts to avoid overheating.
Tips for Melting Chocolate
- Stir the chocolate frequently while melting. This helps it melt evenly and prevents any clumps.
- If using a microwave, heat in 20-second intervals, stirring in between. This way, you can keep an eye on it and avoid any mishaps!
- Adding a tablespoon of coconut oil while melting can help achieve a smoother consistency.
Step 2: Mixing in the Cashews
Once your chocolate is beautifully melted and glossy, it’s time to mix in the cashews. I love the sound of the cashews clinking against the bowl as I pour them in. It’s like music to my ears! Gently fold the cashews into the chocolate until they are well-coated.
Tips for Mixing
- Use a spatula to fold the cashews into the chocolate. This helps to coat them evenly without breaking them.
- Don’t rush this step! Take your time to ensure every cashew gets a delicious chocolate hug.
- If you’re adding any optional ingredients like vanilla extract or dried fruits, now is the perfect time to toss them in!
Step 3: Forming the Clusters
Now comes the fun part—shaping our clusters! Using a spoon, scoop out a generous amount of the chocolate-cashew mixture and drop it onto a parchment-lined baking sheet. I like to make them about the size of a golf ball, but you can adjust the size to your liking.
Tips for Shaping Clusters
- Keep a bowl of warm water nearby to dip your spoon in. This prevents the chocolate from sticking to the spoon, making it easier to scoop.
- For a more rustic look, don’t worry about making them perfectly round. The irregular shapes add character!
- Leave some space between each cluster on the baking sheet. They will spread slightly as they set.
Step 4: Setting the Clusters
Once you’ve formed all your clusters, it’s time to let them set. I usually pop them in the fridge for about 30 minutes. The anticipation builds as I wait for them to harden, and I can hardly resist sneaking a taste!
Tips for Setting Time
- For quicker setting, you can place the baking sheet in the freezer for about 15 minutes.
- Make sure the clusters are completely set before trying to remove them from the parchment paper. This ensures they hold their shape.
- If you want to add a sprinkle of sea salt on top, do it right before they set. It adds a delightful touch!
And there you have it! The steps to create your very own Chocolate Cashew Clusters. I can already picture you enjoying these delightful treats with family and friends. Let’s keep the momentum going and check out the equipment we’ll need for this recipe!
Equipment Needed for Chocolate Cashew Clusters Recipe
Before we dive into the kitchen, let’s gather the essential tools for our Chocolate Cashew Clusters Recipe. Having the right equipment makes the process smoother and more enjoyable. Here’s what you’ll need:
- Double Boiler or Microwave-Safe Bowl – If you have a double boiler, it’s perfect for melting chocolate. If not, a microwave-safe bowl will do just fine. Just remember to melt in short bursts!
- Spatula – A good spatula is essential for mixing the chocolate and cashews. It helps to fold everything together without breaking the nuts.
- Baking Sheet – You’ll need a baking sheet lined with parchment paper to set your clusters. If you don’t have parchment paper, a silicone baking mat works as a great alternative.
- Spoon – A regular spoon or a cookie scoop will help you form those delightful clusters. If you want to get fancy, a small ice cream scoop can create perfectly shaped treats!
- Refrigerator or Freezer – This is where the magic happens! You’ll need a fridge or freezer to set your clusters and make them firm.
With these tools at your side, you’re all set to create your delicious Chocolate Cashew Clusters. Remember, cooking is all about improvisation, so feel free to use what you have on hand. Let’s keep the excitement going and move on to the next part of our sweet adventure!
Variations of Chocolate Cashew Clusters Recipe
As I’ve experimented with my Chocolate Cashew Clusters Recipe, I’ve discovered that there are endless ways to put a unique spin on these delightful treats. Each variation brings its own charm and flavor, making them even more fun to create and share. Here are a few of my favorite twists that you might want to try:
- Nutty Delight: Swap out some of the cashews for your favorite nuts, like almonds or pecans. This adds a different texture and flavor profile, making each bite a surprise!
- Fruity Fusion: Add dried fruits like cranberries, apricots, or cherries to the mix. The sweetness of the fruit pairs beautifully with the rich chocolate, creating a delightful contrast.
- Spicy Kick: For those who love a little heat, sprinkle in a pinch of cayenne pepper or chili powder. It’s a bold move, but the spicy-sweet combination is absolutely addictive!
- Peanut Butter Bliss: Drizzle some melted peanut butter over the clusters before they set. The creamy peanut butter adds a luscious layer of flavor that’s hard to resist.
- Minty Fresh: Incorporate a few drops of peppermint extract into the melted chocolate. This refreshing twist is perfect for the holiday season or any time you crave a cool treat.
These variations not only keep things exciting but also allow you to tailor the clusters to your taste preferences. I love how a simple recipe can transform into something new and delightful with just a few tweaks. So, don’t hesitate to get creative and make these clusters your own!
Cooking Notes for Chocolate Cashew Clusters Recipe
As I’ve whipped up my Chocolate Cashew Clusters time and time again, I’ve gathered a few cooking notes that can help you achieve the best results. These little tips can make a big difference in your final product, so let’s dive in!
- Storage: Once your clusters are set, store them in an airtight container. They can last up to two weeks at room temperature, but I bet they won’t last that long!
- Temperature Matters: Make sure your chocolate isn’t too hot when mixing in the cashews. If it’s too hot, it can cause the nuts to become soggy. Let it cool slightly before adding.
- Experiment with Chocolate: Don’t be afraid to mix different types of chocolate! A blend of dark and milk chocolate can create a delightful flavor balance.
- Keep it Clean: When melting chocolate, ensure your bowls and utensils are completely dry. Any moisture can cause the chocolate to seize up, turning it into a clumpy mess.
- Have Fun: Most importantly, enjoy the process! Cooking is about creativity and joy. Don’t stress if things don’t turn out perfectly; every batch is a new adventure!
With these cooking notes in your back pocket, you’re well on your way to creating delicious Chocolate Cashew Clusters that will impress everyone. Now, let’s move on to how to serve these delightful treats!
Serving Suggestions for Chocolate Cashew Clusters Recipe
Now that we’ve created our delicious Chocolate Cashew Clusters, it’s time to think about how to serve them! Presentation can elevate your treats from simple snacks to show-stopping delights. Here are a few serving suggestions that I absolutely love:
- Gift Boxes: Package your clusters in a beautiful box or tin, tied with a ribbon. It makes for a thoughtful gift for friends, family, or even as a treat for yourself!
- Party Platter: Arrange the clusters on a decorative platter for your next gathering. They make a fantastic addition to dessert tables or snack spreads, adding a touch of elegance.
- Ice Cream Topping: Crumble some clusters over a scoop of vanilla or chocolate ice cream. The combination of creamy ice cream and crunchy clusters is simply divine!
- Trail Mix: Toss the clusters into a homemade trail mix with dried fruits and other nuts. It’s a perfect on-the-go snack for hikes or road trips.
- With Coffee or Tea: Serve the clusters alongside a warm cup of coffee or tea. The rich chocolate pairs beautifully with the comforting flavors of your favorite beverage.
These serving ideas not only enhance the experience of enjoying your Chocolate Cashew Clusters but also allow you to share the joy with others. Whether it’s a cozy night in or a festive celebration, these clusters are sure to be a hit!
Tips for Perfecting Your Chocolate Cashew Clusters Recipe
As I’ve crafted my Chocolate Cashew Clusters over the years, I’ve picked up a few tips that can truly elevate your clusters from good to absolutely irresistible. These little nuggets of wisdom can make all the difference, so let’s dive in!
- Choose Quality Chocolate: The chocolate is the star of the show! Opt for high-quality chocolate chips or bars. The better the chocolate, the richer the flavor of your clusters.
- Don’t Overheat the Chocolate: When melting, keep a close eye on the temperature. Overheating can lead to a grainy texture. Remember, patience is key!
- Experiment with Textures: Consider adding a variety of nuts or even seeds for a delightful crunch. Mixing textures can make each bite a new experience.
- Chill Your Tools: If you find the chocolate is getting too sticky while forming clusters, try chilling your spoon or spatula in the fridge for a few minutes. It helps keep things neat!
- Let Them Set Properly: Allow your clusters to set completely before moving them. This ensures they hold their shape and gives you that satisfying crunch when you bite in.
With these tips in your culinary toolkit, you’re well on your way to creating the perfect Chocolate Cashew Clusters. Remember, cooking is all about having fun and experimenting, so don’t hesitate to make this recipe your own!
Breakdown of Time for Chocolate Cashew Clusters Recipe
As a home cook, I know that time management is key in the kitchen. When I whip up my Chocolate Cashew Clusters, I like to keep track of how long each step takes. This way, I can plan my cooking sessions better and enjoy the process without feeling rushed. Here’s a quick breakdown of the time you’ll need:
- Prep Time: 10 minutes – This includes gathering your ingredients, melting the chocolate, and mixing in the cashews. It’s a quick and enjoyable start to your sweet adventure!
- Cooking Time: 5 minutes – This is the time it takes to melt the chocolate and mix everything together. It’s all about that delicious chocolatey goodness!
- Total Time: 45 minutes – This includes the prep and cooking time, plus the setting time in the fridge. It’s a small investment for such delightful treats!
With this time breakdown, you can easily fit making these clusters into your day. Whether it’s a cozy afternoon or a fun weekend project, you’ll have these tasty snacks ready in no time. So, let’s keep the momentum going and dive into the nutritional information next!
Nutritional Information for Chocolate Cashew Clusters Recipe
As a passionate home cook, I always find it helpful to know the nutritional value of the treats I create. It allows me to enjoy them mindfully while sharing them with family and friends. Here’s a quick overview of the nutritional information for a serving of my Chocolate Cashew Clusters recipe, which typically yields about 12 clusters:
- Calories: Approximately 150 calories per cluster
- Protein: 3 grams
- Fat: 10 grams (mostly healthy fats from cashews)
- Carbohydrates: 12 grams
- Sugar: 6 grams (depending on the chocolate used)
- Fiber: 1 gram
These clusters are not only delicious but also provide a good source of healthy fats and protein from the cashews. Plus, they can satisfy your sweet cravings without the guilt! Just remember, moderation is key. Enjoying these delightful treats as part of a balanced diet can make your culinary adventures even more rewarding. Now, let’s move on to some frequently asked questions about this delightful recipe!
Frequently Asked Questions about Chocolate Cashew Clusters Recipe
As I’ve shared my Chocolate Cashew Clusters Recipe with friends and family, I’ve noticed a few common questions pop up. It’s always great to clarify any doubts and help fellow home cooks enjoy this delightful treat to the fullest. Here are some of the most frequently asked questions I’ve encountered:
Can I use different types of nuts?
Absolutely! While cashews are my favorite, you can easily swap them for other nuts like almonds, pecans, or walnuts. Each nut brings its own unique flavor and texture, so feel free to experiment!
How should I store the clusters?
Once your clusters are set, store them in an airtight container at room temperature. They can last up to two weeks, but I doubt they’ll stick around that long! If you live in a warm climate, consider refrigerating them to keep them fresh.
Can I make these clusters vegan?
Yes! To make your clusters vegan, simply use dairy-free chocolate chips and coconut oil. This way, you can enjoy the same delicious taste without any animal products.
What if my chocolate seizes while melting?
If your chocolate seizes, don’t panic! You can try adding a teaspoon of coconut oil or vegetable oil to help smooth it out. Just remember to melt it gently and avoid any moisture getting in.
Can I add flavors to the chocolate?
Definitely! Adding a splash of vanilla extract or a few drops of peppermint extract can elevate the flavor of your clusters. Just be careful not to overdo it; a little goes a long way!
How do I know when the clusters are set?
Your clusters are set when they feel firm to the touch and hold their shape. If you’re unsure, give them a little poke! If they feel solid, they’re ready to be enjoyed.
These questions reflect the curiosity and creativity that come with cooking. I love how sharing this recipe can spark conversations and inspire others to get into the kitchen. If you have any more questions or tips of your own, feel free to share! Now, let’s wrap up our sweet adventure with a conclusion that highlights the joy of making these delightful clusters.
Conclusion on Chocolate Cashew Clusters Recipe
As I reflect on my journey of creating Chocolate Cashew Clusters, I can’t help but smile at the joy they bring. This recipe is not just about combining chocolate and cashews; it’s about the love and creativity that goes into each bite. The simplicity of the ingredients allows anyone, regardless of cooking experience, to whip up a batch of these delightful treats.
What I adore most is how versatile these clusters are. You can customize them to suit your taste, whether you prefer a nutty crunch, a fruity twist, or a hint of spice. They’re perfect for any occasion, from cozy family gatherings to festive celebrations. Plus, they make for a thoughtful gift that shows you care.
In the end, making Chocolate Cashew Clusters is more than just a cooking task; it’s a sweet adventure filled with laughter, creativity, and deliciousness. So, gather your ingredients, roll up your sleeves, and dive into this delightful recipe. I promise you’ll create not just a treat, but a memory that you’ll cherish for years to come!
