
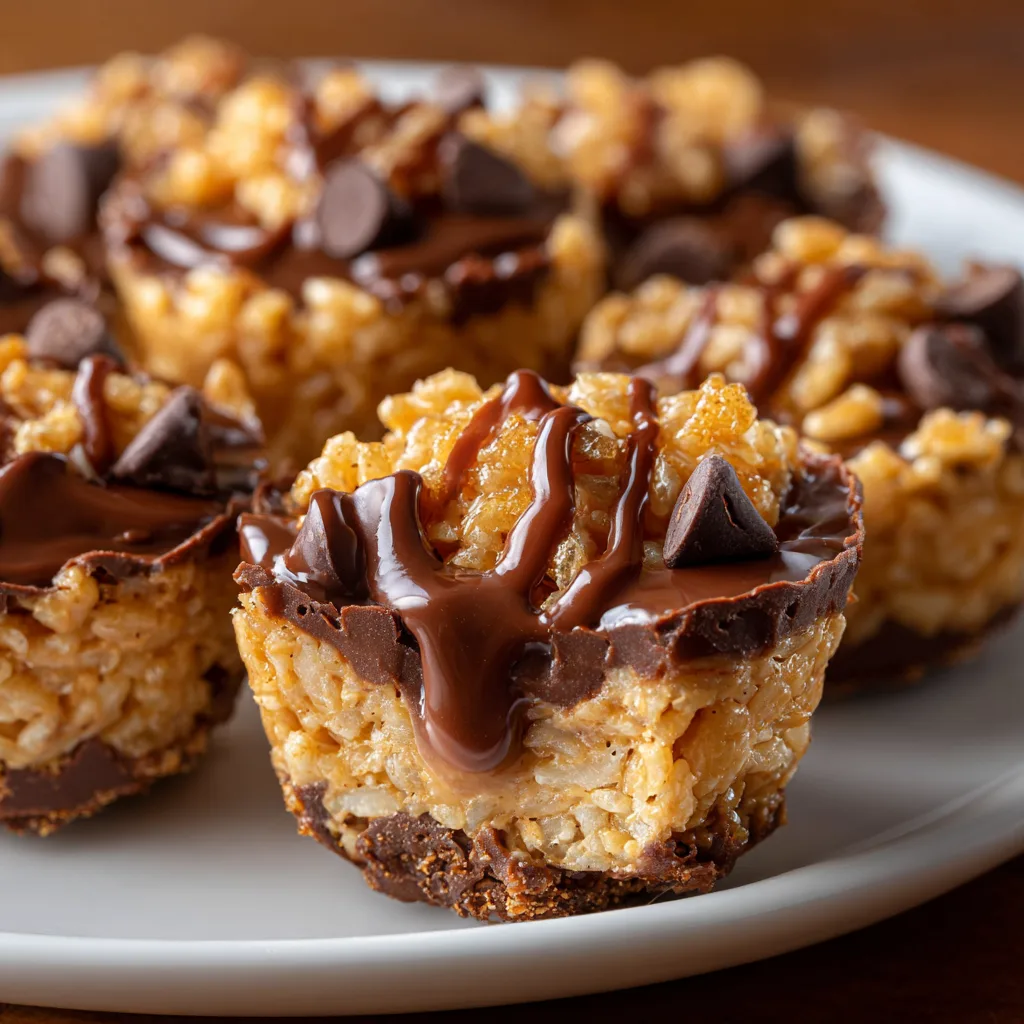
Introduction to Chocolate Peanut Butter Rice Krispie Cups
Hey there, fellow food lovers! If you’re anything like me, you know that life can get pretty hectic. Between juggling work, family, and everything in between, finding time to whip up a delightful treat can feel impossible. That’s where these Chocolate Peanut Butter Rice Krispie Cups come in! They’re not just easy to make; they’re a sweet solution for busy days or a fun way to impress your loved ones. With just a few simple ingredients, you can create a delicious dessert that will have everyone asking for seconds. Let’s dive in!
Why You’ll Love This Chocolate Peanut Butter Rice Krispie Cups
These Chocolate Peanut Butter Rice Krispie Cups are a dream come true for busy moms and professionals alike. They come together in just 15 minutes, making them a quick and satisfying treat. The combination of creamy peanut butter and rich chocolate is simply irresistible. Plus, they require no baking, so you can whip them up without heating your kitchen. Trust me, your taste buds will thank you!
Ingredients for Chocolate Peanut Butter Rice Krispie Cups
Gathering the right ingredients is the first step to creating these delightful Chocolate Peanut Butter Rice Krispie Cups. Here’s what you’ll need:
- Rice Krispies: These crispy rice cereal pieces provide the perfect crunch and texture.
- Creamy Peanut Butter: This adds a rich, nutty flavor. You can also use crunchy peanut butter for extra texture.
- Chocolate Chips: Melting these will create a luscious topping. Dark, milk, or even white chocolate can be used based on your preference.
- Honey: This natural sweetener binds everything together while adding a touch of sweetness.
- Vanilla Extract: A splash of this enhances the overall flavor, making it even more delicious.
Feel free to get creative! You can add nuts or dried fruit for an extra flavor boost. If you’re looking for a healthier option, consider using almond butter instead of peanut butter. For exact measurements, check the bottom of the article where you can find everything available for printing.
How to Make Chocolate Peanut Butter Rice Krispie Cups
Now that you have your ingredients ready, let’s get started on making these delightful Chocolate Peanut Butter Rice Krispie Cups. Follow these simple steps, and you’ll have a sweet treat in no time!
Step 1: Mix Rice Krispies and Peanut Butter
In a large bowl, combine the Rice Krispies and creamy peanut butter. Use a spatula or your hands to mix them together until they’re well combined. The peanut butter should coat the Rice Krispies evenly, creating a sticky, delicious mixture. This step is crucial, as it sets the foundation for your cups!
Step 2: Prepare the Honey Mixture
Next, grab a saucepan and pour in the honey. Heat it over medium heat until it starts to bubble gently. This usually takes just a couple of minutes. Once it’s bubbling, remove it from the heat and stir in the vanilla extract. The aroma will be heavenly! This mixture will help bind everything together.
Step 3: Combine Mixtures
Now, pour the warm honey mixture over the Rice Krispies and peanut butter. Use your spatula to mix everything together until the Rice Krispies are evenly coated. This step is where the magic happens! The warm honey helps the peanut butter stick, creating a deliciously gooey texture.
Step 4: Press into Molds
Take your greased muffin tin or silicone cups and start pressing the mixture into each mold. Make sure to pack it down firmly, so the cups hold their shape. You want them to be compact and sturdy. If you’re using silicone cups, they’ll pop out easily once set!
Step 5: Melt and Drizzle Chocolate
In a microwave-safe bowl, melt the chocolate chips. Heat them in 30-second intervals, stirring in between, until smooth. Once melted, drizzle the chocolate over the pressed Rice Krispie mixture. This adds a rich, decadent layer that takes these cups to the next level!
Step 6: Chill to Set
Finally, place your muffin tin or silicone cups in the refrigerator. Let them chill for at least 30 minutes to set. This step is essential, as it allows the chocolate to harden and the cups to hold their shape. Once set, they’re ready to be devoured!
Tips for Success
- Use a non-stick spray or oil to grease your muffin tin for easy removal.
- For a fun twist, try adding mini marshmallows or sprinkles to the mixture.
- Make sure the honey mixture is warm, as it helps bind the ingredients better.
- Let the chocolate cool slightly before drizzling to avoid melting the Rice Krispie cups.
- Store leftovers in an airtight container to keep them fresh and tasty.
Equipment Needed
- Muffin Tin: A standard muffin tin works great, but silicone cups are a fun alternative.
- Mixing Bowl: Any large bowl will do for mixing your ingredients.
- Spatula: A rubber spatula helps combine everything smoothly.
- Saucepan: Use a small saucepan for heating the honey.
- Microwave-Safe Bowl: Perfect for melting chocolate chips quickly.
Variations
- Nutty Delight: Add chopped nuts like almonds or walnuts for an extra crunch and flavor.
- Fruit Fusion: Mix in dried fruits such as cranberries or raisins for a chewy texture and natural sweetness.
- Chocolate Lovers: Use a combination of dark and milk chocolate chips for a richer chocolate experience.
- Healthier Option: Substitute honey with maple syrup or agave nectar for a vegan-friendly treat.
- Flavor Boost: Add a pinch of sea salt or a sprinkle of cinnamon to enhance the overall flavor profile.
Serving Suggestions
- Pair these Chocolate Peanut Butter Rice Krispie Cups with a glass of cold milk for a classic treat.
- Serve them alongside fresh fruit for a balanced snack.
- For a festive touch, arrange them on a colorful platter with sprinkles on top.
- Consider adding a scoop of vanilla ice cream for an indulgent dessert.
FAQs about Chocolate Peanut Butter Rice Krispie Cups
Can I make these Chocolate Peanut Butter Rice Krispie Cups ahead of time?
Absolutely! These cups can be made a day in advance. Just store them in an airtight container in the refrigerator. They’ll stay fresh and delicious!
What can I substitute for honey in this recipe?
If you’re looking for alternatives, maple syrup or agave nectar works well. Both will provide sweetness and help bind the ingredients together.
How do I store leftover Chocolate Peanut Butter Rice Krispie Cups?
Keep any leftovers in an airtight container in the fridge. They’ll stay tasty for up to a week, but I doubt they’ll last that long!
Can I use different types of chocolate?
Definitely! Feel free to mix it up with dark, milk, or even white chocolate. Each type will give a unique flavor to your Chocolate Peanut Butter Rice Krispie Cups.
Are these cups suitable for kids?
Yes! These treats are kid-friendly and perfect for parties or after-school snacks. Just be mindful of any nut allergies if you’re using peanut butter.
Final Thoughts
Creating these Chocolate Peanut Butter Rice Krispie Cups is more than just making a dessert; it’s about bringing joy to your kitchen and smiles to your family’s faces. The delightful combination of flavors and textures makes each bite a little celebration. Whether you’re enjoying them after a long day or sharing them at a gathering, these cups are sure to impress. Plus, they’re so easy to make that you’ll find yourself whipping them up again and again. So, grab your ingredients and let the sweet magic unfold in your home!
Print
Chocolate Peanut Butter Rice Krispie Cups that Wow!
- Total Time: 40 minutes
- Yield: 12 cups 1x
- Diet: Vegetarian
Description
Delicious and easy-to-make Chocolate Peanut Butter Rice Krispie Cups that are perfect for a sweet treat.
Ingredients
- 3 cups Rice Krispies
- 1 cup creamy peanut butter
- 1 cup chocolate chips
- 1/2 cup honey
- 1/2 teaspoon vanilla extract
Instructions
- In a large bowl, mix together the Rice Krispies and peanut butter until well combined.
- In a saucepan, heat honey over medium heat until it starts to bubble, then remove from heat and stir in vanilla extract.
- Pour the honey mixture over the Rice Krispies and peanut butter, and mix until evenly coated.
- Press the mixture into a greased muffin tin or silicone cups.
- Melt the chocolate chips in a microwave or double boiler, then drizzle over the pressed Rice Krispie mixture.
- Refrigerate for at least 30 minutes to set before serving.
Notes
- For a crunchier texture, use crunchy peanut butter.
- Store in an airtight container in the refrigerator for up to a week.
- Feel free to add nuts or dried fruit for extra flavor.
- Prep Time: 15 minutes
- Cook Time: 5 minutes
- Category: Dessert
- Method: No-Bake
- Cuisine: American
Nutrition
- Serving Size: 1 cup
- Calories: 150
- Sugar: 10g
- Sodium: 50mg
- Fat: 7g
- Saturated Fat: 2g
- Unsaturated Fat: 5g
- Trans Fat: 0g
- Carbohydrates: 20g
- Fiber: 1g
- Protein: 3g
- Cholesterol: 0mg
Keywords: Chocolate Peanut Butter Rice Krispie Cups, dessert, no-bake treats
