
Introduction to Classic Dutch Baby Pancake Recipe
Ah, the classic Dutch baby pancake! Just the name brings a smile to my face. I remember the first time I tried making one. It was a chilly Sunday morning, and I wanted something special to warm up the kitchen and my family’s hearts. I stumbled upon this delightful recipe, and little did I know, it would become a cherished tradition in my home.
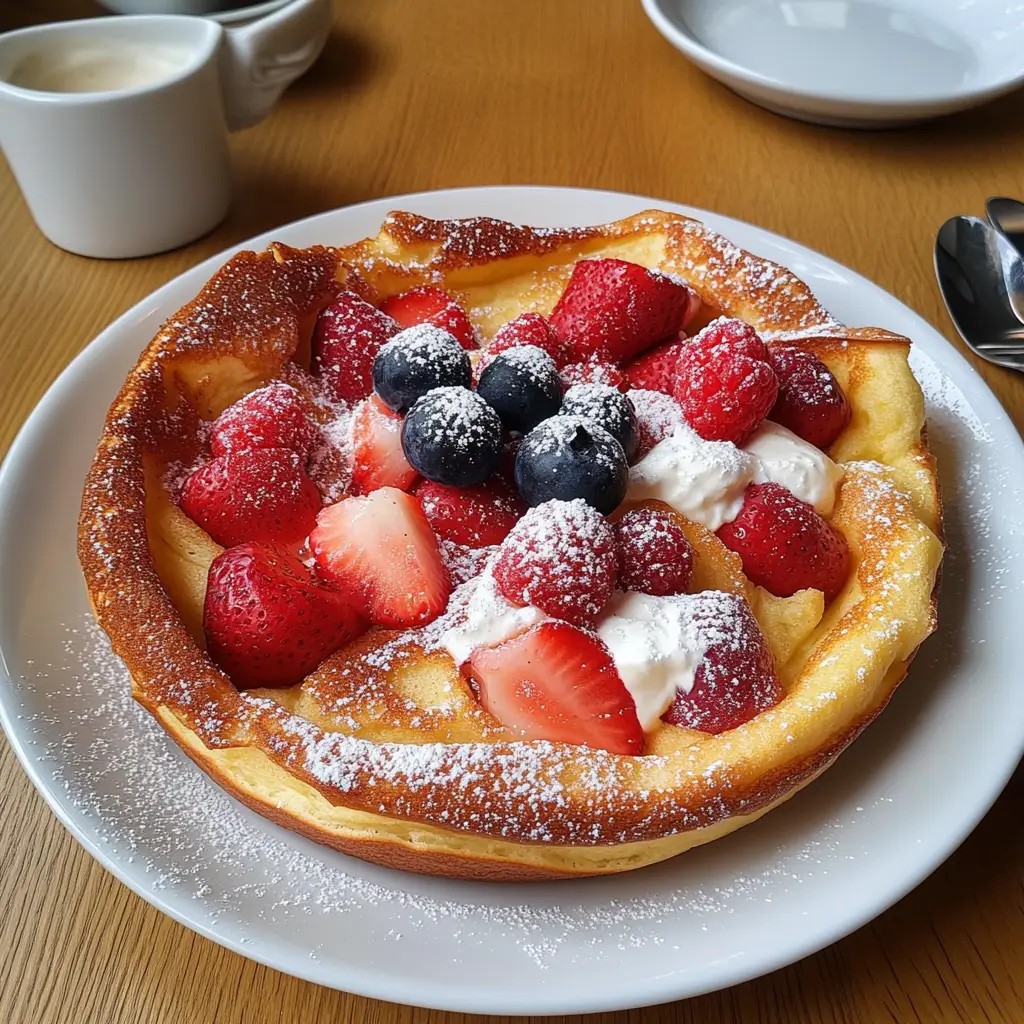
The Dutch baby pancake, also known as a German pancake, is a fluffy, oven-baked pancake that puffs up beautifully in the oven. It’s like a giant, airy cloud of deliciousness that you can top with anything your heart desires. I love how it transforms from a simple batter into a stunning centerpiece for breakfast or brunch. The best part? It’s incredibly easy to make, which is a huge win for busy mornings!
As I whisked the ingredients together, I felt a sense of excitement. The batter was so simple—just eggs, flour, milk, and a pinch of salt. But when it baked, oh my goodness! The aroma filled my kitchen, and I could hardly wait to dig in. I remember serving it with a dusting of powdered sugar and a drizzle of maple syrup, and my family’s eyes lit up with joy. It was a moment I’ll never forget.
In this article, I’ll share my favorite classic Dutch baby pancake recipe with you. I’ll guide you through each step, sprinkle in some tips, and even share a few variations to keep things interesting. Whether you’re a seasoned cook or just starting out, I promise you’ll find this recipe both fun and rewarding. So, let’s get started on this culinary adventure together!
Ingredients for Classic Dutch Baby Pancake Recipe
Before we dive into the cooking process, let’s gather our ingredients. I always find that having everything ready makes the cooking experience smoother and more enjoyable. Here’s what you’ll need for a delightful classic Dutch baby pancake.
Main Ingredients
- 3 large eggs: Fresh eggs are key! They help create that fluffy texture we all love.
- 1 cup all-purpose flour: I prefer using unbleached flour for a richer flavor.
- 1 cup whole milk: Whole milk gives the pancake a creamy taste, but you can use 2% if that’s what you have.
- 1/4 teaspoon salt: Just a pinch to enhance the flavors.
- 1 teaspoon vanilla extract: This adds a lovely aroma and sweetness to the batter.
- 4 tablespoons unsalted butter: Melted, for that golden, crispy edge. I always use high-quality butter for the best results.
Optional Add-ons
Now, let’s talk about some fun ways to customize your Dutch baby pancake! These add-ons can elevate your dish and make it even more special:
- Fresh fruits: Berries, sliced bananas, or even apples sautéed in cinnamon can add a burst of flavor.
- Powdered sugar: A light dusting on top makes it look fancy and adds a touch of sweetness.
- Maple syrup or honey: Drizzling some syrup or honey over the pancake is a must for that sweet finish.
- Nuts: Chopped pecans or walnuts can add a delightful crunch.
- Yogurt or whipped cream: For a creamy topping that pairs beautifully with the pancake.
When I make this pancake, I love to experiment with different toppings. Sometimes, I’ll go for a berry medley, while other times, I’ll keep it classic with just syrup. The possibilities are endless, and that’s what makes this recipe so exciting!
How to Prepare Classic Dutch Baby Pancake Recipe
Now that we have our ingredients ready, it’s time to bring this classic Dutch baby pancake to life! I love the thrill of cooking, and this recipe is no exception. Follow these simple steps, and you’ll be rewarded with a fluffy, golden pancake that’s sure to impress. Let’s get started!
Step 1: Preheat the Oven
The first step is to preheat your oven to 425°F (220°C). This high temperature is crucial for achieving that beautiful puffiness we all adore.
Tips for Preheating
- Make sure your oven is fully preheated before placing the pancake inside. This helps it rise properly.
- If you have a cast-iron skillet, now is the time to place it in the oven to heat up. It will create a lovely crispy edge!
Step 2: Blend the Batter
Next, it’s time to blend the batter. In a mixing bowl, combine the eggs, flour, milk, salt, and vanilla extract. I usually use a whisk, but a blender works wonders too!
Tips for Blending
- Blend until the mixture is smooth and free of lumps. A few small lumps are okay, but you want a mostly smooth batter.
- Don’t overmix! Just blend until combined to keep the pancake light and airy.
Step 3: Prepare the Baking Dish
Now, let’s prepare our baking dish. If you’re using a cast-iron skillet, carefully remove it from the oven (it will be hot!). Add the melted butter and swirl it around to coat the bottom.
Tips for Greasing
- Make sure the butter is evenly distributed. This will help the pancake cook evenly and prevent sticking.
- If you don’t have a cast-iron skillet, a 9×13-inch baking dish works just as well!
Step 4: Bake the Pancake
Pour the batter into the prepared dish and place it back in the oven. Bake for about 20-25 minutes, or until the edges are golden brown and puffed up.
Tips for Baking
- Resist the urge to open the oven door while it’s baking! This can cause the pancake to deflate.
- Keep an eye on it during the last few minutes to ensure it doesn’t over-bake.
Step 5: Serve Immediately
Once your pancake is beautifully puffed and golden, it’s time to serve! Carefully remove it from the oven and let it cool for just a minute.
Tips for Serving
- Slice it into wedges and serve it warm. I love to top mine with fresh fruits, a sprinkle of powdered sugar, and a drizzle of maple syrup.
- Don’t forget to enjoy it right away! The pancake is best served fresh out of the oven while it’s still fluffy.
And there you have it! A classic Dutch baby pancake that’s not only easy to make but also a feast for the eyes and taste buds. I can’t wait for you to try it!
Equipment Needed for Classic Dutch Baby Pancake Recipe
Before we dive into the kitchen, let’s make sure we have the right tools at our disposal. Having the right equipment can make all the difference in your cooking experience. Here’s what you’ll need to whip up this delightful classic Dutch baby pancake:
- Oven: A reliable oven is essential for baking. If you have a convection oven, it can help the pancake rise even more!
- Cast-iron skillet or baking dish: I love using a cast-iron skillet for that crispy edge, but a 9×13-inch baking dish works just as well. If you don’t have either, a regular oven-safe pan will do the trick!
- Mixing bowl: A medium-sized bowl is perfect for blending the batter. I often use a glass bowl so I can see the consistency as I mix.
- Whisk or blender: A whisk is my go-to for mixing, but if you prefer a smoother batter, a blender can make quick work of it.
- Measuring cups and spoons: Accurate measurements are key to a successful pancake. I always keep my measuring tools handy!
- Spatula: A spatula is great for serving and slicing the pancake once it’s baked.
Don’t worry if you don’t have all the fancy tools. The beauty of this recipe is its simplicity. As long as you have a way to mix and bake, you’re all set to create a delicious classic Dutch baby pancake!
Variations of Classic Dutch Baby Pancake Recipe
One of the things I adore about the classic Dutch baby pancake is its versatility. It’s like a blank canvas, just waiting for your creative touch! Over the years, I’ve experimented with different flavors and toppings, and I’m excited to share some of my favorite variations with you.
First up, there’s the lemon ricotta Dutch baby. By adding ricotta cheese and a splash of lemon juice to the batter, you get a light and zesty twist. It’s perfect for those sunny mornings when you want something refreshing!
If you’re a chocolate lover like me, try a chocolate chip Dutch baby. Just fold in some mini chocolate chips into the batter before baking. The melted chocolate creates little pockets of gooey goodness that are simply irresistible.
For a more savory option, consider a spinach and feta Dutch baby. Add some sautéed spinach and crumbled feta cheese to the batter for a delightful brunch dish that’s packed with flavor. It’s a great way to sneak in some greens!
Lastly, don’t forget about seasonal fruits! In the fall, I love to top my Dutch baby with roasted pears and a sprinkle of cinnamon. In the summer, fresh peaches or berries make for a delightful topping. The options are endless, and each variation brings its own unique charm to the table.
So, whether you stick to the classic recipe or venture into these delicious variations, I promise you’ll create something special every time. Happy cooking!
Cooking Notes for Classic Dutch Baby Pancake Recipe
As I’ve journeyed through the world of cooking, I’ve learned that a few extra notes can make all the difference in the kitchen. Here are some cooking tips that I’ve gathered over the years to ensure your classic Dutch baby pancake turns out perfectly every time.
- Room Temperature Ingredients: For the best results, use room temperature eggs and milk. This helps the batter blend smoothly and rise beautifully in the oven.
- Don’t Skip the Butter: The melted butter not only adds flavor but also creates that crispy edge we all love. Make sure to coat the pan well!
- Watch the Baking Time: Every oven is different, so keep an eye on your pancake as it bakes. You want it puffed and golden, not overcooked.
- Serve Fresh: This pancake is best enjoyed right out of the oven. It will start to deflate as it cools, so gather your toppings and serve it immediately!
- Experiment with Flavors: Don’t hesitate to play around with spices like cinnamon or nutmeg in the batter. A little twist can elevate the flavor profile!
These simple notes have helped me create countless delicious Dutch baby pancakes, and I hope they inspire you too. Cooking is all about having fun and making it your own, so don’t be afraid to get creative!
Serving Suggestions for Classic Dutch Baby Pancake Recipe
Now that your classic Dutch baby pancake is baked to perfection, it’s time to think about how to serve it! I always find that the way you present your dish can make it even more enjoyable. Here are some of my favorite serving suggestions that will surely impress your family and friends.
- Fruit Medley: I love to top my pancake with a colorful array of fresh fruits. Berries, sliced bananas, or even peaches add a burst of flavor and a pop of color. It’s like a little fruit party on your plate!
- Sweet Drizzles: A drizzle of warm maple syrup or honey is a must! It seeps into the fluffy pancake, making every bite a sweet delight. You can also try flavored syrups like blueberry or caramel for a fun twist.
- Whipped Cream: A dollop of whipped cream adds a creamy touch that pairs beautifully with the pancake. Sometimes, I even sprinkle a bit of cinnamon on top for an extra flavor kick!
- Nuts and Seeds: For a crunchy texture, sprinkle some chopped nuts or seeds on top. Pecans, walnuts, or even sunflower seeds add a delightful crunch that contrasts nicely with the soft pancake.
- Yogurt Delight: A scoop of Greek yogurt can add a tangy flavor and creaminess. It’s a great way to balance the sweetness and make the dish feel a bit more wholesome.
When I serve my Dutch baby pancake, I like to set up a little topping station. This way, everyone can customize their pancake just the way they like it! It turns breakfast into a fun and interactive experience. So, gather your favorite toppings and enjoy this delicious creation with your loved ones!
Tips for Perfecting Classic Dutch Baby Pancake Recipe
As I’ve whipped up countless classic Dutch baby pancakes, I’ve gathered a treasure trove of tips that can help you achieve pancake perfection. These little nuggets of wisdom can elevate your cooking game and ensure that your pancake turns out fluffy and delicious every time. Let’s dive into my favorite tips!
- Use Fresh Ingredients: Fresh eggs and milk make a world of difference. They contribute to that light, airy texture we all crave. I always check the expiration dates before I start!
- Preheat Your Skillet: If you’re using a cast-iron skillet, preheating it in the oven is essential. This step helps create that crispy edge that contrasts beautifully with the soft center.
- Don’t Overmix: When blending the batter, mix just until combined. Overmixing can lead to a dense pancake, and we want it to be fluffy like a cloud!
- Keep an Eye on the Oven: Every oven is unique, so keep a close watch on your pancake as it bakes. You want it puffed and golden, not burnt. A little patience goes a long way!
- Serve Immediately: This pancake is best enjoyed fresh out of the oven. It will start to deflate as it cools, so gather your toppings and dig in right away!
With these tips in your back pocket, you’re well on your way to mastering the classic Dutch baby pancake. Cooking is all about experimenting and having fun, so don’t hesitate to make it your own. Happy cooking!
Breakdown of Time for Classic Dutch Baby Pancake Recipe
Time is of the essence in the kitchen, especially when you’re eager to enjoy a delicious classic Dutch baby pancake! I always find it helpful to know how long each step will take. Here’s a quick breakdown of the time you’ll need to whip up this delightful dish:
- Prep Time: 10 minutes. This includes gathering your ingredients, preheating the oven, and blending the batter. It’s a breeze!
- Cooking Time: 20-25 minutes. This is when the magic happens! Your pancake will puff up and turn golden brown in the oven.
- Total Time: 30-35 minutes. In just over half an hour, you’ll have a stunning pancake ready to serve!
Knowing the time breakdown helps me plan my mornings better. I can set the table, brew some coffee, and get everything ready while the pancake bakes. It’s all about making the most of your time in the kitchen, and this classic Dutch baby pancake is a perfect way to do just that!
Nutritional Information for Classic Dutch Baby Pancake Recipe
As a passionate home cook, I always like to know what I’m serving my family. Understanding the nutritional information of the classic Dutch baby pancake helps me make informed choices. Here’s a quick overview of the nutrition you can expect from one serving of this delightful pancake, which typically serves four:
- Calories: Approximately 200-250 calories per serving, depending on the toppings you choose.
- Protein: About 8 grams, thanks to the eggs and milk, which are great for muscle repair and growth.
- Carbohydrates: Roughly 30 grams, primarily from the flour and milk, providing a good source of energy.
- Fat: Around 10-12 grams, mainly from the butter, which adds flavor and helps with the pancake’s texture.
- Sugar: If you add toppings like syrup or powdered sugar, the sugar content will increase, so keep that in mind!
While this pancake is a treat, it’s also versatile. You can make it healthier by using whole grain flour or adding fruits for extra vitamins and fiber. I love to top mine with fresh berries, which not only enhance the flavor but also boost the nutritional value. So, enjoy this classic Dutch baby pancake guilt-free, knowing you can customize it to fit your dietary needs!
Frequently Asked Questions about Classic Dutch Baby Pancake Recipe
As I’ve shared my love for the classic Dutch baby pancake, I’ve noticed that many people have similar questions. It’s always great to clarify any doubts, especially when it comes to cooking. Here are some of the most frequently asked questions I’ve encountered, along with my answers to help you on your culinary journey!
Can I make the batter ahead of time?
While I love the excitement of making the batter fresh, you can prepare it ahead of time. Just keep it in the fridge for up to an hour before baking. However, I recommend giving it a quick whisk before pouring it into the hot skillet to ensure it’s well combined.
What if I don’t have a cast-iron skillet?
No worries at all! A regular oven-safe baking dish works perfectly. I’ve used both, and they yield delicious results. Just make sure to preheat the dish with the butter, so you still get that crispy edge!
Can I use alternative flours?
Absolutely! I’ve experimented with whole wheat flour and even gluten-free blends. Just keep in mind that the texture may vary slightly, but it’s a fun way to make the pancake fit your dietary preferences.
How do I store leftovers?
If you happen to have any leftovers (which is rare in my house!), you can store them in an airtight container in the fridge for up to two days. To reheat, pop them in the oven at a low temperature until warmed through. They may not be as fluffy, but they’ll still taste great!
Can I double the recipe?
Yes, you can double the recipe! Just make sure to use a larger baking dish or two separate skillets. Keep an eye on the baking time, as it may vary slightly with a larger batch.
These questions are just a few of the common ones I’ve encountered while sharing my classic Dutch baby pancake recipe. Cooking is all about learning and experimenting, so don’t hesitate to reach out if you have more questions. I’m here to help you create delicious memories in the kitchen!
Conclusion on Classic Dutch Baby Pancake Recipe
As I wrap up this delightful journey into the world of classic Dutch baby pancakes, I can’t help but feel a sense of joy. This recipe is more than just a dish; it’s a celebration of simplicity and creativity in the kitchen. The way it transforms from a humble batter into a magnificent, puffy pancake is nothing short of magical.
What I love most about the classic Dutch baby pancake is its versatility. Whether you’re serving it for a cozy family breakfast or a festive brunch with friends, it never fails to impress. Plus, the ease of preparation means you can whip it up even on the busiest of mornings. With just a handful of ingredients, you can create a stunning centerpiece that invites everyone to gather around the table.
So, whether you stick to the classic version or explore the many variations, I encourage you to make this recipe your own. Experiment with toppings, flavors, and even the batter itself. The possibilities are endless, and each pancake tells a story of love and creativity. I can’t wait for you to experience the joy of making and sharing this classic Dutch baby pancake with your loved ones. Happy cooking!
