
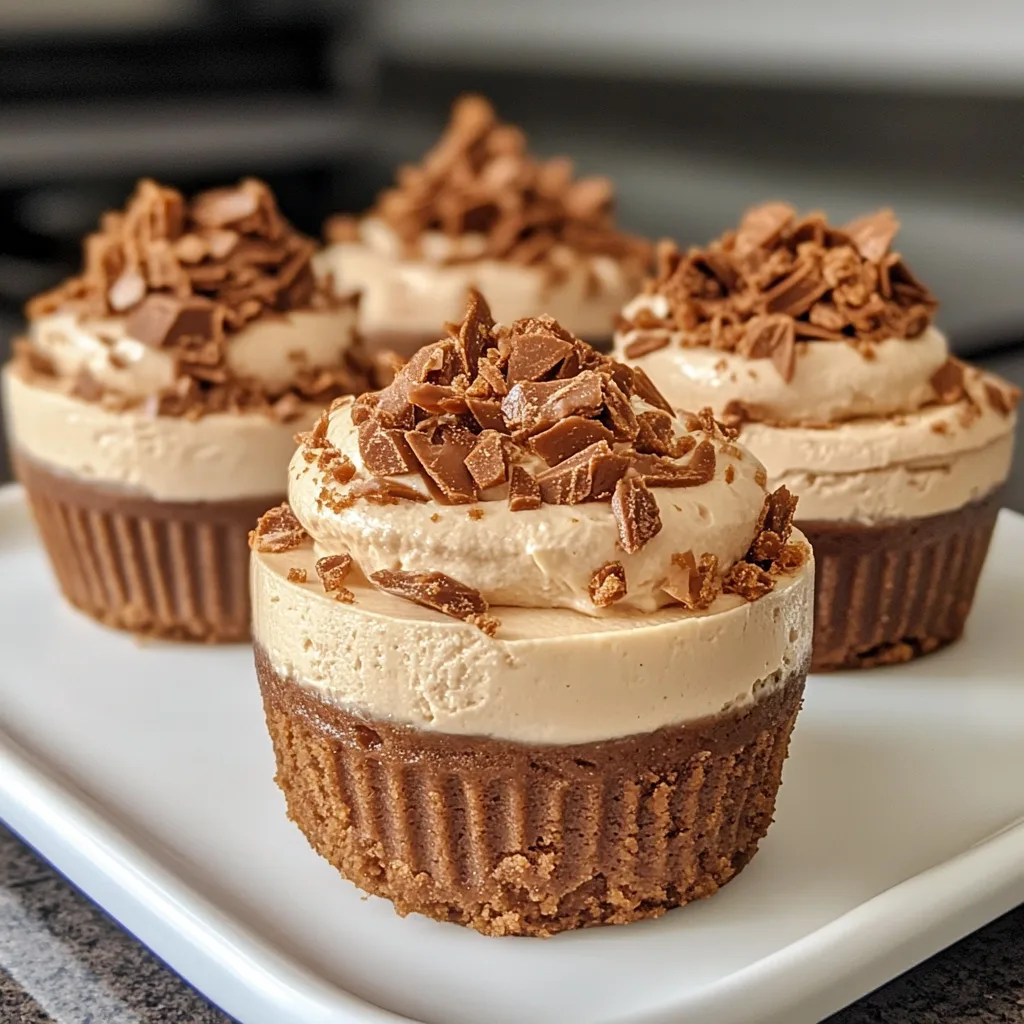
Introduction to Cookie Butter Cheesecake Cups
Hey there, fellow dessert lovers! If you’re anything like me, you know that life can get pretty hectic. Between juggling work, family, and everything in between, finding time to whip up a delightful treat can feel impossible. That’s where these Cookie Butter Cheesecake Cups come in! They’re the perfect solution for a busy day, offering a creamy, indulgent dessert that’s as easy to make as it is to enjoy. Imagine impressing your loved ones with these little cups of joy, all while keeping your sanity intact. Trust me, you’ll want to keep this recipe close!
Why You’ll Love This Cookie Butter Cheesecake Cups
These Cookie Butter Cheesecake Cups are a dream come true for busy moms and professionals alike. They come together in just 20 minutes, making them a quick and satisfying dessert option. The rich, creamy flavor of cookie butter paired with the lightness of cheesecake creates a taste sensation that’s hard to resist. Plus, they’re no-bake, so you can skip the oven and enjoy a hassle-free treat!
Ingredients for Cookie Butter Cheesecake Cups
Let’s gather our ingredients for these delightful Cookie Butter Cheesecake Cups. Each component plays a vital role in creating that creamy, dreamy texture and flavor. Here’s what you’ll need:
- Cream cheese: This is the base of our cheesecake, providing that rich and creamy texture.
- Cookie butter: The star of the show! It adds a sweet, spiced flavor that’s simply irresistible.
- Powdered sugar: This sweetens the mixture and helps achieve a smooth consistency.
- Whipped cream: Lightens up the cheesecake, giving it that airy feel we all love.
- Vanilla extract: A splash of this adds depth and enhances the overall flavor.
- Crushed cookies: These form the crust, adding a delightful crunch. You can use any cookies you love!
- Melted butter: This binds the crushed cookies together, creating a sturdy base for our cups.
For those looking for alternatives, feel free to use gluten-free cookies for the crust if needed. And if you’re short on time, you can prepare these cups a day in advance. Just remember, the exact quantities are listed at the bottom of the article for easy printing!
How to Make Cookie Butter Cheesecake Cups
Now that we have our ingredients ready, let’s dive into the fun part: making these Cookie Butter Cheesecake Cups! Follow these simple steps, and you’ll have a delightful dessert that’s sure to impress.
Step 1: Prepare the Cheesecake Mixture
Start by grabbing a mixing bowl. Combine the softened cream cheese, cookie butter, and powdered sugar. Use a hand mixer or a whisk to blend everything until it’s smooth and creamy. This is where the magic begins! The cookie butter will add a lovely flavor that makes your taste buds dance.
Step 2: Fold in Whipped Cream
Next, gently fold in the whipped cream and vanilla extract. This step is crucial for achieving that light, airy texture we all adore in cheesecake. Be careful not to overmix; you want to keep that fluffiness intact. Just think of it as giving your cheesecake a cozy hug!
Step 3: Make the Cookie Crust
In another bowl, mix the crushed cookies with melted butter. This mixture will form the crust for your cups. Stir until the cookies are well-coated and crumbly. It should resemble wet sand. This crust will add a delightful crunch that perfectly complements the creamy filling.
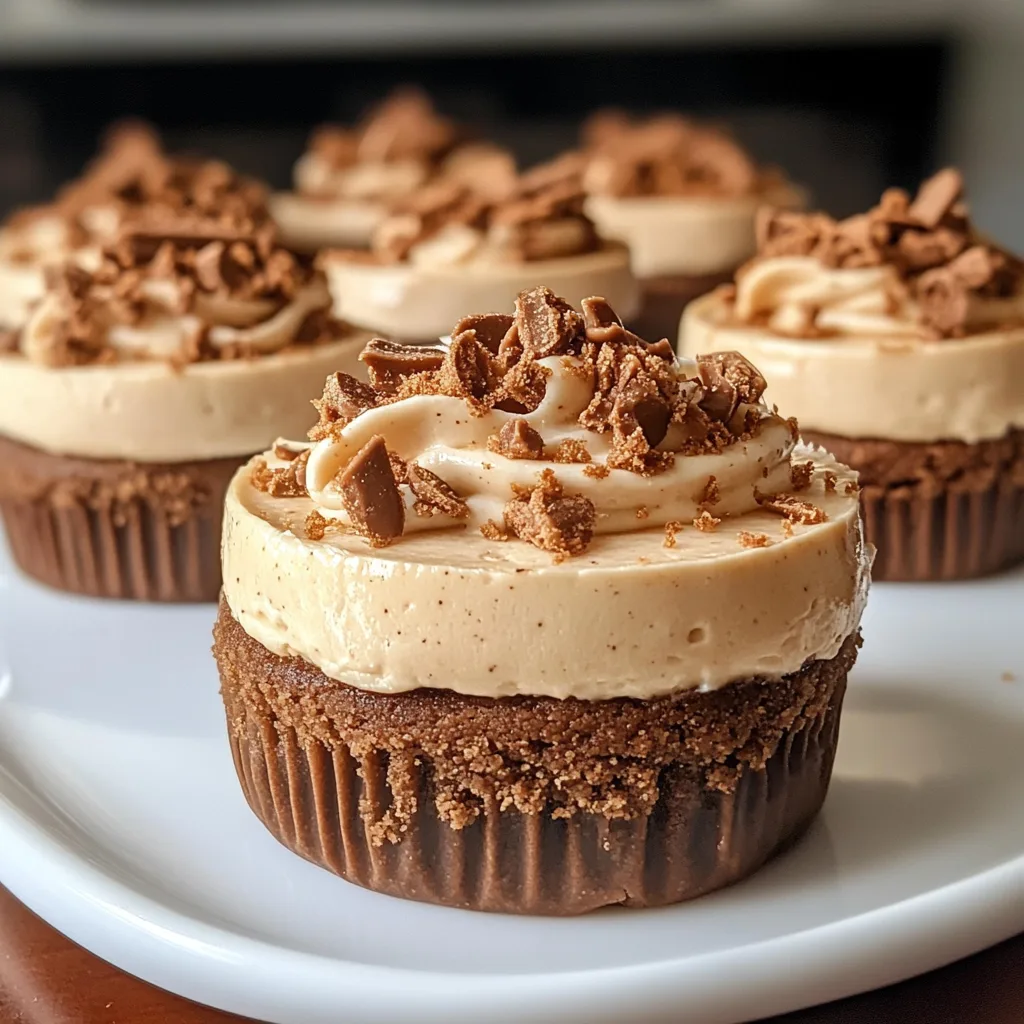
Step 4: Assemble the Cups
Now it’s time to assemble! Take your serving cups and press the cookie mixture firmly into the bottom. This creates a sturdy base for your cheesecake. Once the crust is set, fill each cup with the cheesecake mixture, smoothing the top with a spatula. Don’t be shy; pile it high!
Step 5: Chill and Set
Pop the cups into the refrigerator and let them chill for at least 2 hours. This step is essential for allowing the flavors to meld together beautifully. Plus, it gives the cheesecake time to set up nicely. While you wait, you can daydream about how delicious they’ll be!
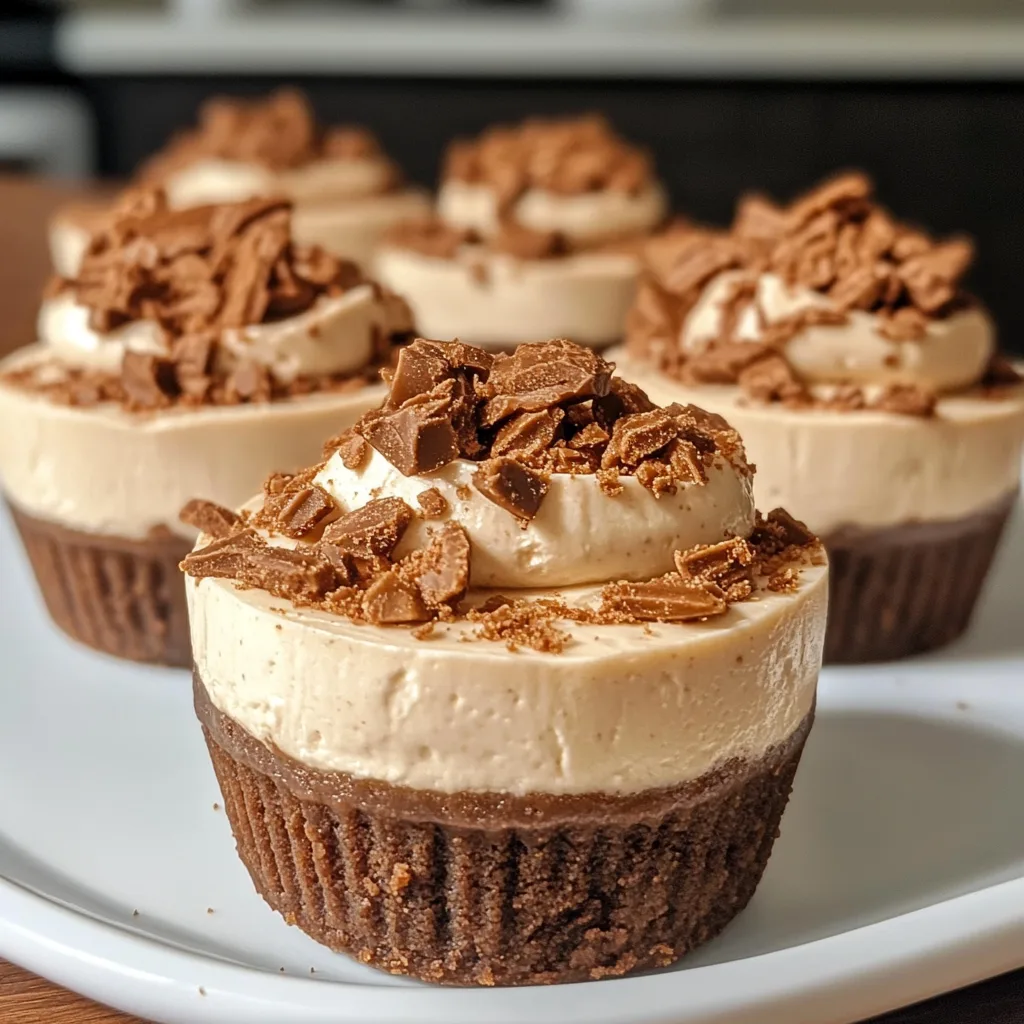
Step 6: Garnish and Serve
Finally, it’s time to add the finishing touches! Before serving, drizzle a little extra cookie butter on top or sprinkle some crushed cookies for a decorative flair. This not only looks beautiful but also adds an extra layer of flavor. Now, dig in and enjoy your homemade Cookie Butter Cheesecake Cups!
Tips for Success
- Make sure your cream cheese is softened for easy mixing.
- Use a rubber spatula to fold in the whipped cream gently.
- Press the cookie crust firmly to avoid crumbling when serving.
- Chill the cups overnight for even better flavor.
- Experiment with different cookie flavors for the crust!
Equipment Needed
- Mixing bowls: Any size will do, but a medium bowl works best for the cheesecake mixture.
- Hand mixer or whisk: A hand mixer makes it easier, but a whisk can work if you’re feeling strong!
- Spatula: Perfect for folding in whipped cream and smoothing the cheesecake.
- Serving cups: Use small cups or jars for a charming presentation.
Variations
- Chocolate Cookie Butter Cheesecake Cups: Swap out the regular cookies for chocolate cookies to add a rich twist.
- Nutty Delight: Mix in some chopped nuts like pecans or walnuts for added crunch and flavor.
- Fruit Topping: Top with fresh berries or sliced bananas for a fruity contrast to the creamy cheesecake.
- Vegan Option: Use vegan cream cheese and coconut whipped cream for a plant-based version.
- Spiced Up: Add a pinch of cinnamon or nutmeg to the cheesecake mixture for a warm, spiced flavor.
Serving Suggestions
- Pair with a hot cup of coffee or tea for a delightful afternoon treat.
- Serve alongside fresh fruit like strawberries or raspberries for a refreshing contrast.
- Present in clear jars for a charming, rustic look at gatherings.
- Drizzle with chocolate sauce for an extra indulgent touch.
FAQs about Cookie Butter Cheesecake Cups
As you embark on your journey to create these delightful Cookie Butter Cheesecake Cups, you might have a few questions. Here are some common queries I’ve encountered, along with helpful answers to guide you along the way!
Can I make these Cookie Butter Cheesecake Cups ahead of time?
Absolutely! In fact, making them a day in advance allows the flavors to meld beautifully. Just store them in the refrigerator until you’re ready to serve.
What can I use instead of cookie butter?
If you can’t find cookie butter, you can substitute it with peanut butter or Nutella for a different flavor profile. Just keep in mind that it will change the overall taste!
How long do leftovers last?
Leftovers can be stored in the refrigerator for up to 3 days. Just make sure to cover them well to keep them fresh and delicious!
Can I freeze these cheesecake cups?
While I recommend enjoying them fresh, you can freeze the cups for up to a month. Just thaw them in the fridge before serving for the best texture.
What’s the best way to serve these cups?
For a charming presentation, serve them in clear jars or cups. You can also garnish with extra cookie butter or fresh fruit for a pop of color and flavor!
Final Thoughts
Creating these Cookie Butter Cheesecake Cups is more than just making a dessert; it’s about bringing joy to your kitchen and your loved ones. The creamy, dreamy texture combined with the rich flavor of cookie butter is a delightful experience that everyone will cherish. Whether you’re celebrating a special occasion or simply treating yourself after a long day, these cups are sure to bring smiles all around. So, roll up your sleeves, gather your ingredients, and let the magic happen. Trust me, you’ll be savoring every last bite and wishing you had made more!
Print
Cookie Butter Cheesecake Cups: Indulge in a Sweet Delight!
- Total Time: 2 hours 20 minutes
- Yield: 6 servings 1x
- Diet: Vegetarian
Description
Cookie Butter Cheesecake Cups are a delicious and indulgent dessert that combines the creamy texture of cheesecake with the rich flavor of cookie butter, all served in convenient cup form.
Ingredients
- 8 oz cream cheese, softened
- 1/2 cup cookie butter
- 1/2 cup powdered sugar
- 1 cup whipped cream
- 1 tsp vanilla extract
- 1/2 cup crushed cookies (for crust)
- 1/4 cup melted butter (for crust)
Instructions
- In a mixing bowl, combine the softened cream cheese, cookie butter, and powdered sugar until smooth.
- Fold in the whipped cream and vanilla extract until well combined.
- In another bowl, mix the crushed cookies with melted butter to form the crust.
- Press the cookie mixture into the bottom of serving cups.
- Fill the cups with the cheesecake mixture, smoothing the top.
- Chill in the refrigerator for at least 2 hours before serving.
- Garnish with additional cookie butter or crushed cookies if desired.
Notes
- For a gluten-free version, use gluten-free cookies for the crust.
- These cups can be made a day in advance for convenience.
- Store leftovers in the refrigerator for up to 3 days.
- Prep Time: 20 minutes
- Cook Time: 0 minutes
- Category: Dessert
- Method: No-bake
- Cuisine: American
Nutrition
- Serving Size: 1 cup
- Calories: 300
- Sugar: 20g
- Sodium: 150mg
- Fat: 20g
- Saturated Fat: 10g
- Unsaturated Fat: 8g
- Trans Fat: 0g
- Carbohydrates: 30g
- Fiber: 1g
- Protein: 3g
- Cholesterol: 40mg
Keywords: Cookie Butter, Cheesecake, Dessert, No-bake, Sweet Treat
