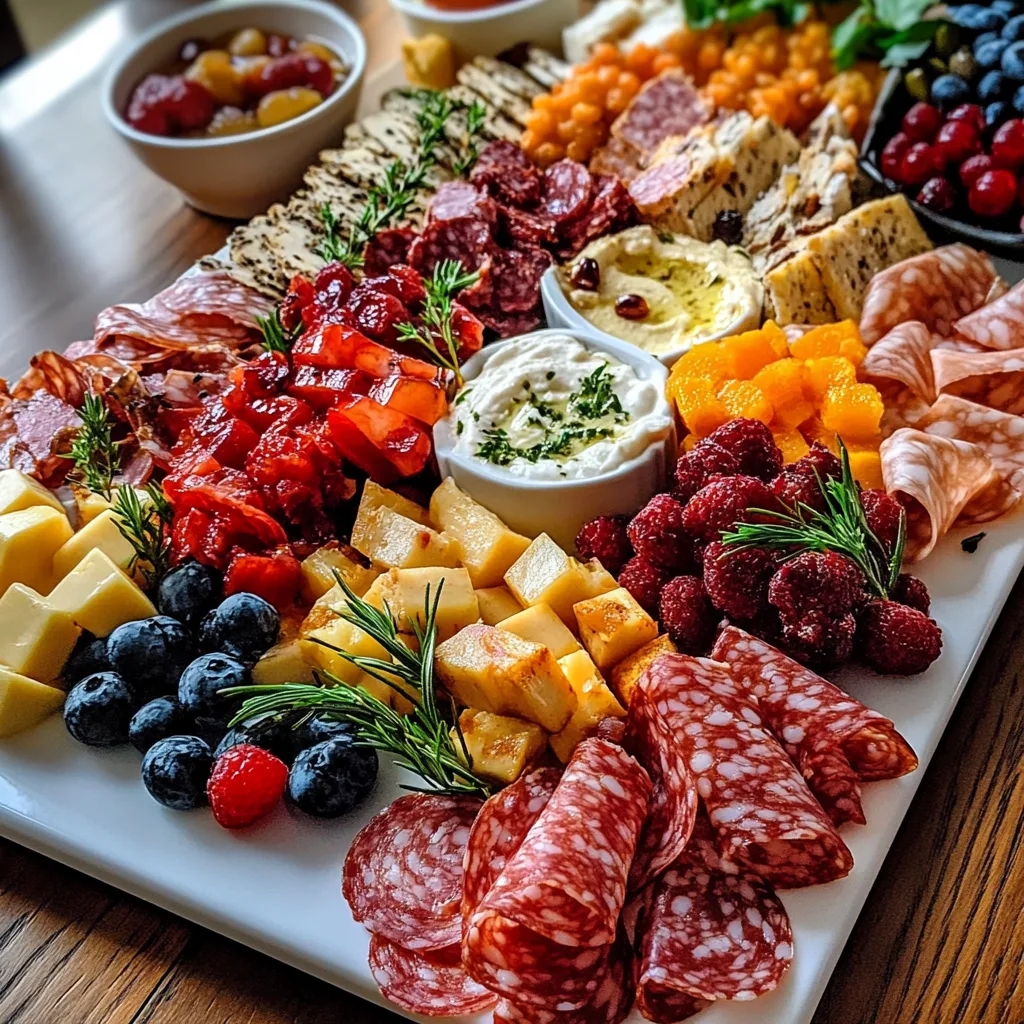
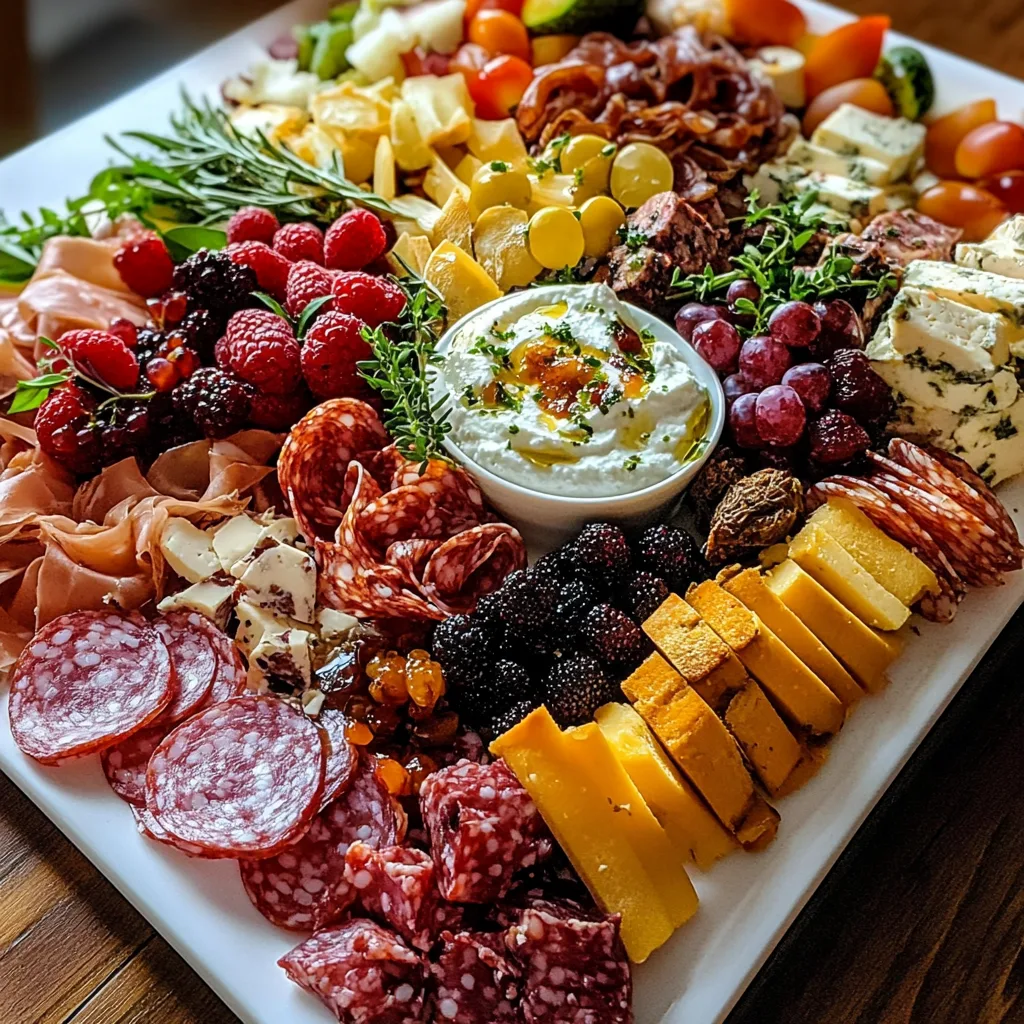
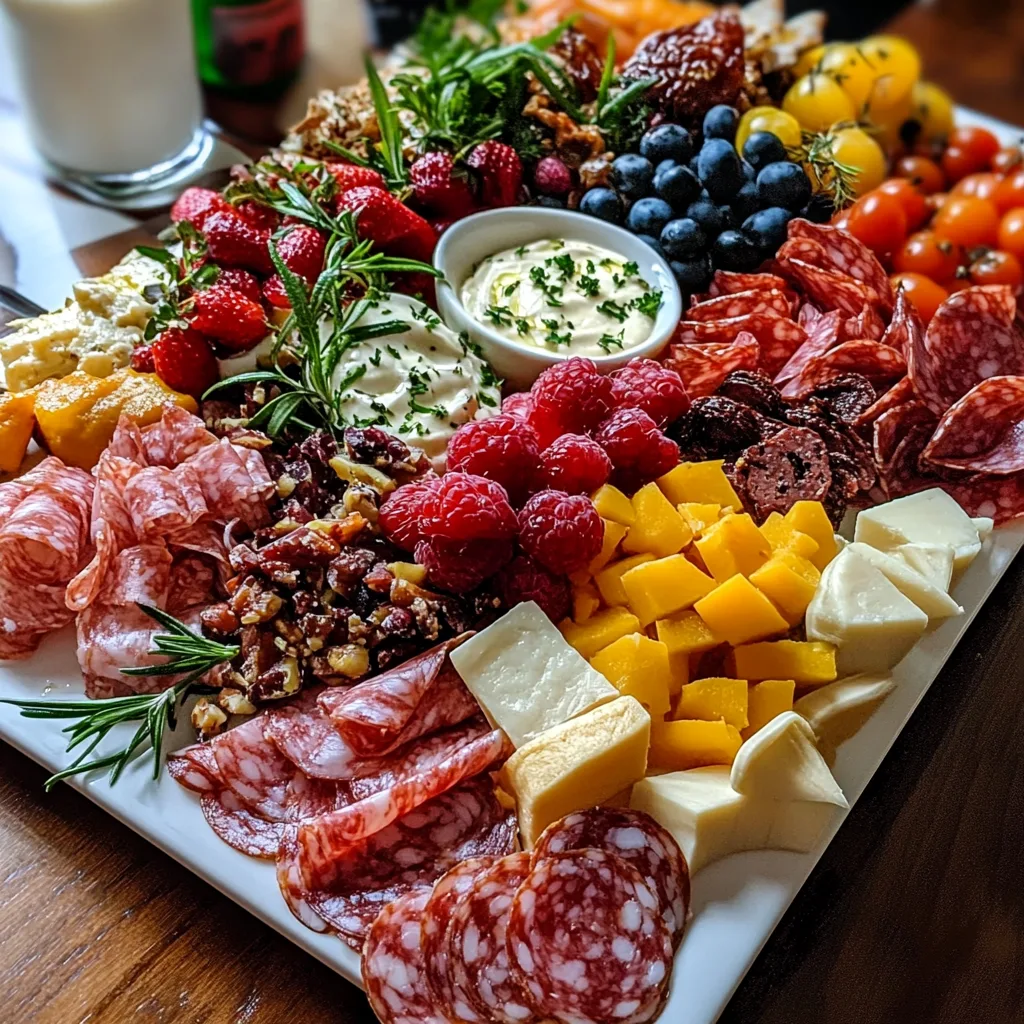
Introduction to Dessert Charcuterie Board with Dips and Treats
Welcome to the delightful world of a Dessert Charcuterie Board with Dips and Treats! If you’re like me, juggling a busy schedule while trying to create memorable moments with loved ones can be a challenge. This recipe is a quick solution for those hectic days when you want to impress without the fuss. Imagine a vibrant board filled with sweet treats and luscious dips, perfect for any gathering. It’s not just a dessert; it’s an experience that brings smiles and joy to the table. Let’s dive into this delicious adventure together!
Why You’ll Love This Dessert Charcuterie Board with Dips and Treats
This Dessert Charcuterie Board with Dips and Treats is a game-changer for busy moms and professionals. It’s incredibly easy to assemble, taking just 20 minutes of your time. The variety of flavors and textures will delight everyone, from kids to adults. Plus, it’s a visually stunning centerpiece that sparks conversation and creates lasting memories. Who wouldn’t love a dessert that’s as fun to make as it is to eat?
Ingredients for Dessert Charcuterie Board with Dips and Treats
Creating a Dessert Charcuterie Board with Dips and Treats is all about variety and creativity. Here’s what you’ll need to make your board a sweet success:
- Assorted cookies: Think chocolate chip, oatmeal raisin, and sugar cookies. These are crowd-pleasers and add a delightful crunch.
- Brownies: Rich and fudgy, brownies bring a decadent touch. You can even use blondies for a twist!
- Fruit: Fresh strawberries, grapes, and apple slices not only add color but also a refreshing contrast to the sweets.
- Chocolate dip: This luscious dip is perfect for drizzling over fruit or cookies. It’s a chocolate lover’s dream!
- Caramel dip: Sweet and creamy, caramel dip pairs beautifully with apples and brownies, making every bite heavenly.
- Marshmallow fluff: Light and airy, this fluff adds a fun, nostalgic element. It’s perfect for dipping or spreading.
- Nuts: Almonds and walnuts provide a satisfying crunch and a touch of healthy fats. Feel free to mix it up with your favorites!
- Mini cupcakes: These bite-sized treats are adorable and can be customized with different flavors and frostings.
- Whipped cream: A dollop of whipped cream adds a light, fluffy finish to your board, making it even more inviting.
Feel free to customize your board with your favorite treats or seasonal fruits for a festive touch. The exact quantities for each ingredient are available at the bottom of the article for easy printing. Let your creativity shine as you assemble this delightful dessert spread!

How to Make Dessert Charcuterie Board with Dips and Treats
Step 1: Gather Your Ingredients
Before diving into the fun, it’s essential to gather all your ingredients. Having everything ready makes the process smoother and more enjoyable. Plus, it saves you from running around the kitchen looking for that last cookie or dip. Trust me, it’s worth the little prep!
Step 2: Arrange the Dips
Start by placing your dips in small bowls. I love using colorful bowls to add a pop of personality to the board. Position them around the edges of your serving board, leaving enough space for the sweet treats. This way, everyone can easily access their favorite dips. It creates a beautiful focal point and invites guests to dig in. Remember, the dips are the stars of the show, so make sure they’re front and center!
Step 3: Add the Sweet Treats
Now comes the fun part—arranging the sweet treats! Artfully place your assorted cookies, brownies, and mini cupcakes around the dips. I like to create clusters of treats for a visually appealing look. Mix different shapes and sizes to keep it interesting. Don’t be afraid to get creative! The goal is to make it look inviting and delicious. Trust me, your guests will be drawn to the vibrant colors and tempting textures.
Step 4: Incorporate Fresh Fruit
Fresh fruit is a must for adding color and freshness to your Dessert Charcuterie Board with Dips and Treats. Scatter strawberries, grapes, and apple slices in clusters around the board. Not only do they provide a refreshing contrast to the sweets, but they also add a healthy touch. Plus, the bright colors of the fruit make the board pop! It’s like nature’s confetti, making everything look more festive and inviting.
Step 5: Sprinkle Nuts for Texture
Next, sprinkle nuts throughout the board for added texture. Almonds and walnuts are my go-to choices, but feel free to use your favorites. The crunch of the nuts complements the softness of the treats beautifully. Plus, they add a touch of healthy fats, making your board a bit more balanced.
Step 6: Finish with Whipped Cream
To give your board that final touch, add dollops of whipped cream in between the treats. This fluffy addition not only looks delightful but also invites everyone to indulge. It’s the cherry on top, quite literally! Just a little whipped cream can elevate the entire experience.
Step 7: Serve and Enjoy
Once your board is beautifully arranged, it’s time to serve! Gather your friends and family around, and watch their faces light up with joy. Enjoy the moment together, sharing stories and laughter over this delightful spread. Trust me, it’s a treat that brings everyone closer!
Tips for Success
- Choose a variety of textures and flavors to keep things interesting.
- Use seasonal fruits for a fresh and festive touch.
- Don’t hesitate to mix in your family’s favorite treats.
- Keep the board balanced with sweet and savory options.
- Prepare dips ahead of time to save on last-minute stress.
- Use a large board to give everything room to shine.

Equipment Needed
- Large serving board: A wooden or marble board works beautifully. A large platter can also do the trick.
- Small bowls: Use colorful bowls for dips. If you don’t have small bowls, ramekins or even muffin tins can work.
- Serving utensils: Grab some spoons for the dips and tongs for the treats.
Variations
- Gluten-free options: Use gluten-free cookies and brownies to cater to those with dietary restrictions.
- Vegan treats: Swap regular whipped cream for coconut whipped cream and use dairy-free chocolate and caramel dips.
- Nut-free board: Replace nuts with seeds like pumpkin or sunflower seeds for a crunchy texture without allergens.
- Seasonal themes: Incorporate seasonal fruits like peaches in summer or cranberries in winter for a festive touch.
- Chocolate lovers: Add chocolate-covered strawberries or pretzels for an extra indulgent twist.
Serving Suggestions
- Pair your Dessert Charcuterie Board with a selection of herbal teas for a cozy touch.
- Offer sparkling water with fresh fruit slices for a refreshing drink option.
- Consider adding a cheese platter for a sweet and savory contrast.
- Use decorative napkins and plates to enhance the presentation.
- Set the board on a colorful tablecloth to make it pop!
FAQs about Dessert Charcuterie Board with Dips and Treats
Can I make the Dessert Charcuterie Board with Dips and Treats ahead of time?
Absolutely! You can prepare the dips and arrange the board a few hours in advance. Just cover it with plastic wrap and refrigerate. Add the whipped cream just before serving to keep it fresh and fluffy.
What types of dips work best for this board?
While chocolate, caramel, and marshmallow fluff are fantastic choices, you can also try peanut butter, yogurt-based dips, or even fruit preserves. The key is to have a mix of creamy and sweet options to please everyone.
How do I store leftovers from the Dessert Charcuterie Board?
Store any leftover treats in airtight containers. Keep the dips in their bowls, covered with plastic wrap. Most items will stay fresh for a couple of days, but the fruit is best enjoyed the same day.
Can I customize the Dessert Charcuterie Board for dietary restrictions?
Definitely! You can easily make gluten-free, vegan, or nut-free versions by swapping out specific ingredients. Just be sure to check labels and choose alternatives that fit your guests’ needs.
What’s the best way to present my Dessert Charcuterie Board?
Presentation is key! Use a large, beautiful board and arrange the treats in clusters. Add colorful bowls for dips and sprinkle fresh herbs or edible flowers for an extra touch. A visually appealing board makes the experience even more delightful!
Final Thoughts
Creating a Dessert Charcuterie Board with Dips and Treats is more than just assembling sweets; it’s about crafting moments of joy and connection. As you gather around this vibrant spread, you’ll find laughter and stories flowing as freely as the dips. This delightful board invites everyone to indulge in their favorites while exploring new flavors. Whether it’s a family gathering or a casual get-together with friends, this dessert board is sure to be a hit. So, roll up your sleeves, unleash your creativity, and enjoy the sweet moments that come with sharing delicious treats!
Print
Dessert Charcuterie Board with Dips and Treats Delights!
- Total Time: 20 minutes
- Yield: Serves 8-10
- Diet: Vegetarian
Description
A delightful and visually appealing dessert charcuterie board featuring a variety of dips and sweet treats, perfect for any gathering or celebration.
Ingredients
- Assorted cookies (chocolate chip, oatmeal raisin, sugar cookies) – 2 dozen
- Brownies – 12 pieces
- Fruit (strawberries, grapes, apple slices) – 2 cups
- Chocolate dip – 1 cup
- Caramel dip – 1 cup
- Marshmallow fluff – 1 cup
- Nuts (almonds, walnuts) – 1 cup
- Mini cupcakes – 12 pieces
- Whipped cream – 1 cup
Instructions
- Gather all ingredients and arrange them on a large serving board.
- Place dips in small bowls and position them around the board.
- Artfully arrange cookies, brownies, and mini cupcakes around the dips.
- Add fresh fruit in clusters for color and freshness.
- Sprinkle nuts throughout the board for added texture.
- Finish with dollops of whipped cream in between treats.
- Serve immediately and enjoy with friends and family!
Notes
- Feel free to customize the board with your favorite treats.
- Consider adding seasonal fruits for a festive touch.
- Make sure to have enough variety to cater to different tastes.
- Prep Time: 20 minutes
- Cook Time: 0 minutes
- Category: Dessert
- Method: No-cook
- Cuisine: American
Nutrition
- Serving Size: 1/10 of board
- Calories: 350
- Sugar: 25g
- Sodium: 150mg
- Fat: 15g
- Saturated Fat: 5g
- Unsaturated Fat: 8g
- Trans Fat: 0g
- Carbohydrates: 50g
- Fiber: 2g
- Protein: 4g
- Cholesterol: 20mg
Keywords: Dessert Charcuterie Board, Dips, Treats, Sweet Treats, Party Food


