
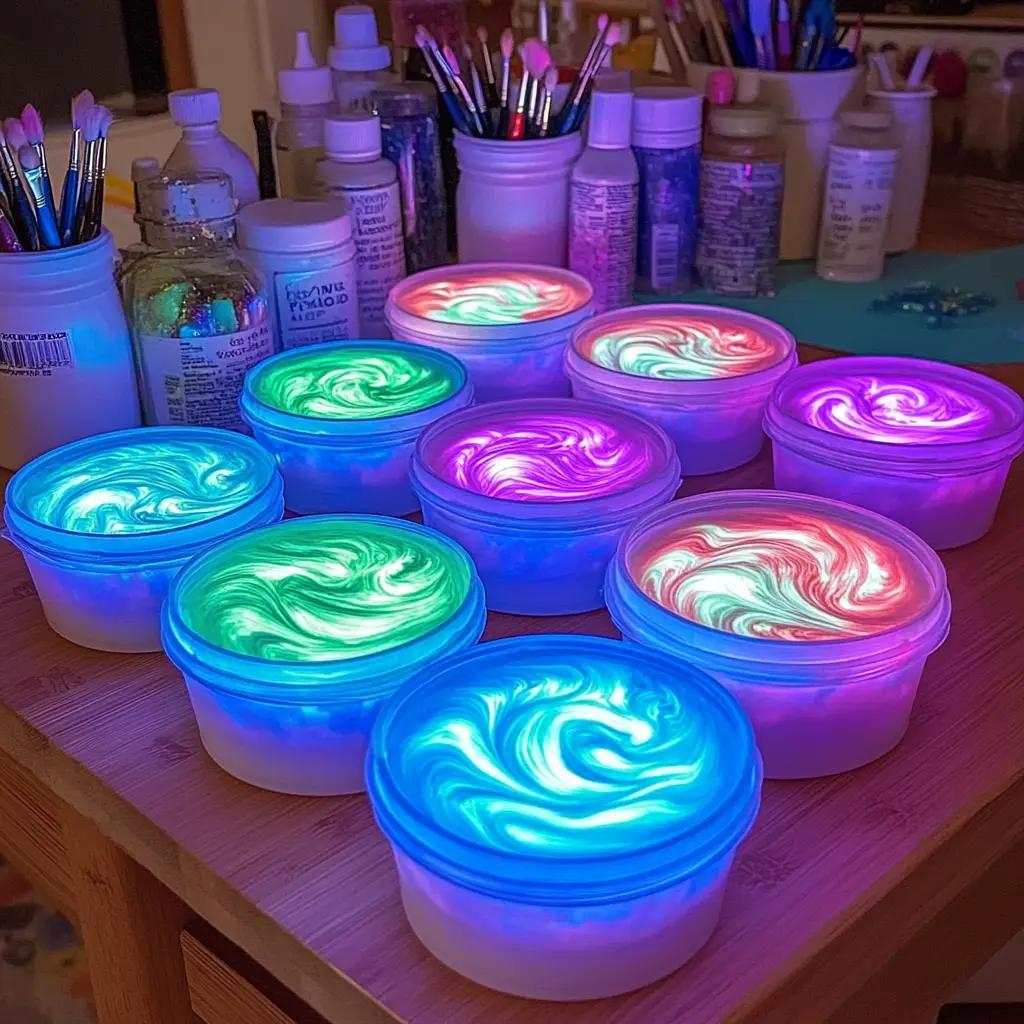
If you’re looking for a craft that’s easy, exciting, and visually striking, Glow-in-the-Dark Puffy Paint might just be the perfect project. This fun and versatile paint not only lets you create vibrant, textured art, but it also glows in the dark — adding a magical element to your creations.
Ideal for rainy days, art classes, kids’ parties, or themed events, this paint offers a mix of tactile fun and visual surprise. Unlike regular flat paints, puffy paint dries with a raised, 3D texture that makes designs stand out both visually and physically. Add in glow pigments, and your art transforms into an illuminated masterpiece when the lights go out.
This detailed guide will walk you through the entire process, from gathering your supplies to exploring creative variations, while offering tips to ensure the best results every time.
Why You’ll Love This Craft
Before diving into the instructions, here’s why this DIY project is worth trying:
-
Simple Ingredients – You likely already have most of them at home or can find them easily in stores.
-
Kid-Friendly and Safe – When using non-toxic pigments and paints, this activity is perfect for supervised children.
-
Tactile Creativity – Puffy texture makes artwork more engaging and fun to touch.
-
Glow-in-the-Dark Excitement – Adds an extra layer of surprise to finished pieces.
-
Highly Customizable – Change the colors, glow intensity, and designs to fit your theme or mood.
-
Budget-Friendly – A small amount of glow pigment and paint goes a long way.
Supplies You Will Need
To create DIY Glow-in-the-Dark Puffy Paint, gather the following items. Having everything ready before starting will make the process smoother and less messy.
Puffy Paint Base
-
1 cup shaving cream (regular white foam, not gel)
-
1/2 cup white school glue (Elmer’s or similar)
-
1/3 cup flour (all-purpose works perfectly)
Glow and Color
-
Glow-in-the-dark paint or glow pigment powder (non-toxic, safe for crafts)
-
Neon food coloring or liquid watercolors (multiple shades for variety)
Tools and Surfaces
-
Mixing bowls (one for each color)
-
Measuring cups
-
Spatula or spoon for mixing
-
Zip-top bags or squeeze bottles (for dispensing paint)
-
Black construction paper (for best glow visibility)
-
Newspaper or craft mat (to protect your workspace)
-
Scissors (if using zip-top bags for piping)
Step-by-Step Instructions
Follow these detailed steps to make your own glow-in-the-dark puffy paint and bring your artistic ideas to life.
Step 1: Prepare Your Workspace
Cover your work surface with newspaper, a craft mat, or an old plastic tablecloth to prevent spills and stains. Puffy paint can be messy, especially when working with kids, so having a protected workspace will save cleanup time later.
Make sure you have a good amount of light while mixing and applying paint so you can clearly see the colors and textures.
Step 2: Mix the Puffy Base
In a large mixing bowl, combine:
-
1 cup shaving cream
-
1/2 cup white school glue
-
1/3 cup flour
Gently fold the ingredients together using a spatula or spoon. Avoid aggressive stirring — you want to keep as much air in the mixture as possible to help the paint maintain its puffy, three-dimensional texture once dry.
Step 3: Divide the Mixture for Coloring
Scoop the puffy paint base into several smaller bowls, one for each color you plan to create. This separation allows you to customize the shades and glow intensity individually.
Step 4: Add Glow Pigment or Paint
To each bowl, add either:
-
A few drops of glow-in-the-dark paint, or
-
A small scoop of glow pigment powder.
Glow pigment powder tends to give a stronger and longer-lasting glow compared to glow paint alone, but both options work well. Stir gently until the glow ingredient is evenly distributed.
Step 5: Add Color
Enhance the look of your puffy paint by adding neon food coloring or liquid watercolors to each bowl. Stir until the colors are bold and uniform. Neon colors will be especially vibrant in daylight and will also help intensify the glowing effect in darkness.
You can experiment with mixing shades, such as combining blue and green for a teal glow, or pink and yellow for a warm coral tone.
Step 6: Prepare for Painting
Transfer each color into a zip-top bag or squeeze bottle:
-
If using a zip-top bag, press the paint mixture toward one corner, seal the bag, and snip a tiny opening in the corner to create a piping nozzle.
-
If using squeeze bottles, simply fill them and close the lid tightly.
Squeeze bottles are more precise for detailed designs, while zip-top bags are great for larger shapes and bold strokes.
Step 7: Create Your Artwork
Place a sheet of black construction paper in front of you. This dark background provides high contrast for both the neon colors and the glow effect.
Using your prepared paint, start creating designs. Here are a few ideas:
-
Abstract swirls and patterns
-
Stars, moons, and planets
-
Halloween pumpkins or bats
-
Glow-in-the-dark messages or names
-
Geometric shapes or mandala patterns
Encourage kids to experiment with layering colors to see how they blend and stand out when glowing.
Step 8: Let the Paint Dry
Once you’re happy with your artwork, set it aside to air dry completely. This will typically take 8–10 hours. Do not stack or cover the artwork while it dries — this can flatten the puffy texture.
Step 9: Charge the Glow
Before turning off the lights, place your finished art under a bright light source or UV black light for several minutes. The glow pigment will store light energy and then emit it in the dark, creating a magical illuminated effect.
Tips for Best Results
-
Texture Control – For thicker, puffier paint, add a bit more shaving cream. For a smoother, creamier texture, use slightly less flour.
-
Glow Strength – Use a concentrated glow pigment for the brightest and longest-lasting glow.
-
Color Mixing – Blend two colors side-by-side for a gradient glow effect.
-
Application Tools – Use paintbrushes for broad strokes, squeeze bottles for controlled designs, or piping bags for fun textured lines.
-
Storage – If you need to pause your project, store unused puffy paint in airtight containers for up to two days. After that, the mixture will start to lose its fluffiness.
Creative Variations
This basic recipe is incredibly versatile. Here are some ways you can adapt it:
-
Galaxy Puffy Paint – Use dark blue, purple, black, and white paint with added glitter and glow pigment to create a cosmic look.
-
Holiday-Themed Glow Art – Try red and green for Christmas, orange and black for Halloween, or pastel tones for Easter.
-
Glow Party Decorations – Make banners, signs, or name cards for an evening glow party.
-
Rock Art – Paint smooth stones with glow-in-the-dark puffy paint for outdoor décor.
-
Themed Kids’ Projects – Create dinosaur shapes, underwater scenes, or fairy gardens with glowing accents.
Safety Guidelines
While this project is safe when using non-toxic ingredients, keep these precautions in mind:
-
Always supervise young children during the craft.
-
Avoid contact with eyes and mouth.
-
Use only non-toxic glow pigments or paints.
-
Wash hands thoroughly after handling pigment powders.
Troubleshooting Common Issues
-
Paint is too runny – Add a little more flour and fold gently.
-
Paint isn’t puffy after drying – Too much mixing can deflate the texture. Mix gently next time.
-
Weak glow – Charge longer under a bright or UV light and ensure you used enough glow pigment.
-
Colors look dull – Add more neon food coloring or try a darker background.
Frequently Asked Questions
Q: Can I use this paint on fabric?
A: While possible, puffy paint is best on paper or cardboard. On fabric, the puffiness may flatten once dry, and the glue component may not wash well.
Q: How long does the glow last?
A: With proper charging, the glow can last several hours. It can be recharged repeatedly by exposing it to light.
Q: Can I skip the flour?
A: Flour helps give the paint structure. Without it, the mixture will be runnier and may not hold a raised texture as well.
Q: Is shaving cream necessary?
A: Yes, shaving cream is what gives the paint its fluffy volume and airy texture.
Conclusion
DIY Glow-in-the-Dark Puffy Paint is more than just a craft — it’s an experience that combines color, texture, and a little bit of light magic. Whether you’re making it for kids’ activities, seasonal decorations, or simply as a creative experiment, this paint offers endless possibilities for self-expression.
The best part is how customizable it is. From choosing your own colors and glow intensity to exploring themed designs, you can adapt this project to fit any occasion or mood. And once the lights go off, the transformation from bright daytime art to glowing nighttime wonder never fails to impress.
Gather your supplies, follow the steps carefully, and enjoy the process of creating your own glowing, puffy works of art. With this recipe, every piece you make will be as unique as your imagination.
