
Introduction to Easter No-Bake Jello Pie
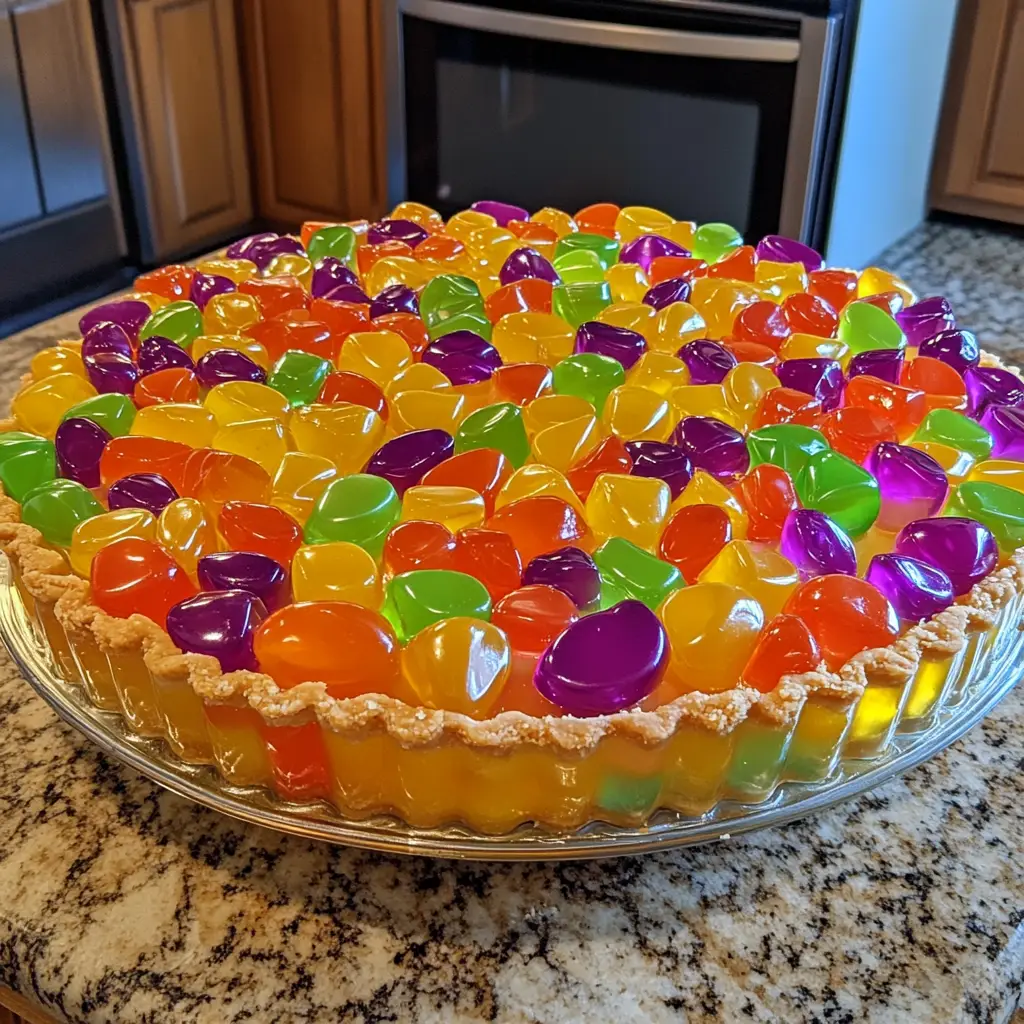
As the vibrant colors of spring bloom around us, Easter brings a delightful opportunity to gather with family and friends. One of my favorite traditions is whipping up a sweet treat that captures the essence of the season. Enter the Easter No-Bake Jello Pie—a dessert that’s as easy to make as it is to devour! This pie is a celebration of flavors and textures, combining the lightness of Jello with a creamy filling that dances on your taste buds.
Growing up, my family always had a special dessert for Easter. I remember the excitement of watching my mom prepare a colorful Jello dessert, its layers shimmering like a rainbow. It was a showstopper at our holiday table, and I knew I wanted to recreate that magic in my own kitchen. The beauty of this pie is that it requires no baking, making it perfect for those busy holiday preparations. Plus, it’s a fantastic way to involve the kids—who doesn’t love mixing bright colors and creating something delicious?
In this recipe, I’ll share my personal tips and tricks to ensure your Easter No-Bake Jello Pie turns out perfectly every time. Whether you’re hosting a big family gathering or just looking to add a sweet touch to your Easter brunch, this pie is sure to impress. So, let’s dive into the ingredients and get started on this delightful culinary adventure!
Ingredients for Easter No-Bake Jello Pie
Before we embark on our culinary journey, let’s gather all the ingredients needed for this delightful Easter No-Bake Jello Pie. I always find that having everything prepped and ready makes the process smoother and more enjoyable. Here’s what you’ll need:
Main Ingredients
- 1 pre-made graham cracker crust (9-inch)
- 1 cup boiling water
- 1 package (3 oz) of your favorite flavored Jello (I love strawberry or lime for a festive touch!)
- 1 cup cold water
- 8 oz cream cheese, softened
- 1 cup powdered sugar
- 1 cup whipped topping (like Cool Whip)
When choosing your ingredients, I recommend using high-quality cream cheese for a richer flavor. If you can find it, organic Jello is a great option too. It adds a touch of natural sweetness and color to your pie.
Optional Add-ons
- Fresh fruit (like strawberries, blueberries, or kiwi) for topping
- Chocolate shavings for a decadent twist
- Additional whipped topping for extra fluffiness
- Crushed nuts for a crunchy texture
Feel free to get creative with your add-ons! I often let my kids pick their favorite fruits to top the pie. It’s a fun way to personalize the dessert and make it even more special. Plus, it adds a pop of color that’s perfect for Easter!
How to Prepare Easter No-Bake Jello Pie
Now that we have all our ingredients ready, it’s time to roll up our sleeves and dive into the fun part—preparing the Easter No-Bake Jello Pie! I love this part because it’s like a little culinary adventure. Each step brings us closer to that colorful, creamy masterpiece. Let’s get started!
Step 1: Prepare the Crust
First things first, we need to prepare our crust. If you’re using a pre-made graham cracker crust, you can skip this step. But if you’re feeling adventurous, you can make your own by crushing graham crackers and mixing them with melted butter. Press the mixture into a pie dish to form a crust.
Tips for Choosing the Right Crust
When selecting a crust, I always opt for a graham cracker crust because it adds a sweet crunch that pairs perfectly with the creamy filling. If you want to switch things up, a chocolate cookie crust can add a delightful twist. Just remember, the crust should be sturdy enough to hold all that delicious filling!
Step 2: Make the Jello Layer
Next, let’s make the Jello layer. In a mixing bowl, combine the boiling water with the Jello powder. Stir until it’s completely dissolved. Then, add the cold water and mix well. This step is where the magic begins!
Tips for Mixing Jello Properly
To ensure your Jello mixes perfectly, I recommend using a whisk. It helps break up any clumps and gives you a smooth mixture. Also, make sure the water is boiling hot when you add it to the Jello powder. This helps the flavors meld beautifully!
Step 3: Prepare the Cream Cheese Filling
Now, let’s whip up the cream cheese filling. In a separate bowl, beat the softened cream cheese until it’s smooth. Gradually add the powdered sugar, mixing until well combined. Finally, fold in the whipped topping until everything is fluffy and creamy.
Tips for Achieving the Perfect Consistency
For a smooth filling, make sure your cream cheese is at room temperature. This makes it easier to blend without lumps. If you want an extra creamy texture, you can beat the mixture a little longer. Just be careful not to overmix!
Step 4: Assemble the Pie
It’s time to bring everything together! Start by pouring half of the Jello mixture into the prepared crust. Then, add a layer of the cream cheese filling. Pour the remaining Jello on top, and finish with the rest of the cream cheese filling. It’s like building a delicious tower of flavor!
Tips for Layering Ingredients
To create beautiful layers, I like to use a spatula to gently spread the cream cheese filling. This helps keep the layers distinct. If you want to get fancy, you can use a piping bag to add the cream cheese filling for a more decorative look!
Step 5: Chill the Pie
Finally, it’s time to chill our pie. Cover it with plastic wrap and place it in the refrigerator. Let it chill for at least 4 hours, or overnight if you can wait that long. This allows the flavors to meld and the pie to set perfectly.
Tips for Optimal Chilling Time
For the best results, I recommend chilling the pie overnight. This not only helps it set but also enhances the flavors. If you’re in a hurry, a minimum of 4 hours will do, but trust me, the wait is worth it!
Equipment Needed for Easter No-Bake Jello Pie
Before we dive into the fun of making our Easter No-Bake Jello Pie, let’s gather the essential tools that will make our culinary adventure a breeze. Having the right equipment on hand not only speeds up the process but also ensures that everything turns out just right. Here’s what you’ll need:
- Mixing Bowls: A couple of medium-sized mixing bowls will do the trick. I love using glass bowls because they let me see the beautiful colors of the Jello and cream cheese filling.
- Whisk: A whisk is essential for mixing the Jello and cream cheese. If you don’t have one, a fork can work in a pinch, but a whisk gives you that smooth consistency we’re after.
- Spatula: A rubber spatula is perfect for folding in the whipped topping and spreading the cream cheese filling. It’s like a trusty sidekick in the kitchen!
- Pie Dish: You’ll need a 9-inch pie dish to hold all those delicious layers. If you don’t have one, a round cake pan can serve as a great alternative.
- Plastic Wrap: This is important for covering the pie while it chills in the fridge. If you’re out of plastic wrap, a clean kitchen towel can work too, just make sure it doesn’t touch the pie.
With these tools at your side, you’re all set to create a stunning Easter No-Bake Jello Pie. Remember, cooking is all about improvisation, so don’t hesitate to use what you have on hand. Let’s keep the fun rolling!
Variations of Easter No-Bake Jello Pie
One of the things I adore about the Easter No-Bake Jello Pie is its versatility. You can easily switch things up to suit your taste or the occasion. Here are a few delightful variations that I’ve tried and loved:
- Fruit-Infused Jello: Instead of using plain Jello, try incorporating fruit puree into the mix. Blending fresh strawberries or mangoes with the Jello adds a natural sweetness and a beautiful color.
- Layered Flavors: Why stick to one flavor when you can have multiple? Create a rainbow pie by using different flavors of Jello for each layer. Just make sure to let each layer set before adding the next!
- Chocolate Lovers’ Delight: For a chocolate twist, use chocolate pudding instead of cream cheese filling. It adds a rich, decadent layer that pairs wonderfully with fruity Jello.
- Nutty Crunch: Add a layer of crushed nuts or granola between the Jello and cream cheese layers for a delightful crunch. It’s a fun surprise that adds texture to each bite!
These variations not only keep things exciting but also allow you to personalize the pie for your family’s preferences. I love experimenting with different flavors and textures, and I encourage you to do the same. After all, cooking is all about creativity and having fun in the kitchen!
Cooking Notes for Easter No-Bake Jello Pie
As I’ve journeyed through the delightful process of making the Easter No-Bake Jello Pie, I’ve gathered a few cooking notes that can help you achieve the best results. These little nuggets of wisdom can make a big difference in your pie-making adventure!
First, always check the expiration date on your Jello and cream cheese. Fresh ingredients are key to a delicious pie. If you’re using fruit, make sure it’s ripe and sweet. This will enhance the overall flavor of your dessert.
When mixing the Jello, be patient. Stirring too quickly can create bubbles, which might affect the smoothness of your layers. I like to take my time, enjoying the process as I watch the colors blend together.
Also, remember that the chilling time is crucial. If you’re in a hurry, you might be tempted to skip it, but trust me, letting the pie chill properly allows the flavors to meld beautifully. It’s like giving your pie a little time to rest and gather its thoughts before the big reveal!
Lastly, don’t be afraid to taste as you go! Sampling the cream cheese filling or the Jello mixture can help you adjust sweetness or flavor to your liking. Cooking is all about personal preference, and your taste buds are your best guide.
With these cooking notes in mind, you’re well on your way to creating a stunning Easter No-Bake Jello Pie that will wow your family and friends. Happy cooking!
Serving Suggestions for Easter No-Bake Jello Pie
Now that our Easter No-Bake Jello Pie is ready to shine, it’s time to think about how to serve it! Presentation can elevate any dish, and this pie is no exception. Here are some of my favorite serving suggestions that add a touch of flair to this delightful dessert:
- Garnish with Fresh Fruit: Top each slice with a medley of fresh berries or slices of kiwi. The vibrant colors not only look beautiful but also add a burst of flavor that complements the pie.
- Drizzle with Chocolate Sauce: For a decadent touch, drizzle some chocolate sauce over the pie or individual slices. It adds a rich contrast to the fruity Jello and creamy filling.
- Serve with Whipped Cream: A dollop of whipped cream on top of each slice makes for a classic and indulgent touch. You can even sprinkle some colorful sprinkles for a festive look!
- Pair with Ice Cream: For an extra treat, serve a scoop of vanilla or coconut ice cream alongside the pie. The creaminess of the ice cream pairs perfectly with the lightness of the Jello pie.
- Use Decorative Plates: Presentation matters! Serve the pie on colorful or themed plates that match the Easter spirit. It adds a cheerful vibe to your dessert table.
These serving suggestions not only enhance the visual appeal of your Easter No-Bake Jello Pie but also create a delightful experience for your guests. I love to see their faces light up when they take that first bite! So, get creative and enjoy the process of serving this beautiful dessert. Happy Easter!
Tips for Making the Best Easter No-Bake Jello Pie
As I’ve crafted my Easter No-Bake Jello Pie over the years, I’ve picked up a few handy tips that can elevate your pie-making game. These little nuggets of wisdom can make all the difference in achieving that perfect balance of flavor and texture. Here’s what I’ve learned:
- Use Cold Ingredients: For the best results, make sure your cream cheese and whipped topping are cold but not too cold. This helps them blend smoothly without lumps. I often take them out of the fridge just before I start mixing.
- Layer with Care: When pouring the Jello and cream cheese layers, do it slowly. This prevents the layers from mixing together and keeps that beautiful separation. I like to pour the Jello over the back of a spoon to soften the impact.
- Experiment with Flavors: Don’t be afraid to mix and match Jello flavors! I love combining lemon and raspberry for a zesty twist. The possibilities are endless, so let your taste buds guide you!
- Chill Longer for Best Flavor: If you can, let your pie chill overnight. This not only helps it set perfectly but also allows the flavors to meld beautifully. Trust me, the wait is worth it!
- Get Creative with Toppings: Top your pie with whatever makes your heart sing! Fresh fruits, chocolate shavings, or even edible flowers can add a stunning touch. I love letting my kids choose the toppings; it makes it a fun family activity!
With these tips in your back pocket, you’re all set to create a show-stopping Easter No-Bake Jello Pie that will leave everyone asking for seconds. Happy baking, and enjoy the sweet moments with your loved ones!
Breakdown of Time for Easter No-Bake Jello Pie
As a passionate home cook, I know that timing is everything in the kitchen. When it comes to making the Easter No-Bake Jello Pie, it’s essential to plan your time wisely. Here’s a quick breakdown to help you manage your culinary adventure:
- Prep Time: 20 minutes
- Chilling Time: 4 hours (or overnight for best results)
- Total Time: 4 hours and 20 minutes (or overnight if you choose to chill longer)
During the prep time, you’ll be mixing, layering, and assembling your pie. It’s a fun and engaging process that flies by! Just remember, the chilling time is crucial for allowing the flavors to meld and the pie to set perfectly. If you can, I highly recommend letting it chill overnight. This way, you can wake up to a beautifully set pie, ready to impress your family and friends!
So, grab your ingredients, set your timer, and let’s get started on this delightful Easter No-Bake Jello Pie. Happy cooking!
Nutritional Information for Easter No-Bake Jello Pie
As a passionate home cook, I always find it helpful to know the nutritional information of the dishes I prepare. It allows me to enjoy my culinary creations while being mindful of what I’m serving my family. Here’s a general breakdown of the nutritional information for a slice of Easter No-Bake Jello Pie, based on the ingredients listed:
- Calories: Approximately 250 calories per slice (1/8 of the pie)
- Fat: 10g (mostly from the cream cheese and whipped topping)
- Carbohydrates: 35g (includes sugars from Jello and powdered sugar)
- Protein: 3g (from cream cheese)
- Sugar: 20g (from Jello and powdered sugar)
Keep in mind that these values can vary based on the specific brands and ingredients you choose. If you’re looking to lighten things up, consider using reduced-fat cream cheese or a sugar-free Jello option. I love experimenting with different ingredients to find the perfect balance of flavor and nutrition!
Enjoying a slice of this delightful pie can be a sweet treat during your Easter celebrations. Just remember, moderation is key, and sharing with loved ones makes it even sweeter!
Frequently Asked Questions about Easter No-Bake Jello Pie
As I’ve shared my love for the Easter No-Bake Jello Pie, I often get questions from fellow home cooks eager to try this delightful dessert. It’s always a joy to help others navigate their culinary adventures! Here are some of the most frequently asked questions I receive, along with my personal insights:
Can I use different flavors of Jello?
Absolutely! One of the best things about this pie is its versatility. You can mix and match flavors to suit your taste. I love using strawberry, lime, or even blue raspberry for a fun twist. Just remember to let each layer set before adding the next for a beautiful presentation!
How long can I store the pie in the fridge?
The Easter No-Bake Jello Pie can be stored in the refrigerator for up to 3 days. Just make sure to cover it well with plastic wrap to keep it fresh. However, I recommend enjoying it within the first couple of days for the best flavor and texture!
Can I make this pie ahead of time?
Yes, you can! In fact, I often make it a day or two in advance. This allows the flavors to meld beautifully and gives you one less thing to worry about on the day of your gathering. Just remember to chill it overnight for the best results!
What if I don’t have a graham cracker crust?
No worries! If you don’t have a graham cracker crust, you can easily make your own by crushing cookies or even using a store-bought cookie crust. A chocolate cookie crust adds a delicious twist that pairs wonderfully with the fruity Jello!
Can I use fresh fruit in the filling?
Yes, you can! Adding fresh fruit to the cream cheese filling is a fantastic way to enhance the flavor and add a pop of color. Just make sure to chop the fruit into small pieces and fold it in gently to avoid breaking up the creaminess.
Is this pie suitable for kids?
Definitely! The Easter No-Bake Jello Pie is a hit with kids. They love the bright colors and the fun textures. Plus, it’s a great way to get them involved in the kitchen. Let them help mix the Jello or choose their favorite toppings for a fun family activity!
These questions reflect the curiosity and excitement that come with making the Easter No-Bake Jello Pie. I hope my answers inspire you to dive into this delightful dessert and create your own sweet memories. Happy baking!
Conclusion on Easter No-Bake Jello Pie
As we wrap up our delightful journey through the world of Easter No-Bake Jello Pie, I can’t help but feel a sense of joy and nostalgia. This dessert is more than just a sweet treat; it’s a canvas for creativity, a way to bring family together, and a celebration of the vibrant spirit of Easter. The combination of colorful Jello and creamy filling creates a visual feast that’s sure to impress your guests.
What I love most about this pie is its simplicity. With no baking required, it’s perfect for busy home cooks like me who want to whip up something special without the fuss. Plus, the versatility of flavors and toppings means you can customize it to suit any palate. Whether you’re hosting a big family gathering or enjoying a quiet Easter brunch, this pie is bound to be a hit.
So, gather your ingredients, invite your loved ones into the kitchen, and let the fun begin! I hope this Easter No-Bake Jello Pie becomes a cherished tradition in your home, just as it has in mine. Happy cooking, and may your Easter celebrations be filled with sweetness and joy!
