

If you love juicy burgers, melty cheese, and crispy bacon, then these Bacon Cheeseburger Sliders are about to become your favorite party food, game-day snack, or easy dinner idea. These mini sandwiches deliver all the bold, beefy flavor of a full-sized burger—but in a perfectly portioned, bite-sized package. Built on soft slider buns and layered with seasoned beef, gooey cheddar, and crunchy bacon, these sliders are baked to golden perfection in one tray. You can feed a crowd in under 30 minutes, and trust us, they’ll vanish fast.
Whether you’re throwing a Super Bowl party, hosting a casual family dinner, or looking for a fun way to serve burgers at a picnic, this recipe checks every box: easy, flavorful, and totally satisfying.
Why Is This Recipe So Popular?
Sliders have exploded in popularity because they’re:
-
🍔 Mini but mighty – All the taste of a cheeseburger in a few bites.
-
🧀 Cheesy, melty, delicious – Layers of cheddar and beef? Yes, please!
-
🥓 Loaded with bacon – Need we say more?
-
🥳 Perfect for parties – Make a dozen or more at once, easily.
-
🕒 Quick and simple – No grilling required, everything bakes in one pan.
They’re basically happiness in a bun.
Why You’ll Love This Recipe:
✅ Kid-friendly + adult-approved – They’re fun to eat and packed with flavor.
✅ Customizable – Choose your favorite cheese, toppings, or sauces.
✅ Less mess than grilling – Cooked in the oven with no flipping required.
✅ Perfect for entertaining – Serve these at parties, BBQs, or potlucks and watch them disappear.
✅ Make-ahead magic – Prep them in advance and bake when ready.
Ingredients:
These ingredients come together to form a powerhouse of flavor:
🛒 For the Sliders:
-
🐄 1 lb ground beef (80/20 or lean)
-
🧂 1 tsp garlic powder
-
🧂 1 tsp onion powder
-
🧂 Salt & black pepper, to taste
-
🥓 8 slices bacon, cooked and crumbled
-
🧀 8 slices cheddar cheese or American cheese
-
🍔 12 slider buns or Hawaiian rolls, sliced in half horizontally
-
🧅 1 small onion, finely diced (optional for sautéing with beef)
-
🥒 Pickles, optional for topping
🧈 For the Butter Glaze:
-
🧈 3 tbsp butter, melted
-
🧄 ½ tsp garlic powder
-
🌿 1 tsp dried parsley
-
🧂 1 pinch salt
Preparation:
Step 1: Preheat Oven
Preheat your oven to 350°F (175°C) and lightly grease a 9×13-inch baking dish or line it with parchment paper.
Step 2: Cook the Bacon
In a skillet over medium heat, cook the bacon until crisp. Drain on paper towels, then crumble into pieces.
Step 3: Brown the Beef
In the same skillet, add the ground beef and onion (if using). Season with garlic powder, onion powder, salt, and pepper. Cook until browned and fully cooked, then drain any excess fat.
Step 4: Build the Sliders
Place the bottom halves of the slider buns into the prepared baking dish. Evenly spread the cooked beef over the buns. Add a layer of crumbled bacon, followed by a layer of cheese slices to cover the entire surface.
Step 5: Top and Glaze
Add the top halves of the buns. In a small bowl, mix melted butter, garlic powder, parsley, and salt, then brush generously over the tops of the sliders.
Step 6: Bake
Cover with foil and bake for 15 minutes, then uncover and bake an additional 5–7 minutes, or until the tops are golden and the cheese is fully melted.
Step 7: Slice and Serve
Use a sharp knife to slice into individual sliders and serve hot, optionally topped with pickles, ketchup, or your favorite burger sauce.

Variation:
🥑 California-Style – Add avocado slices, tomato, and lettuce after baking.
🌶️ Spicy Kick – Mix jalapeños into the beef or add pepper jack cheese.
🧄 Garlic Aioli Sliders – Spread homemade aioli on the buns for gourmet flair.
🍄 Mushroom Swiss Version – Use sautéed mushrooms and Swiss cheese instead of bacon and cheddar.
🍗 Chicken or Turkey Sliders – Substitute ground chicken or turkey for a lighter twist.
🥓 Double Bacon – Add more cooked bacon slices on top of the cheese layer.
COOKING Note:
These sliders are hard to mess up, but here’s how to make them next-level:
-
👩🍳 Drain the beef well – Avoid soggy buns by getting rid of excess grease.
-
🧈 Butter brush = flavor boost – Don’t skip the glaze—it adds color, flavor, and a perfect soft crunch.
-
🧀 Don’t skimp on cheese – You want full coverage and that melty stretch.
-
🔪 Use a serrated knife – Makes slicing easier after baking.
Serving Suggestions:
🍟 Pair these sliders with:
-
Crispy French fries or sweet potato fries
-
Potato salad or coleslaw
-
Pickles or jalapeño chips
-
Mini corn on the cob
-
Beer, lemonade, or iced tea
Serve them up on a tray with toothpicks for easy grabbing at parties!
Tips:
-
❄️ Make ahead – Assemble the sliders (minus glaze), cover tightly, and refrigerate for up to 24 hours.
-
🔥 Reheat leftovers in a 325°F oven for 10–15 minutes—still melty and delicious!
-
🍔 Add condiments after baking – Prevents soggy buns and lets guests customize.
-
🧀 Try cheese blends – Cheddar, American, provolone, or pepper jack all melt beautifully.
-
🥓 Batch cook bacon in the oven to save time and reduce splatter.
Prep Time:
15 minutes
Cooking Time:
20 minutes
Total Time:
35 minutes
Nutritional Information: (Per slider; estimate for 12 servings)
-
Calories: 290
-
Protein: 15g
-
Carbs: 17g
-
Fat: 19g
-
Sodium: 480mg
-
Sugar: 4g
FAQs:
Q: Can I make these in advance for a party?
Yes! Assemble the sliders and store them in the fridge for up to 24 hours. Add the butter glaze just before baking.
Q: What type of buns should I use?
Soft slider buns, dinner rolls, or Hawaiian rolls work great. Just make sure they’re connected for easier assembly.
Q: Can I freeze these?
You can freeze cooked sliders wrapped tightly in foil for up to 2 months. Reheat wrapped at 325°F until hot.
Q: What’s the best cheese for melting?
American and cheddar are best for classic flavor, but you can also try provolone or gouda for something different.
Q: How can I keep them warm at a party?
Wrap in foil and place in a low oven (200°F) or keep in a covered slow cooker set to “warm.”
Conclusion:
These Bacon Cheeseburger Sliders aren’t just cute—they’re craveable. Packed with savory beef, crispy bacon, gooey cheese, and garlicky buttered buns, they’re everything you love about a classic cheeseburger, made party-sized. Quick to assemble, impossible to resist, and wildly versatile, these sliders are perfect for any crowd, occasion, or craving. One bite and you’ll understand why these little sandwiches deliver BIG flavor.
Get ready to make these on repeat, because when burgers go mini, they go fast.
Print
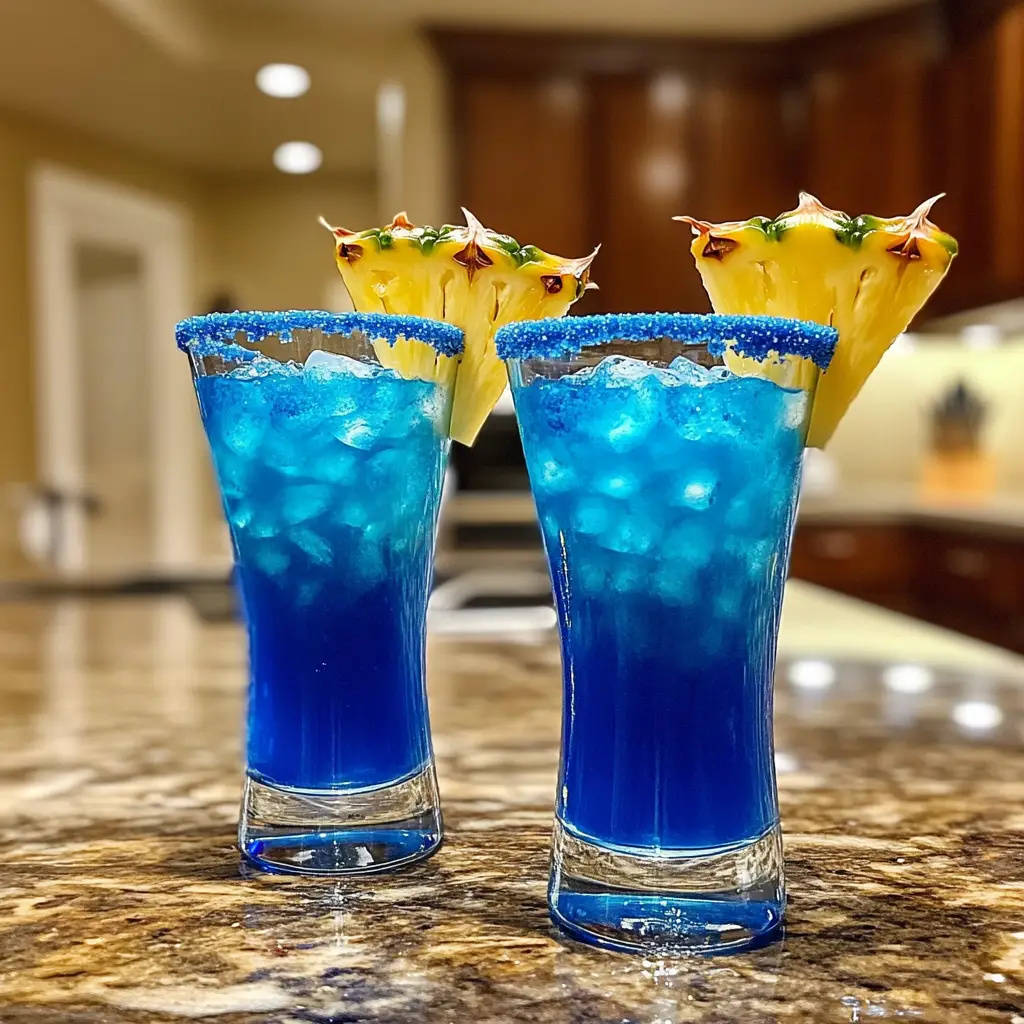
Electric Blue Island Shots
- Total Time: 35 minutes
Ingredients
These ingredients come together to form a powerhouse of flavor:
🛒 For the Sliders:
-
🐄 1 lb ground beef (80/20 or lean)
-
🧂 1 tsp garlic powder
-
🧂 1 tsp onion powder
-
🧂 Salt & black pepper, to taste
-
🥓 8 slices bacon, cooked and crumbled
-
🧀 8 slices cheddar cheese or American cheese
-
🍔 12 slider buns or Hawaiian rolls, sliced in half horizontally
-
🧅 1 small onion, finely diced (optional for sautéing with beef)
-
🥒 Pickles, optional for topping
🧈 For the Butter Glaze:
-
🧈 3 tbsp butter, melted
-
🧄 ½ tsp garlic powder
-
🌿 1 tsp dried parsley
-
🧂 1 pinch salt
Instructions
Preheat your oven to 350°F (175°C) and lightly grease a 9×13-inch baking dish or line it with parchment paper.
In a skillet over medium heat, cook the bacon until crisp. Drain on paper towels, then crumble into pieces.
In the same skillet, add the ground beef and onion (if using). Season with garlic powder, onion powder, salt, and pepper. Cook until browned and fully cooked, then drain any excess fat.
Place the bottom halves of the slider buns into the prepared baking dish. Evenly spread the cooked beef over the buns. Add a layer of crumbled bacon, followed by a layer of cheese slices to cover the entire surface.
Add the top halves of the buns. In a small bowl, mix melted butter, garlic powder, parsley, and salt, then brush generously over the tops of the sliders.
Cover with foil and bake for 15 minutes, then uncover and bake an additional 5–7 minutes, or until the tops are golden and the cheese is fully melted.
Use a sharp knife to slice into individual sliders and serve hot, optionally topped with pickles, ketchup, or your favorite burger sauce.
Notes
These sliders are hard to mess up, but here’s how to make them next-level:
-
👩🍳 Drain the beef well – Avoid soggy buns by getting rid of excess grease.
-
🧈 Butter brush = flavor boost – Don’t skip the glaze—it adds color, flavor, and a perfect soft crunch.
-
🧀 Don’t skimp on cheese – You want full coverage and that melty stretch.
- Prep Time: 15 minutes
Nutrition
- Calories: 290
- Sugar: 4g
- Sodium: 480mg
- Fat: 19g
- Carbohydrates: 17g
- Protein: 15g
