
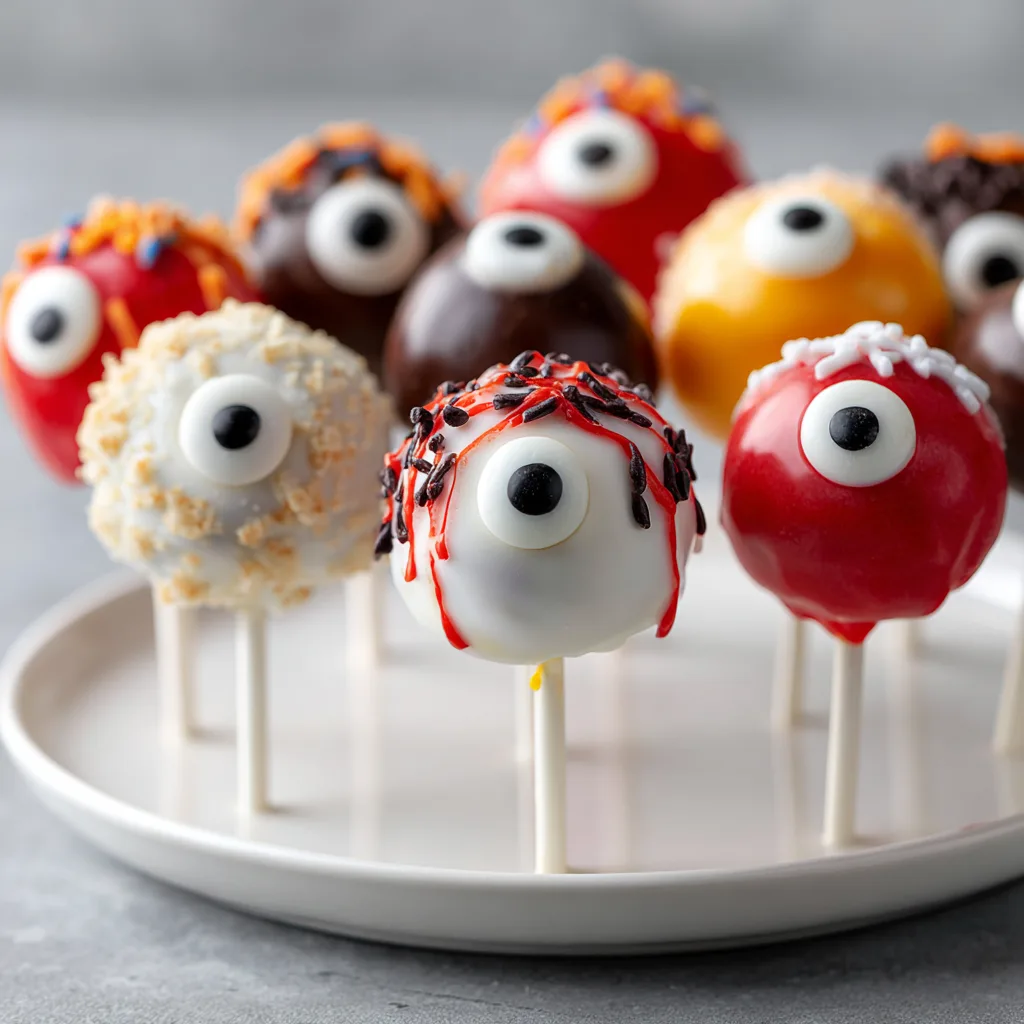
Introduction to Eyeball Cake Pops
As a busy mom, I know how challenging it can be to whip up something fun and exciting for my family. That’s why I absolutely adore these Eyeball Cake Pops! They’re not just a treat; they’re a delightful surprise that can turn any ordinary day into a mini celebration. Perfect for Halloween or any themed party, these spooky sweets are easy to make and will surely thrill your guests. Plus, they’re a fantastic way to get the kids involved in the kitchen. Let’s dive into this delicious adventure together!
Why You’ll Love This Eyeball Cake Pops
These Eyeball Cake Pops are a game-changer for busy days! They come together quickly, making them perfect for last-minute gatherings or school events. The taste? Absolutely delightful! The combination of moist cake and creamy frosting, all wrapped in a sweet chocolate coating, is simply irresistible. Plus, they’re a fun way to get creative in the kitchen, allowing you to unleash your inner artist while making spooky treats that everyone will love!
Ingredients for Eyeball Cake Pops
Gathering the right ingredients is the first step to creating these fun Eyeball Cake Pops. Here’s what you’ll need:
- Cake mix: Choose your favorite flavor! Chocolate or vanilla works great, but feel free to experiment.
- Frosting: A classic buttercream or cream cheese frosting adds a rich, sweet touch. You can even use store-bought for convenience.
- White chocolate melts: These are perfect for coating your cake pops. They melt smoothly and create a lovely base for decorating.
- Food coloring: Red and black are essential for creating those spooky veins. You can also use gel food coloring for more vibrant hues.
- Candy eyes: These little guys are what make your cake pops come to life! They add a fun and whimsical touch.
- Lollipop sticks: These are crucial for holding your cake pops. You can find them at craft stores or online.
For exact quantities, check the bottom of the article where you can find a printable version of the recipe. Happy baking!
How to Make Eyeball Cake Pops
Now that we have our ingredients ready, let’s get started on making these delightful Eyeball Cake Pops! Follow these simple steps, and you’ll have a spooky treat that’s sure to impress.
Step 1: Prepare the Cake Mix
First, preheat your oven according to the cake mix instructions. Then, prepare the cake mix as directed on the box. This is where the magic begins! The aroma of baking cake will fill your kitchen, making it feel like a cozy haven.
Step 2: Crumble the Cake
Once the cake is baked and cooled, it’s time to crumble it. I like to use my hands for this part; it’s oddly satisfying! Break the cake into small pieces in a large bowl. The finer the crumbs, the easier it will be to mix with the frosting.
Step 3: Mix with Frosting
Next, add your frosting to the crumbled cake. Mix it well until everything is combined. You want a dough-like consistency that holds together. If it feels too dry, add a bit more frosting. This step is where the flavor really comes alive!
Step 4: Form Cake Balls
Now, it’s time to roll the mixture into balls. I usually aim for about one inch in diameter. This size is perfect for popping in your mouth! Place the formed balls on a baking sheet lined with parchment paper. They should look like little cake truffles.
Step 5: Chill the Cake Balls
Chilling is crucial! Pop the baking sheet in the refrigerator for about 30 minutes. This helps the cake balls firm up, making them easier to dip later. Trust me, you don’t want them falling off the sticks!
Step 6: Melt the White Chocolate
While the cake balls chill, melt your white chocolate melts in a microwave-safe bowl. Heat in short bursts, stirring in between, until smooth. The melted chocolate should be silky and ready for coating. This is where the fun begins!
Step 7: Insert Lollipop Sticks
Take your chilled cake balls out of the fridge. Dip the end of each lollipop stick into the melted chocolate, then insert it into a cake ball. This little trick helps secure the stick in place. It’s like giving your cake pops a sturdy backbone!
Step 8: Coat with White Chocolate
Now, it’s time to coat the cake balls. Dip each one into the melted white chocolate, ensuring it’s fully covered. Let the excess chocolate drip off before placing them back on the baking sheet. This step is where they transform into spooky eyeballs!
Step 9: Let Set
Allow the coated cake pops to set. You can leave them at room temperature or pop them in the fridge for a quicker set. Watching the chocolate harden is like waiting for a surprise reveal!
Step 10: Decorate with Food Coloring and Candy Eyes
Finally, it’s time for the fun part—decorating! Use food coloring to create veins on your cake pops. A toothpick works great for this. Then, place the candy eyes on top. Voila! Your Eyeball Cake Pops are ready to thrill your guests!
Tips for Success
- Chill the cake balls thoroughly before dipping to prevent them from falling off the sticks.
- Use a toothpick to create detailed veins for a more realistic look.
- Experiment with different colors of candy melts for unique designs.
- Keep your workspace clean to avoid any chocolate mess.
- Store your cake pops in a cool place to maintain their shape and prevent melting.
Equipment Needed
- Baking sheet: A standard baking sheet works well, but a cooling rack can also be handy for setting the cake pops.
- Parchment paper: This helps prevent sticking. If you don’t have any, a silicone mat is a great alternative.
- Microwave-safe bowl: Any heatproof bowl will do for melting chocolate.
- Mixing bowl: A large bowl is essential for mixing the cake and frosting.
- Toothpick: Useful for decorating and creating details on your cake pops.
Variations
- Gluten-Free: Use a gluten-free cake mix to make these Eyeball Cake Pops suitable for those with gluten sensitivities.
- Vegan: Substitute the cake mix with a vegan option and use dairy-free frosting and chocolate melts for a plant-based treat.
- Flavor Twists: Experiment with different cake flavors like red velvet or lemon for a unique spin on the classic recipe.
- Colorful Coatings: Instead of white chocolate, try using colored candy melts to create a rainbow of spooky eyeballs!
- Nutty Additions: Mix in some crushed nuts or sprinkles into the cake mixture for added texture and flavor.
Serving Suggestions
- Pair your Eyeball Cake Pops with a spooky punch or themed cocktails for a festive touch.
- Serve them on a decorative platter with Halloween-themed decorations for an eye-catching display.
- Include a side of fruit or cheese to balance the sweetness of the cake pops.
- Wrap them in clear bags tied with ribbon for a fun party favor!
FAQs about Eyeball Cake Pops
As you embark on your Eyeball Cake Pops adventure, you might have a few questions. Here are some common queries I’ve encountered, along with helpful answers!
Can I make these Eyeball Cake Pops ahead of time?
Absolutely! You can prepare the cake balls and coat them in chocolate a day in advance. Just store them in the fridge to keep them fresh. They’ll be ready to decorate when you are!
What can I use instead of white chocolate melts?
If you’re not a fan of white chocolate, you can use milk or dark chocolate melts instead. Just remember, the color of your cake pops will change, but they’ll still taste delicious!
How do I store leftover cake pops?
Store your Eyeball Cake Pops in an airtight container in a cool place. They can last up to a week, but I doubt they’ll stick around that long!
Can I use different decorations for the eyeballs?
Definitely! Get creative with your decorations. You can use colored sprinkles, edible glitter, or even mini chocolate chips for a unique twist on your spooky treats.
Are these cake pops suitable for kids?
Yes! These Eyeball Cake Pops are a hit with kids. They’re fun to make and even more fun to eat. Just be mindful of any allergies when choosing your ingredients!
Final Thoughts
Creating these Eyeball Cake Pops is more than just baking; it’s about making memories with your loved ones. The joy on my kids’ faces when they see these spooky treats is priceless. They’re not only a fun project but also a delicious way to celebrate any occasion. Whether it’s Halloween or a simple family gathering, these cake pops bring a sense of excitement and creativity to the kitchen. So, roll up your sleeves, gather your ingredients, and let the fun begin! I promise, the smiles and laughter will be worth every moment spent making these delightful treats.
Print
Eyeball Cake Pops That Will Thrill Your Guests Today!
- Total Time: 1 hour
- Yield: 24 cake pops 1x
- Diet: Vegetarian
Description
These Eyeball Cake Pops are a fun and spooky treat perfect for Halloween or any themed party. They are easy to make and will surely thrill your guests!
Ingredients
- 1 box of cake mix
- 1 cup of frosting
- White chocolate melts
- Food coloring (red and black)
- Candy eyes
- Lollipop sticks
Instructions
- Prepare the cake mix according to package instructions and bake.
- Once cooled, crumble the cake into a large bowl.
- Add frosting to the crumbled cake and mix until combined.
- Form the mixture into balls and place them on a baking sheet.
- Chill the cake balls in the refrigerator for about 30 minutes.
- Melt the white chocolate melts in a microwave-safe bowl.
- Dip the end of each lollipop stick into the melted chocolate and insert it into a cake ball.
- Coat each cake ball in the melted white chocolate and let excess drip off.
- Place the coated cake pops back on the baking sheet and let them set.
- Once set, use food coloring to create veins and place candy eyes on top.
Notes
- Make sure the cake balls are chilled before dipping to prevent them from falling off the stick.
- You can use different colors of candy melts for a variety of effects.
- Store in a cool place to keep the chocolate from melting.
- Prep Time: 30 minutes
- Cook Time: 30 minutes
- Category: Dessert
- Method: Baking and Dipping
- Cuisine: American
Nutrition
- Serving Size: 1 cake pop
- Calories: 150
- Sugar: 12g
- Sodium: 50mg
- Fat: 7g
- Saturated Fat: 4g
- Unsaturated Fat: 2g
- Trans Fat: 0g
- Carbohydrates: 20g
- Fiber: 0g
- Protein: 2g
- Cholesterol: 15mg
Keywords: Eyeball Cake Pops, Halloween Treats, Cake Pops, Spooky Desserts
