
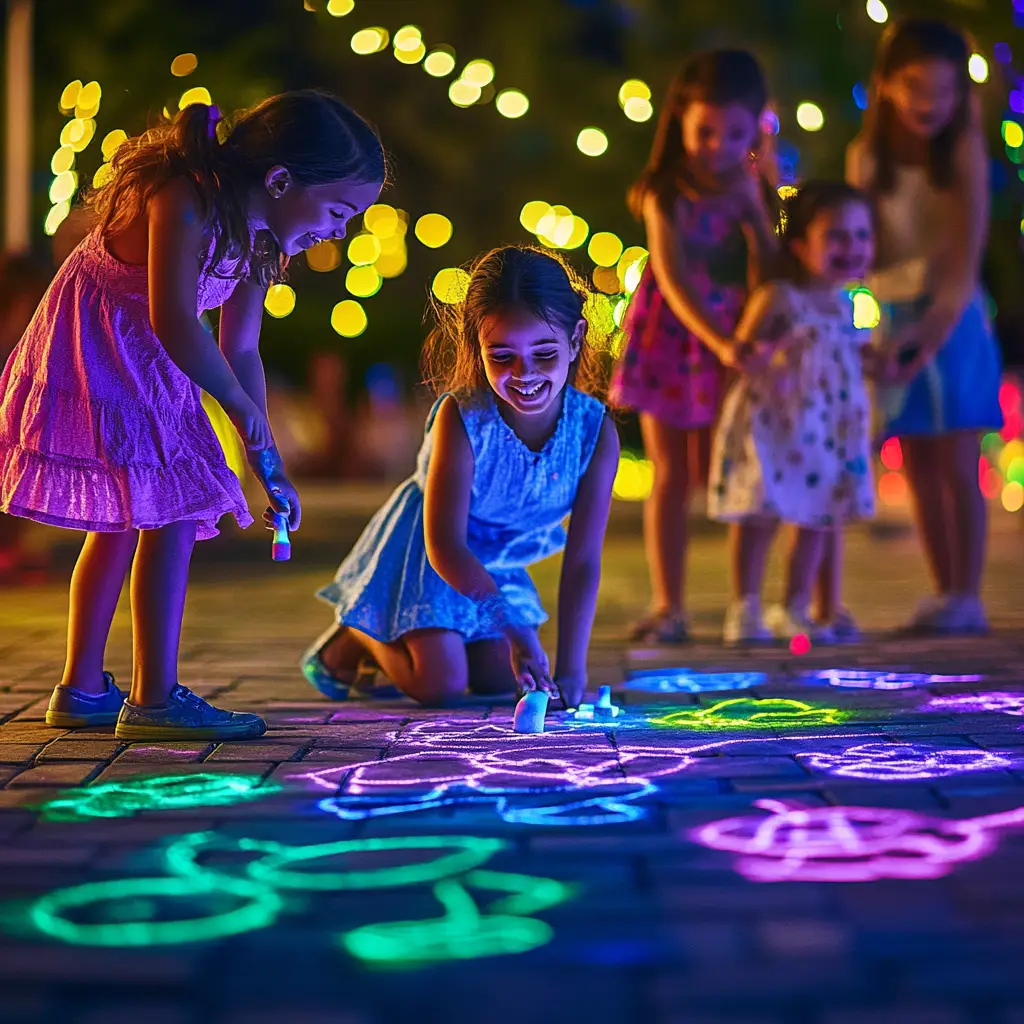
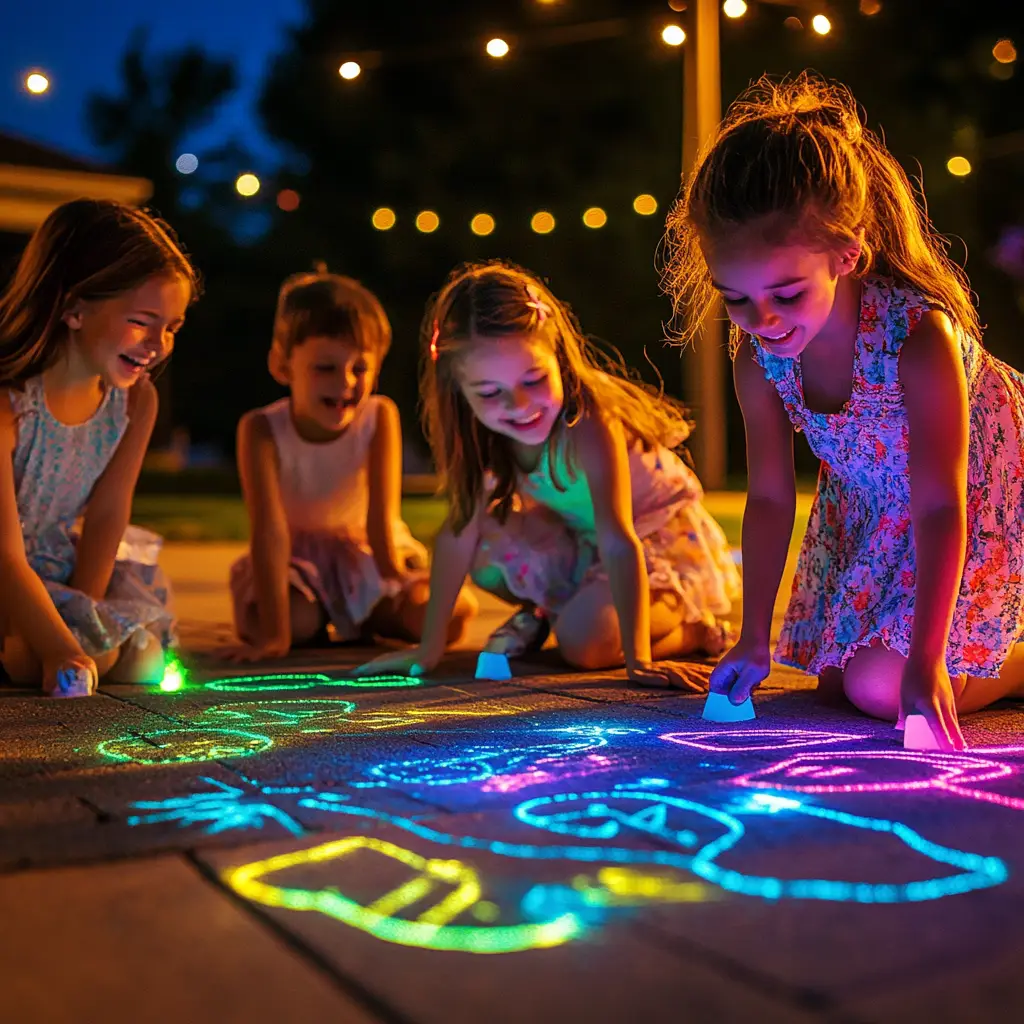
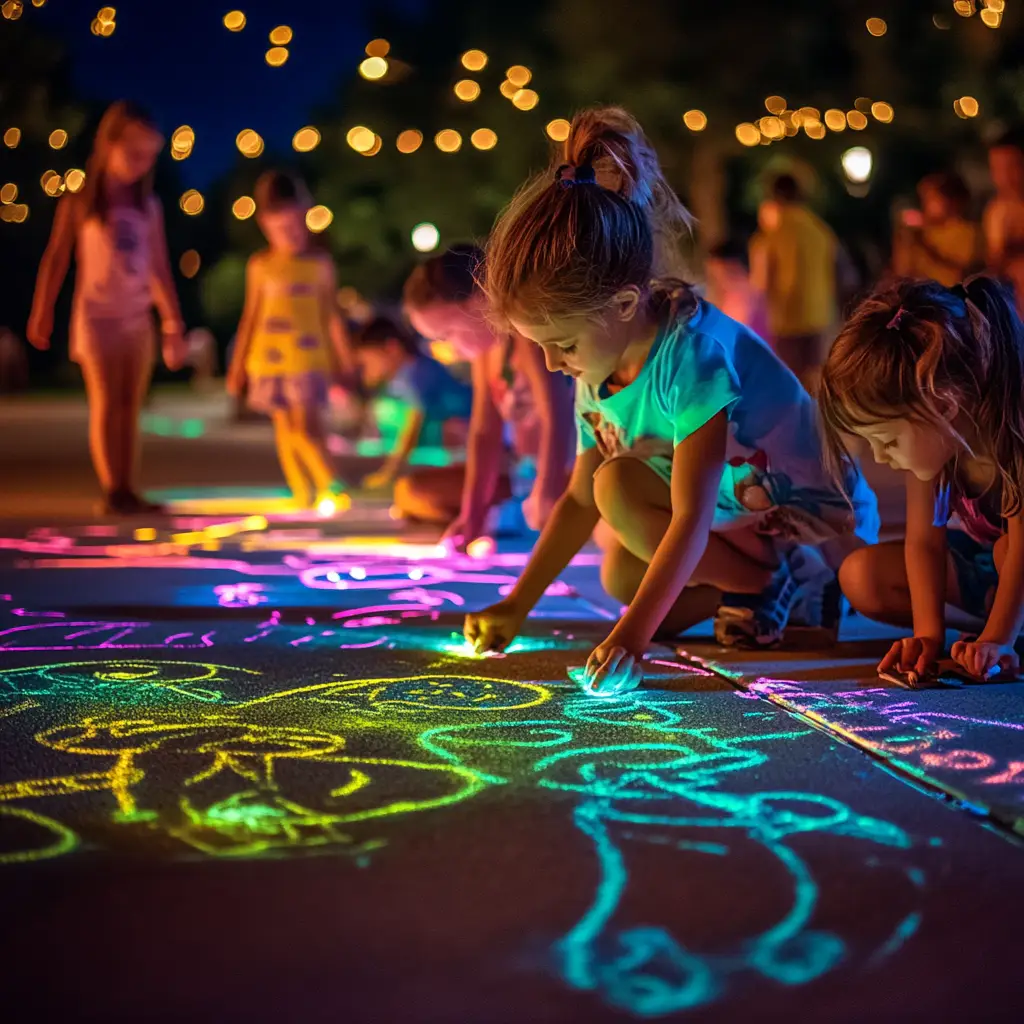
When the sun goes down, most sidewalk art fades into darkness—but not anymore. With glow-in-the-dark chalk, your creative designs can come alive in the night, glowing brilliantly under blacklight or after soaking up a bit of sunshine. This DIY craft turns ordinary sidewalks, patios, and driveways into neon-lit wonderlands where creativity knows no bedtime.
This project is more than just an art activity. It’s a blend of creativity, science, and sensory play that’s engaging for kids, fun for adults, and perfect for parties, learning, or simply adding a bit of magic to a quiet evening at home. Whether you’re crafting chalk sticks or glow paint, the process is simple, the materials are easy to find, and the results are absolutely stunning.
In this guide, you’ll learn step-by-step how to make your own glow-in-the-dark chalk sticks and sidewalk paint, including tips for brighter results, safety guidelines, and creative ideas to take your glowing adventure to the next level.
Why You’ll Love This Project
-
Fun for All Ages: Safe and accessible with adult supervision, perfect for family bonding, birthday parties, or educational activities.
-
Customizable: You can choose colors, shapes, and glow strength to suit your style or event theme.
-
Science Meets Art: A playful way to introduce kids to chemistry and light properties, using phosphorescent and fluorescent materials.
-
Budget-Friendly: Requires inexpensive ingredients that are easy to source.
-
Reusable and Washable: Easy cleanup and reusable moulds make this project stress-free.
What You’ll Need
This glow-in-the-dark chalk project is split into two types: chalk sticks and chalk paint. Both use slightly different materials but are equally exciting and glow-worthy.
Materials for Chalk Sticks
-
1 cup plaster of Paris
-
½ cup warm water
-
2–3 tablespoons glow-in-the-dark pigment powder (phosphorescent powder; ensure it’s non-toxic)
-
Optional: Food coloring or liquid watercolors (for colored chalk)
-
Silicone moulds (star shapes, animals, geometric designs, or even ice cube trays work great)
Materials for Chalk Paint
-
½ cup cornstarch
-
½ cup tonic water (contains quinine, which glows under blacklight)
-
A few drops of neon or fluorescent paint (make sure it’s safe and washable)
Tools You’ll Need
-
Measuring cups and spoons
-
Mixing bowls
-
Whisk or spoon
-
Blacklight or UV flashlight (for instant glowing magic)
How to Make Glow-in-the-Dark Chalk Sticks
Creating DIY chalk sticks that glow involves a few simple steps. Most of the work is mixing, moulding, and waiting for them to set.
Step 1: Mix the Dry Ingredients
Start by adding 1 cup of plaster of Paris into a mixing bowl. Next, add 2–3 tablespoons of glow-in-the-dark pigment powder. Stir thoroughly so the powder distributes evenly throughout the mixture.
Tip: Use a mask during this step, as fine pigment powder can become airborne and may irritate the lungs.
Step 2: Add the Water
Slowly pour in ½ cup of warm water while stirring continuously. This helps prevent lumps from forming and ensures an even texture. If you want to add color to your chalk, this is the best moment to mix in a few drops of food coloring or liquid watercolors.
The result should be a pourable paste, similar to a thick pancake batter.
Step 3: Mould the Mixture
Pour the mixture into your chosen silicone moulds. Tap the moulds gently on a flat surface to eliminate any trapped air bubbles that could weaken the chalk.
Let the moulds sit undisturbed for 12 to 24 hours, allowing the chalk to harden fully.
Step 4: Unmould and Cure
Once hardened, carefully remove the chalk from the moulds. At this stage, the chalk sticks are formed but still fragile. For best results, let them cure in a dry area for another 24 hours. This strengthens the chalk and improves its glow duration.
How to Make Glow-in-the-Dark Chalk Paint
Chalk paint offers a more fluid, immediate way to create art. Unlike chalk sticks, paint can be brushed on like watercolor for glowing murals or letters.
Step 1: Mix Cornstarch and Tonic Water
In a mixing bowl, whisk together ½ cup cornstarch and ½ cup tonic water until completely smooth. Tonic water is key—it contains quinine, a substance that glows a bright blue under UV light.
Step 2: Add Neon Paint
Stir in a few drops of neon or fluorescent paint. The more you add, the more vivid the color. Use multiple bowls if you want a variety of colors.
Step 3: Paint the Night
Use paintbrushes or foam brushes to apply the paint on sidewalks, black paper, windows, or other safe surfaces. For best visibility, shine a blacklight over your artwork and watch it glow instantly.
Pro Tips for Best Results
-
Wear a Dust Mask: Especially when handling glow powder and plaster to avoid inhalation.
-
Stir Gently but Thoroughly: Rapid mixing introduces air bubbles which weaken the chalk.
-
Cure Fully: Curing for 24 hours after demoulding ensures chalk doesn’t crumble.
-
Use White or Bright-Colored Moulds: They reflect more light and improve the final brightness.
-
Charge Glow Pigment: If using phosphorescent powder, place chalk under sunlight or a bright lamp before use.
Creative Uses for Glow-in-the-Dark Chalk
The possibilities don’t stop at sidewalk art. This glowing chalk can be used in a variety of fun and educational ways:
1. Backyard Glow Art Show
Host a nighttime art exhibition in your driveway. Invite friends, set up blacklights, and let everyone create their glowing masterpiece. Set themes or host a “best design” contest.
2. Neon Hopscotch & Games
Use the chalk paint to draw hopscotch, tic-tac-toe, or race tracks on the ground. Perfect for glow-themed parties or school events.
3. Blacklight Scavenger Hunt
Write clues using glow chalk on fences, trees, or pavement. Give each participant a blacklight flashlight and let them hunt for the next glowing clue.
4. Educational STEM Activity
Teach children about light energy, fluorescence, and chemical reactions. This project offers a practical and engaging science lesson without feeling like a lecture.
5. Themed Parties
Planning a glow party? Pair your chalk craft with other glow-in-the-dark elements like:
-
Neon streamers or balloons
-
Glow-in-the-dark face paint
-
Glow lemonade (tonic water + lemon juice + edible glitter)
-
Glow slime stations using similar pigment powder
Safety Tips
-
Use Non-Toxic Materials: Always check that your glow powder and paint are labeled as non-toxic and safe for use in children’s crafts.
-
Supervise Kids: Adults should help with mixing and handling powder and plaster.
-
Outdoor Use Only: Stick to outdoor surfaces like concrete and pavement. Avoid indoor use unless testing on a scrap material.
-
Test Surfaces First: Although washable, some paints and pigments may stain porous surfaces. Test on a small patch if unsure.
Troubleshooting & FAQs
Why isn’t my chalk glowing?
Glow pigment needs to charge in light before it glows. Place it under bright light or sunlight for 15–30 minutes. If using chalk paint, make sure to shine a blacklight on it, especially if it uses fluorescent paint or tonic water.
Can I use glow-in-the-dark paint instead of pigment powder?
Yes, but mixing it with plaster can be tricky. Stick to pigment powder for chalk sticks, and use glow paint for liquid chalk or artwork.
Can I store the chalk paint?
Yes, for up to 1–2 days in an airtight container. Stir well before reuse as the cornstarch tends to settle.
Will the chalk stain surfaces?
Generally, no. Most of these materials are washable. However, some paints or pigments may leave a temporary residue. Always test first and clean with water and mild soap if needed.
Can I add essential oils for scent?
Yes, a few drops of lavender or citrus oil can enhance the sensory aspect—but avoid adding too much as it may affect consistency.
Prep Time & Duration
| Task | Time |
|---|---|
| Mixing chalk stick materials | 10 minutes |
| Drying in moulds | 12–24 hours |
| Curing after unmoulding | 24 hours |
| Mixing chalk paint | 5 minutes |
| Using chalk paint | Immediate |
Total Time: Up to 2 days for chalk sticks; less than 10 minutes for chalk paint.
Conclusion
Glow-in-the-dark chalk is more than just a craft—it’s an experience. It sparks creativity, encourages outdoor play, introduces basic science, and transforms any setting into a glowing playground. Whether you’re using the chalk to host a night-time party, teach kids about phosphorescence, or simply have fun on a summer night, this DIY project is as rewarding as it is easy.
So get mixing, moulding, and painting. Let the sidewalks become your canvas, and bring your art to life in the dark.
With a little preparation and a splash of glow, you’ll light up the night in the most imaginative way possible
