

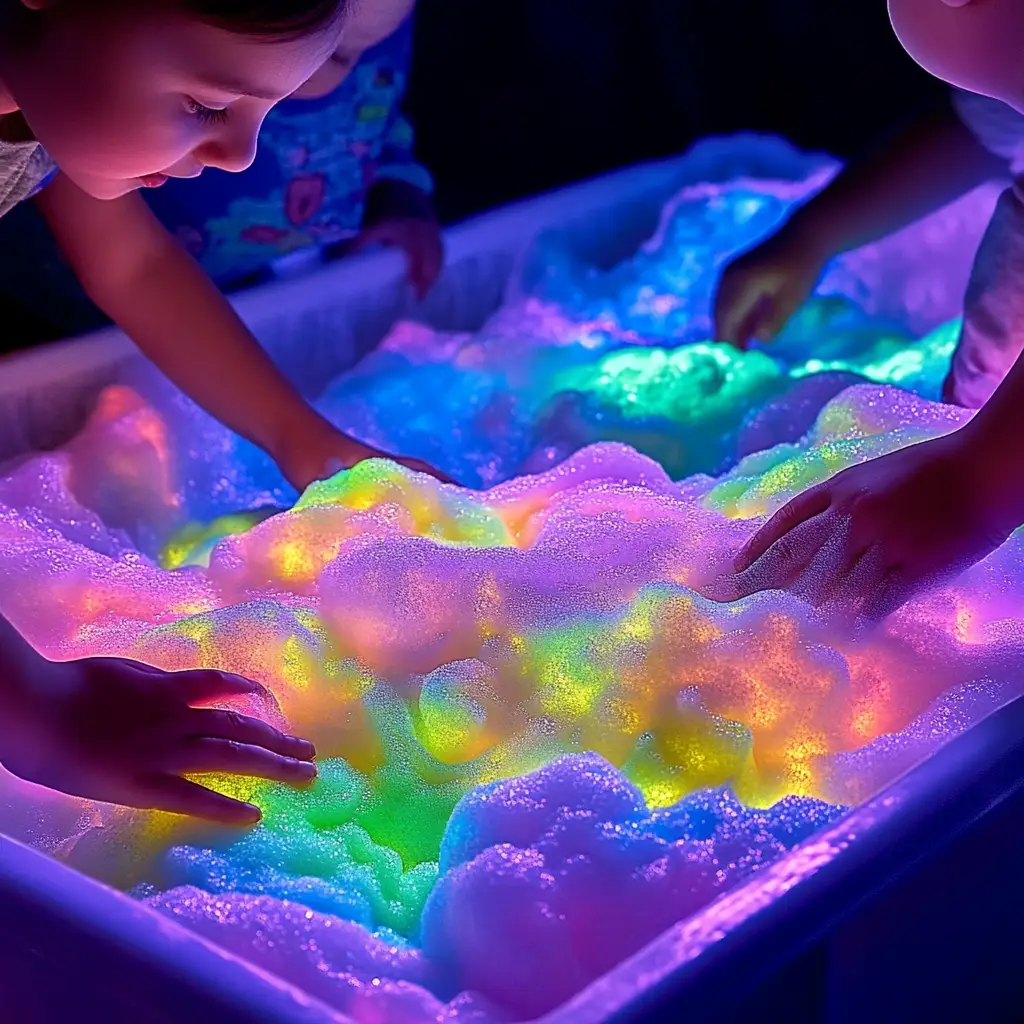
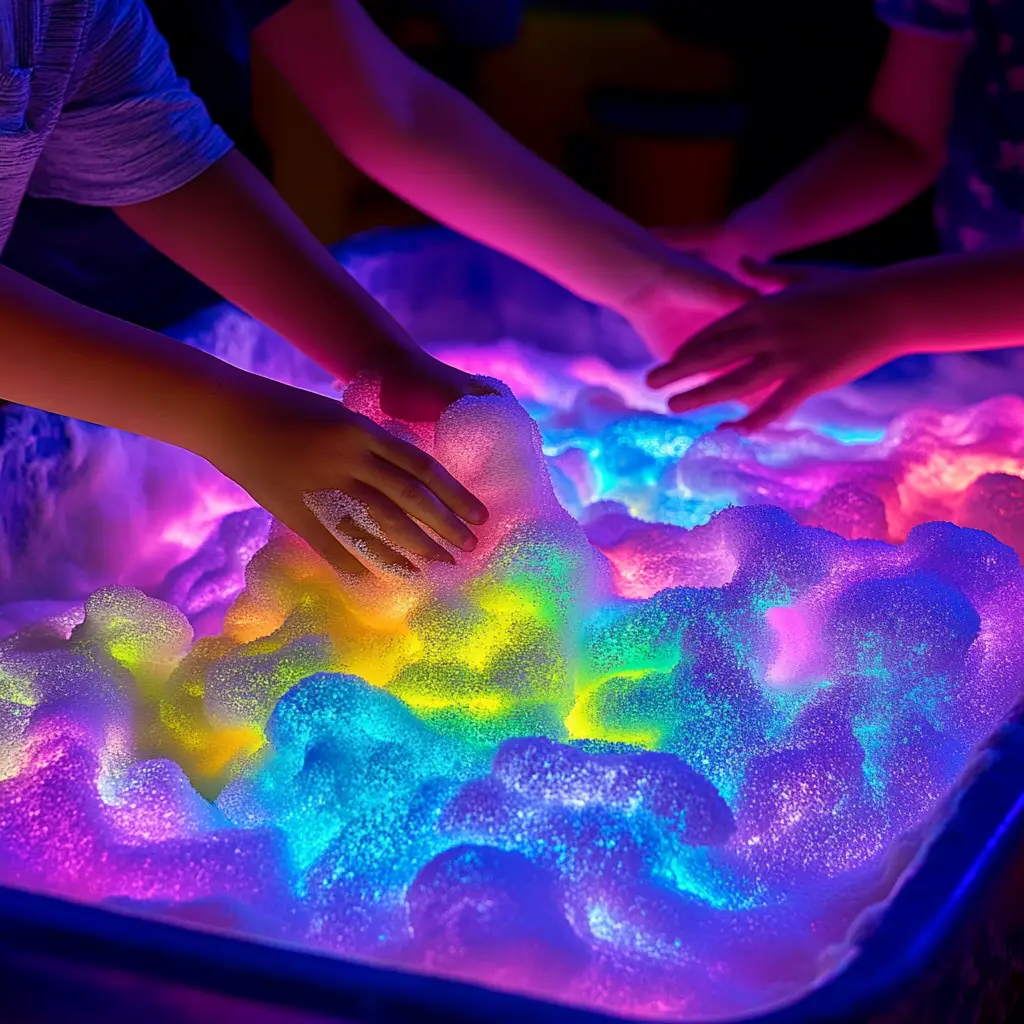
Looking for a creative and engaging sensory play activity that captivates kids both day and night? The Glow-in-the-Dark Foam Pile is a fun, fluffy, glowing science-meets-art experience that’s simple to create at home using a few child-safe ingredients. Whether you want an afternoon craft, a science-themed party activity, or a bedtime glow show, this DIY foam project delivers playful learning and sensory stimulation in one squishy bundle.
In this article, you’ll learn how to make glow-in-the-dark foam from scratch, how to customize it for different sensory needs, and the science behind the glow. You’ll also find safety tips, variations, and storage ideas to make this a go-to DIY project for any season.
Why Is This Foam Pile So Popular?
Glow-in-the-dark activities have long fascinated both kids and adults. When combined with tactile foam, this DIY becomes a sensory-rich, glow-filled wonderland. Here’s why it’s becoming a staple in sensory play setups:
-
Visually Stimulating: The foam glows under blacklight or in dark rooms, turning ordinary play into a glowing adventure.
-
Easy to Make: With just foaming soap, water, and paint, you can create large piles of fluff in minutes.
-
Safe and Non-Toxic: By using kid-friendly, unscented baby shampoo and glow paint, the play remains safe and mess-manageable.
-
Tactile and Soothing: The texture encourages squishing, squeezing, and sculpting—all important for sensory development.
-
Day-to-Night Play: Add neon food coloring for bright daytime visuals, and let it glow at night for a magical transformation.
Whether you’re a parent, caregiver, or educator, this foam activity offers a unique way to engage children’s senses while introducing basic concepts of light and texture.
Why You’ll Love This DIY Activity
Parents and kids alike are drawn to this project for a variety of reasons:
-
Minimal Ingredients: Requires only a few easy-to-find household items.
-
Customizable Colors: Create rainbow foam piles or stick to spooky green glow for Halloween fun.
-
Educational Element: A simple way to introduce children to concepts like fluorescence and phosphorescence.
-
Multi-Sensory Benefits: Engages sight, touch, and fine motor coordination.
-
Quick Setup and Cleanup: Great for spontaneous play sessions or planned activities.
This DIY project is perfect for indoor sensory play, themed parties, classrooms, or even as a soothing wind-down activity before bed.
Ingredients
Here’s what you need to get started with your glow-in-the-dark foam pile:
Main Ingredients:
-
½ cup unscented foaming soap or baby shampoo
-
1–2 tablespoons water
-
1 teaspoon glow-in-the-dark paint or UV-reactive paint (ensure it is non-toxic and child-safe)
Optional Additions:
-
A few drops of neon food coloring for vibrant daytime color
-
Plastic toys, scoops, or small safe shapes
-
Glitter or texture beads for added sensory elements (must be non-toxic and size-appropriate)
Tools Needed:
-
Large mixing bowl
-
Whisk or hand mixer
-
Sensory bin or play tray
-
Measuring cups and spoons
-
Blacklight (optional, for enhanced glowing effect)
Step-by-Step Instructions
Follow these steps to make your own glow-in-the-dark foam pile:
Step 1: Combine Soap and Water
In a large bowl, pour ½ cup of unscented foaming soap or baby shampoo. Add 1–2 tablespoons of water. Stir gently to begin combining.
This step sets the base for the foam’s texture. Using too much water will thin the foam; too little may not whip properly.
Step 2: Add Glow Paint
Add 1 teaspoon of glow-in-the-dark or UV-reactive paint to your mixture. Be sure the paint is labeled as non-toxic and safe for children. Stir the paint in thoroughly to distribute the glow effect evenly.
Step 3: Whip Until Fluffy
Using a hand mixer (or a whisk and strong arm), begin to whip the mixture. After about 1–2 minutes, the mixture should become light, airy, and fluffy—similar to shaving cream.
For best results, whip on medium speed and watch as the foam doubles in volume and becomes more structured.
Step 4: Add Optional Color
If you want the foam to be bright and colorful during daylight hours, now is the time to add food coloring. Neon or high-intensity food dyes work best for maintaining vibrant tones. Start with 2–3 drops and mix thoroughly.
Step 5: Transfer to a Play Bin
Scoop the whipped foam into a large tray or sensory bin. Pile it high into fluffy mounds that resemble clouds or whipped frosting. Flatten, swirl, or sculpt as desired.
This step transforms the foam into an interactive, hands-on experience.
Step 6: Activate the Glow
To see the glowing effect, dim the lights in the room or shine a blacklight over the foam. Some paints need to “charge” under light for a few minutes before glowing in the dark.
The glow adds a magical twist and creates a perfect sensory experience for evening or low-light play.
Step 7: Play and Explore
Encourage children to play freely with the foam using their hands, spoons, small toys, or even cookie cutters. Let them squish, swirl, or bury toys. The texture is soft, fluffy, and incredibly engaging.
Important Tips for Success
-
Use Unscented Soap: Fragranced soap can sometimes irritate sensitive skin. Stick to baby shampoo or unscented foaming soap when possible.
-
Don’t Overmix: Overmixing can cause the foam to lose structure. Stop once it’s thick and holds its shape.
-
Use a Blacklight for Best Glow: UV-reactive paint works better with blacklight. Glow-in-the-dark paint may need to be exposed to bright light before glowing.
-
Prep the Area: Foam can be messy. Lay down a plastic tablecloth or play mat for easier cleanup.
Variations and Creative Ideas
Make this foam even more fun and educational by incorporating a few exciting twists:
1. Hidden Toy Hunt
Bury small, waterproof toys or objects inside the foam. Kids can dig with their fingers or scoops to find them. This adds a treasure-hunt element to the activity.
2. Texture Additions
Add a spoonful of fine glitter, small texture beads, or water-safe confetti. Always ensure these are safe for children and won’t pose a choking hazard.
3. Scented Foam
Add a drop of vanilla, lavender, or citrus essential oil for an aromatic sensory twist. Make sure the oils are skin-safe and diluted properly.
4. Holiday Themes
-
Halloween: Orange or green food coloring with spooky toys like mini bats or ghosts.
-
Christmas: Red and green foam with tiny bells or snowflake cutouts.
-
Springtime: Pastel foam with flower petals or mini bunny toys.
Science Behind the Glow
There are two main types of glow you can create in this project:
Phosphorescent Paint (Glow-in-the-Dark)
These paints absorb light (natural or artificial) and slowly release it in the dark, creating a gentle glow. They do not require a blacklight, but they do need exposure to a strong light source beforehand.
Fluorescent Paint (UV-Reactive)
These paints glow under blacklight. They don’t glow in total darkness unless exposed to UV light. They are ideal for indoor playrooms with blacklight setups or party environments.
Both types can be used safely in this activity as long as the product is non-toxic and rated for children’s crafts.
Make-Ahead and Storage Tips
This foam is best used fresh for maximum fluff and volume. However, if you’d like to prepare it ahead of time, here are a few guidelines:
-
Short-Term Storage: Store in an airtight container for up to 24 hours. Fluff again with a whisk before play.
-
Re-whipping: If foam deflates or loses volume, re-whip it for 30 seconds to refresh.
-
Disposal: When finished, discard foam in the trash. Do not pour large amounts down the sink to avoid clogging drains.
If you’d like to prepare multiple colors or batches for themed events, mix and store each in separate containers until ready to use.
Safety and Clean-Up
-
Always supervise children during play.
-
Avoid contact with eyes or open wounds.
-
If using glow paint, double-check ingredients to confirm they are child-safe.
-
Use gloves or smocks if needed to protect clothing.
-
Clean tools and surfaces with warm water and soap.
Frequently Asked Questions
Is glow-in-the-dark paint safe for kids?
Yes, as long as it’s labeled non-toxic and intended for use in crafts or children’s art. Avoid industrial or non-certified paints.
Does this foam stain surfaces or hands?
If using food coloring or some glow paints, slight staining may occur. Use washable ingredients where possible and play on protected surfaces.
Can I use shaving cream instead of foaming soap?
Shaving cream can be used as a substitute, but the texture may be slightly different and it may not hold the glow paint as well.
How long will the glow last?
UV-reactive foam will glow as long as the blacklight is on. Glow-in-the-dark paint typically glows for 10–30 minutes after charging under bright light.
Is this activity safe for toddlers?
With proper supervision and edible-safe paint substitutes, this can be made toddler-friendly. Avoid small beads or toys for children under 3.
Conclusion
The glow-in-the-dark foam pile is a hands-on sensory activity that’s both fun and educational. Easy to make, budget-friendly, and fully customizable, this fluffy glowing foam inspires creativity and sensory exploration. Whether for a themed party, a classroom science experiment, or a rainy afternoon at home, this DIY project is sure to delight.
By combining tactile play with glowing magic, you create more than just a sensory bin—you build memories, curiosity, and opportunities for joyful learning.
