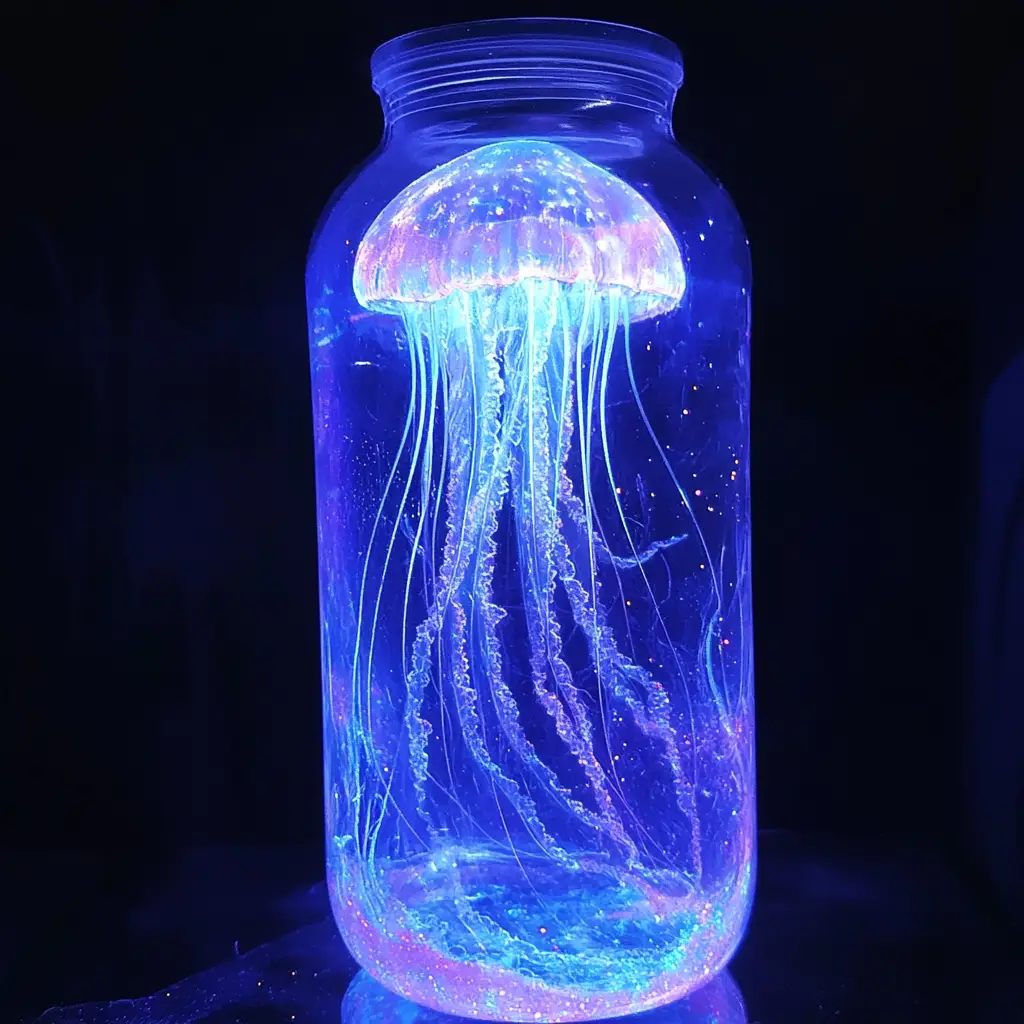
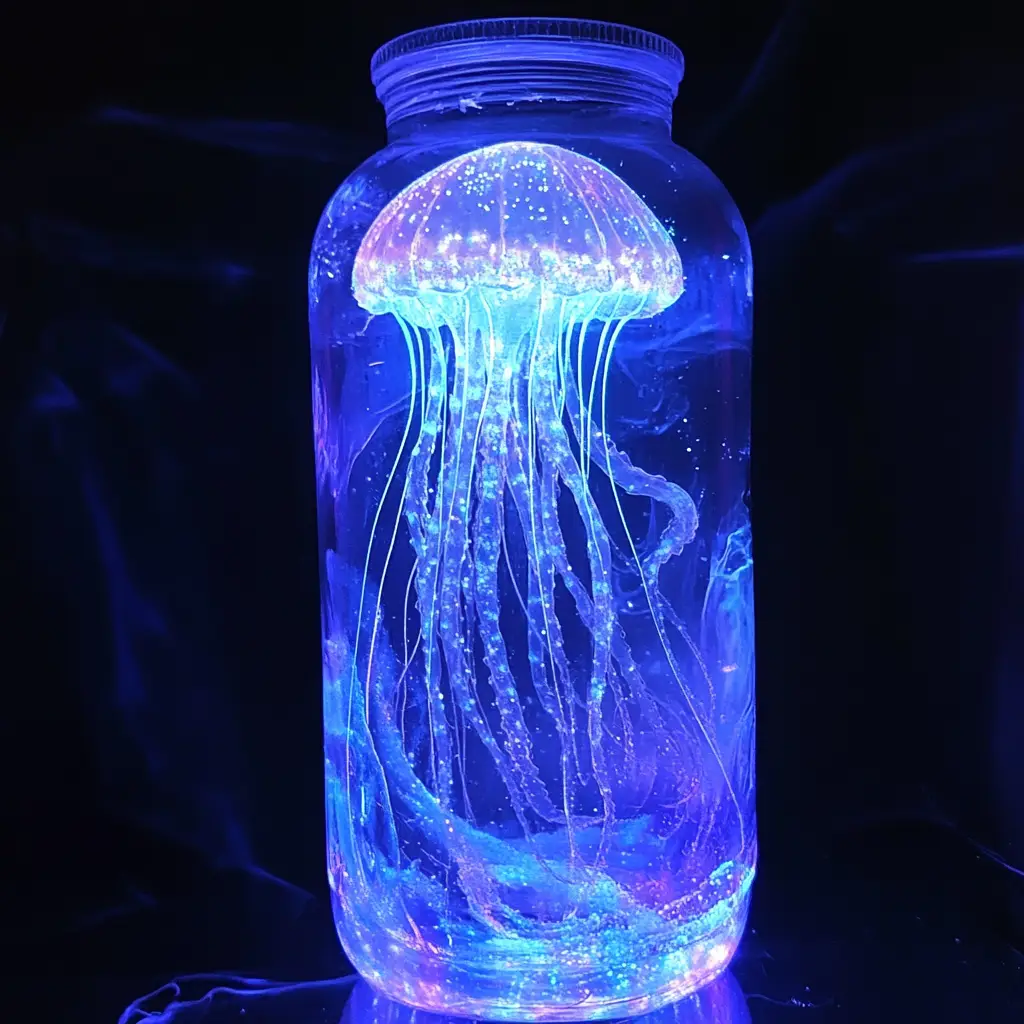
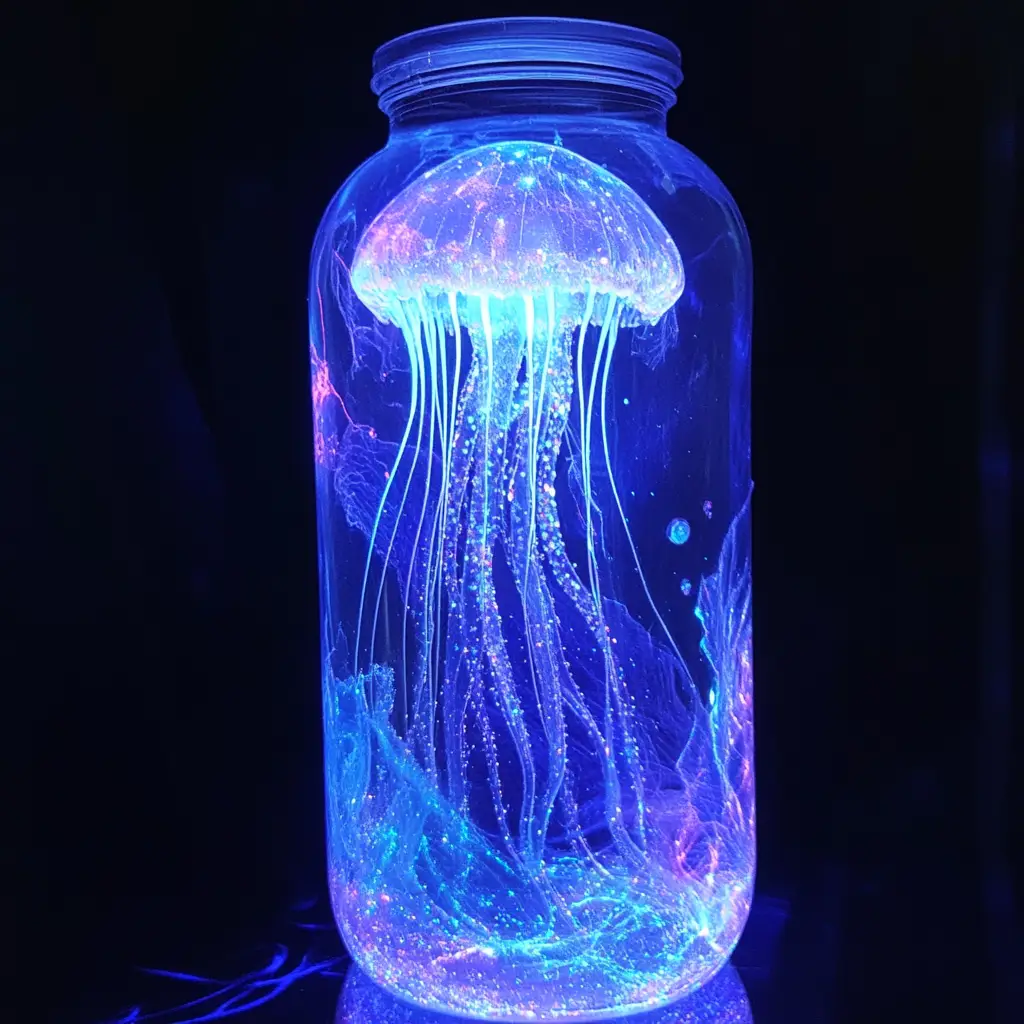
Ever dreamt of bottling the magic of the ocean and bringing it into your home? With the Glowing Jellyfish in a Bottle project, you can do just that. This captivating craft merges creativity, science, and art into a sensory experience that both kids and adults will love. The result is a glowing, gently swaying jellyfish suspended in a bottle of water—a miniature marine world that glows in the dark.
Perfect for rainy days, classroom projects, nighttime décor, or themed parties, this DIY activity is incredibly simple yet visually stunning. In this guide, you’ll learn how to make your own glowing jellyfish using materials you likely already have at home.
Let’s dive into the details and bring this ocean fantasy to life.
Why You’ll Love This Project
The Glowing Jellyfish in a Bottle craft isn’t just beautiful—it’s also an educational and sensory-rich activity that encourages creativity, motor skills, and curiosity about science.
Here’s why you’ll enjoy this project:
-
Affordable and accessible: No expensive supplies or specialty tools required.
-
Hands-on learning: Kids can learn about bioluminescence, fluid dynamics, and marine biology.
-
Engaging for all ages: Suitable for young children (with supervision), teens, and adults alike.
-
Customizable: Choose your own colors, glow method, and decorations.
-
Reusable and safe: No batteries, no plugs, and totally safe if sealed properly.
Whether used as a calming sensory bottle or a showpiece at a glow-themed event, this jellyfish craft delivers beauty and wonder in one easy bottle.

Materials Needed
To get started, gather the following supplies. Most can be found around the house or picked up inexpensively at any dollar or craft store.
-
1 clear plastic bottle with lid (any size, but 500 mL to 1-liter bottles work best)
-
1 plastic grocery bag or thin plastic sheet (produce bags, sandwich bags, or packaging film work well)
-
Thread or clear fishing line (for tying and suspending the jellyfish)
-
Water (filtered or tap)
-
Glow-in-the-dark paint or tonic water (which contains quinine and glows under UV light)
-
Optional: glitter, glow-in-the-dark beads, or sequins
-
Scissors
-
UV blacklight (needed only if using tonic water)
Step-by-Step Directions
Creating your glowing jellyfish involves just a few simple steps. Below is a detailed breakdown to help you get the best results.
Step 1: Create the Jellyfish Body
Start by cutting a square from your plastic bag or sheet, roughly 6 by 6 inches. If your bottle is small, scale down the size to avoid crowding.
Form the jellyfish shape:
-
Pinch the center of the plastic square.
-
Twist it slightly to form a rounded “head” about the size of a marble.
-
Use thread or fishing line to tie around the twisted area, creating the jellyfish head and separating it from the tentacles.
Make the tentacles:
-
Cut the loose ends of the plastic below the thread into thin strips. You can vary the length and width to create a more realistic, flowing appearance.
-
Optional: Gently stretch or curl a few of the tentacles for added movement when underwater.
Tip: Use soft, thin plastic for natural floating. Thicker plastic doesn’t move as smoothly in water.
Step 2: Add the Glow Effect
There are two main ways to make your jellyfish glow: glow-in-the-dark paint and tonic water. Choose one based on your preference and available materials.
Option A: Using Glow-in-the-Dark Paint
-
Lightly coat the jellyfish head and some tentacles with glow-in-the-dark paint.
-
Let it dry for about 10–15 minutes, or until tacky but not stiff.
-
Do not overload the plastic with paint, as it can weigh down the jellyfish and affect its buoyancy.
Option B: Using Tonic Water
-
Skip painting the jellyfish.
-
Instead, in Step 3, you’ll substitute regular water with tonic water, which contains quinine.
-
Tonic water will only glow under a UV blacklight, but it produces a brilliant blue-white glow.
Note: Glow paint will work without a blacklight but needs to be “charged” under regular light first. Tonic water needs a UV light to glow but doesn’t need charging.

Step 3: Fill the Bottle
Take your clean plastic bottle and fill it about 90% full with water. Here’s how to proceed depending on your glowing method:
-
If using glow-in-the-dark paint, fill the bottle with plain water.
-
If using tonic water, fill all or part of the bottle with tonic water.
-
You can also do a 50/50 mix of water and tonic for a slightly subtler glow.
Optional Add-ins:
-
Sprinkle in a small amount of glitter for a starry or ocean-bubble effect.
-
Add glow-in-the-dark beads or sequins to simulate other glowing marine life.
Warning: Too much glitter or too many beads can make the bottle look cloudy and obscure the jellyfish.
Step 4: Insert the Jellyfish
Now gently insert your jellyfish into the bottle.
-
Fold or roll the tentacles inward and slide the jellyfish through the bottle opening.
-
You can use a pencil or chopstick to help guide it in.
-
Gently shake or rotate the bottle to allow the jellyfish to float freely.
The jellyfish should rise and fall slightly in the water, mimicking the slow, ethereal motion of real jellyfish in the ocean.
Step 5: Seal the Bottle and Enjoy the Glow
-
Screw the lid on tightly to prevent leaks.
-
You can also use hot glue or duct tape around the lid for extra sealing, especially if this will be handled by children.
To see it glow:
-
If using glow paint, turn off the lights after “charging” the bottle in bright light for a few minutes.
-
If using tonic water, shine a UV blacklight on the bottle in a dark room for an instant glow.
Watch the jellyfish glow, float, and dance with each gentle shake or tilt of the bottle. The effect is hypnotic, calming, and magical.
Creative Variations
You can adapt the glowing jellyfish bottle in many fun ways. Here are a few creative spins on the original idea:
1. Mini Jellyfish Aquarium
Make several smaller jellyfish and add them to one large bottle for a mini-aquarium look. Use different plastic bag colors and glow paint shades for variety.
2. Colored Water Oceans
Use food coloring to tint the water blue or green for an ocean effect. If using tonic water, avoid strong coloring—it can obscure the glow under UV light.
3. Jellyfish Nightlight
Use a large bottle or jar and place it near your bedside table. It works beautifully as a soft nightlight when paired with a small UV blacklight bulb or a charged glow paint.
4. Ocean in a Bottle Party Favor
Make mini versions of this project in small water bottles to give away at ocean-themed birthday parties or school events.
5. Glow Bead Storm
Add glow-in-the-dark beads that slowly sink and rise. These simulate plankton or marine particles for a dreamy sea vibe.
Tips for Best Results
To get the most out of your glowing jellyfish bottle, keep the following tips in mind:
-
Use thin, soft plastic for natural movement.
-
Don’t overdo it on the glow paint—it should enhance, not weigh down.
-
Recharge glow paint by placing the bottle near a strong light source for several minutes before turning off the lights.
-
Keep the bottle upright when displaying to avoid tangling the tentacles.
-
If using tonic water, place the bottle near a strong UV blacklight for best visibility.
Project Time Estimate
This DIY project is quick and easy, making it perfect for spontaneous crafting or planned activities.
-
Preparation Time: 10–15 minutes
-
Assembly Time: 10–15 minutes
-
Total Time: Approximately 20–30 minutes
-
Enjoyment Time: Ongoing!
Science Spotlight: Why Does It Glow?
This project is a great opportunity to teach or learn about bioluminescence and fluorescence.
-
Glow Paint: Contains phosphors that absorb and slowly release light.
-
Tonic Water: Glows because of quinine, which fluoresces under UV light but doesn’t glow in total darkness without the UV source.
-
Blacklight: Emits UV rays that excite certain materials, causing them to fluoresce (emit visible light).
You can even use this project as part of a science fair display or homeschool lesson plan about marine biology, light waves, or chemistry.
Frequently Asked Questions
Can I use a glass jar instead of a plastic bottle?
Yes, but plastic is lighter and safer, especially for kids. If you’re making a permanent décor piece, glass may add elegance.
Will the glow last forever?
Glow-in-the-dark paint fades over hours but can be recharged. Tonic water glows only when UV light is present.
Can I drink tonic water after using it in this project?
No. Once it’s mixed with other materials or used in crafting, it should not be consumed.
Can I reuse the jellyfish in another bottle?
Yes, just remove it gently and place it in a new bottle of clean water.
Is this safe for kids?
Yes, with supervision—especially when using scissors or glow paint. Always make sure the bottle is sealed securely.
Conclusion
The Glowing Jellyfish in a Bottle is more than a simple DIY—it’s a magical blend of science, creativity, and tranquility. With only a few basic materials, you can transform an ordinary bottle into a glowing marine world that fascinates, educates, and soothes. From craft time with kids to a creative stress-relief activity for adults, this glowing jellyfish bottle is sure to be a hit in any setting.
So grab a bottle, snip a plastic bag, and turn off the lights—your glowing ocean adventure awaits.


