
Introduction to Maple Apple Butter
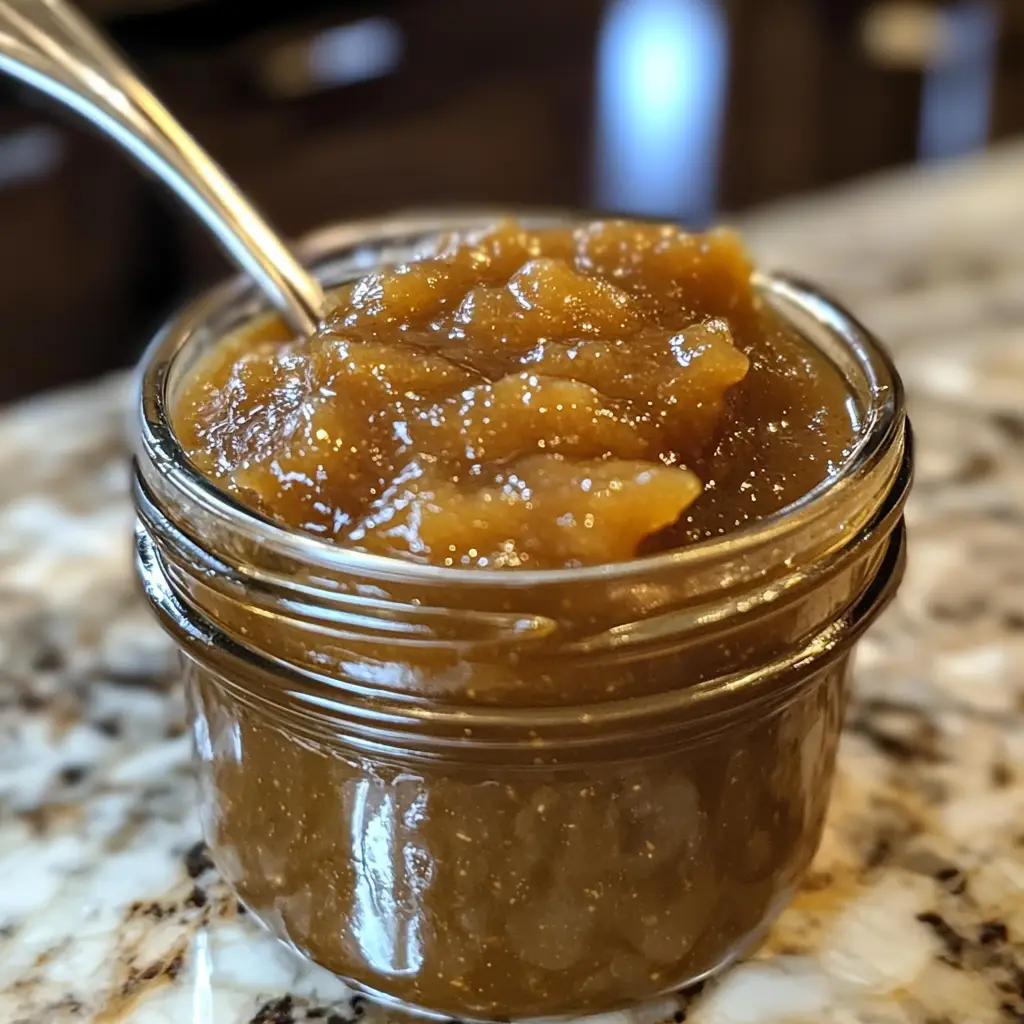
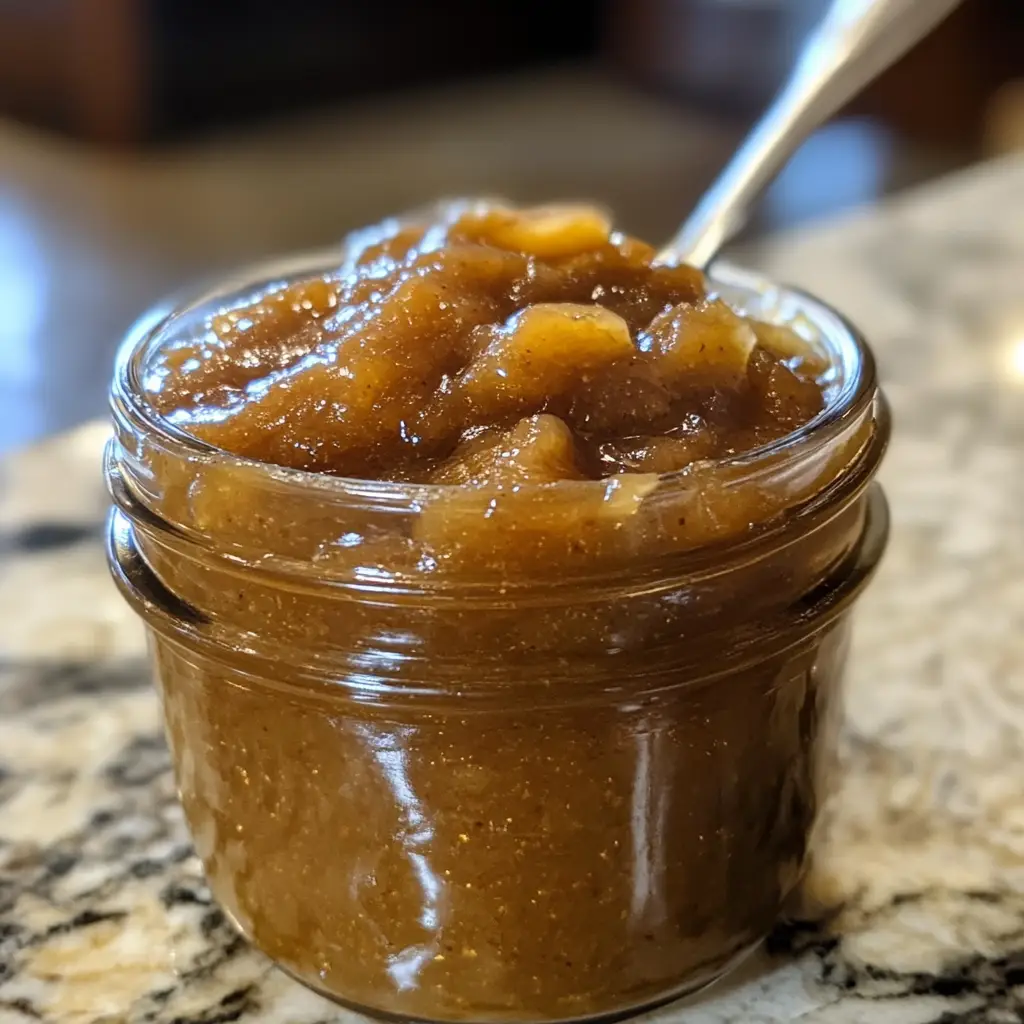
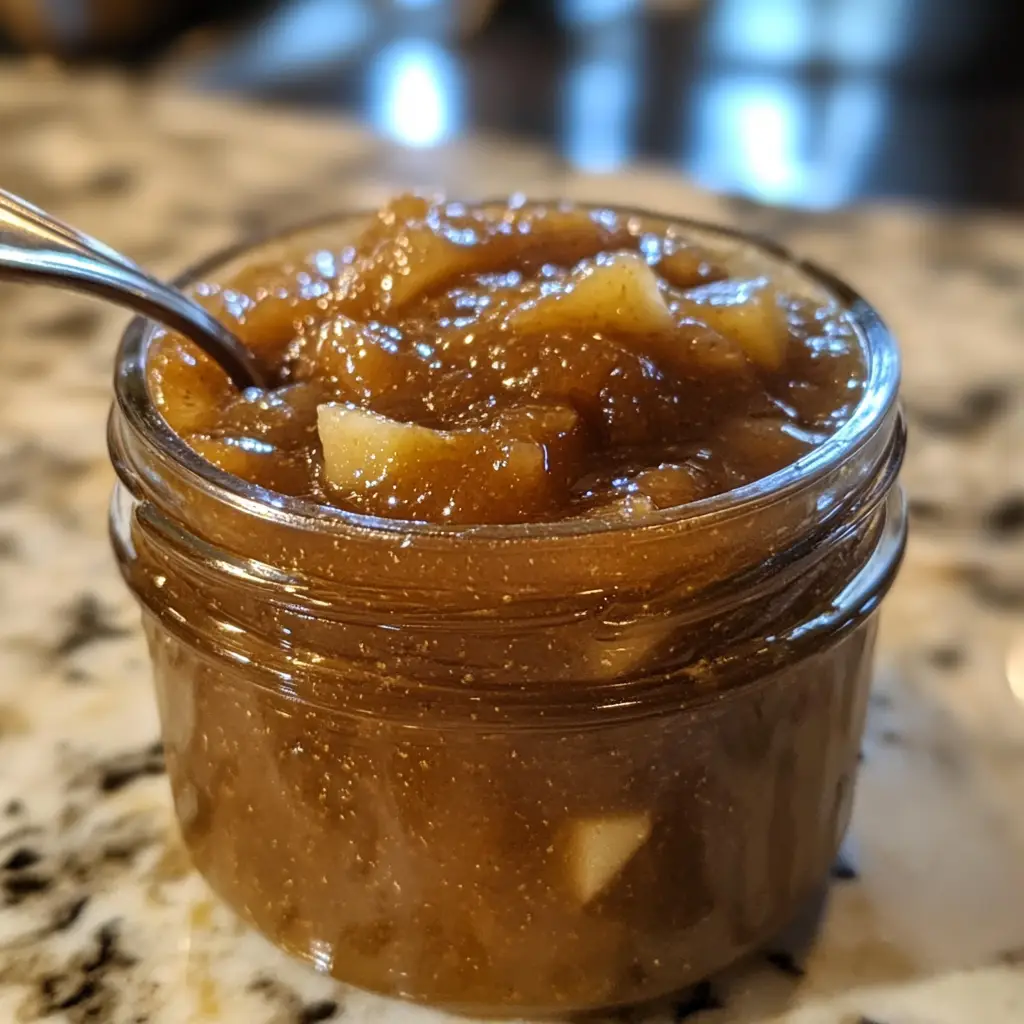
As the leaves turn and the air gets crisp, I find myself craving the warm, cozy flavors of fall. That’s when I whip up my favorite treat: Maple Apple Butter. This delightful spread is not just a quick solution for busy mornings; it’s a hug in a jar! Imagine slathering it on toast or pancakes, bringing smiles to your loved ones’ faces. With just a handful of ingredients, you can create something truly special. Whether you’re a seasoned cook or just starting out, this recipe is perfect for anyone looking to add a touch of sweetness to their day.
Why You’ll Love This Maple Apple Butter
This Maple Apple Butter is a game-changer for busy moms and professionals alike. It’s incredibly easy to make, taking just over an hour from start to finish. The sweet, rich flavor of maple syrup combined with the tartness of apples creates a taste that’s simply irresistible. Plus, it’s versatile! Use it on breakfast favorites, in baking, or even as a delightful gift. You’ll find yourself reaching for it again and again!
Ingredients for Maple Apple Butter
Gathering the right ingredients is the first step to creating your Maple Apple Butter masterpiece. Here’s what you’ll need:
- Peeled and Chopped Apples: The star of the show! Choose a mix of sweet and tart apples for depth of flavor. Varieties like Granny Smith and Honeycrisp work beautifully together.
- Pure Maple Syrup: This adds a rich sweetness that elevates the apples. Always opt for pure maple syrup for the best flavor; it’s worth it!
- Cinnamon: A warm spice that brings comfort to the spread. It pairs perfectly with apples and enhances the overall taste.
- Nutmeg: Just a pinch adds a nutty, aromatic quality. It’s a subtle yet essential flavor that rounds out the spices.
- Allspice: This spice offers a hint of clove and pepper, adding complexity to your butter. It’s like a warm hug in every bite!
- Lemon Juice: A splash of acidity brightens the flavors and balances the sweetness. It also helps prevent the apples from browning.
Feel free to adjust the spices according to your taste preference. If you love a little extra warmth, add more cinnamon or nutmeg! For those who prefer a sweeter spread, you can increase the maple syrup. The exact quantities are at the bottom of the article and available for printing, making it easy to get started!
How to Make Maple Apple Butter
Now that you have your ingredients ready, let’s dive into the delightful process of making Maple Apple Butter. Each step is simple, and I promise the aroma will fill your kitchen with warmth and comfort. Let’s get started!
Step 1: Prepare the Apples
First things first, peel and chop your apples into small pieces. I like to use a mix of sweet and tart apples for a balanced flavor. The more colorful your apple mix, the prettier your butter will be! Toss the chopped apples with lemon juice to keep them fresh and vibrant.
Step 2: Combine Ingredients
In a large pot, combine the prepared apples with the lemon juice. Next, add in the pure maple syrup, cinnamon, nutmeg, and allspice. Stir everything together until the apples are well-coated. This is where the magic begins, as the flavors start to meld together!
Step 3: Cook the Mixture
Now, place the pot over medium heat. Cook the mixture, stirring occasionally, until the apples soften, which should take about 20 minutes. You’ll know it’s ready when the apples are tender and fragrant. This step is crucial for developing that rich, comforting flavor.
Step 4: Blend Until Smooth
Once the apples are soft, it’s time to blend! Using an immersion blender, puree the mixture until it’s smooth and creamy. If you don’t have an immersion blender, you can carefully transfer the mixture to a regular blender. Just be cautious with the hot mixture!
Step 5: Simmer for Thickness
Reduce the heat to low and let your Maple Apple Butter simmer for an additional 30 to 40 minutes. Stir frequently to prevent sticking. This step allows the flavors to deepen and the butter to thicken. You’ll want it to be spreadable but not too runny.
Step 6: Jar and Cool
Once your butter has reached the desired thickness, it’s time to jar it up! Transfer the hot Maple Apple Butter into sterilized jars. Let them cool completely before sealing. This is the moment when you can feel proud of your homemade creation!
Tips for Success
- Use a mix of apple varieties for a more complex flavor.
- Don’t rush the cooking process; let the apples soften fully for the best taste.
- Adjust spices to your liking; a little extra cinnamon can go a long way!
- Keep stirring while simmering to prevent sticking and burning.
- Label your jars with the date to keep track of freshness.
Equipment Needed
- Large Pot: A heavy-bottomed pot works best to prevent burning. A Dutch oven is a great alternative.
- Immersion Blender: This makes blending easy. If you don’t have one, a regular blender will do, just be careful with hot liquids.
- Sterilized Jars: Use glass jars for storage. Mason jars are perfect for this purpose.
Variations of Maple Apple Butter
- Spiced Maple Apple Butter: Add a pinch of ginger or cloves for an extra kick of warmth and spice.
- Vanilla Maple Apple Butter: Stir in a splash of vanilla extract for a sweet, aromatic twist that elevates the flavor.
- Nutty Maple Apple Butter: Mix in some finely chopped walnuts or pecans for added texture and a nutty flavor.
- Chai-Spiced Maple Apple Butter: Incorporate chai spices like cardamom and black pepper for a unique, aromatic blend.
- Low-Sugar Maple Apple Butter: Substitute some of the maple syrup with unsweetened applesauce to reduce sugar content while keeping the flavor.
Serving Suggestions for Maple Apple Butter
- Spread it on warm, toasted bagels for a delightful breakfast treat.
- Use it as a filling for crepes or pancakes, drizzling with extra maple syrup.
- Pair it with cheese on a charcuterie board for a sweet and savory contrast.
- Serve alongside roasted meats for a unique flavor boost.
- Top your oatmeal or yogurt with a dollop for added sweetness and flavor.
FAQs about Maple Apple Butter
As you embark on your Maple Apple Butter journey, you might have a few questions. Here are some common queries I’ve encountered, along with helpful answers to guide you along the way.
Can I use any type of apples for this recipe?
Absolutely! A mix of sweet and tart apples works best. I love using Granny Smith and Honeycrisp together for a balanced flavor. Feel free to experiment with your favorites!
How long does Maple Apple Butter last?
When stored in the refrigerator, your Maple Apple Butter will stay fresh for up to two weeks. If you can it properly, it can last for months. Just make sure to check for any signs of spoilage before using.
Can I adjust the sweetness of the Maple Apple Butter?
<pYes, you can! If you prefer a sweeter spread, simply add more maple syrup. Alternatively, if you want to cut back on sugar, consider using unsweetened applesauce as a partial substitute.
What can I use Maple Apple Butter for besides spreading on toast?
The possibilities are endless! Use it as a filling for pastries, a topping for pancakes, or even as a sweet addition to oatmeal. It also pairs beautifully with cheese on a charcuterie board!
Can I freeze Maple Apple Butter?
Yes, you can freeze it! Just make sure to use freezer-safe containers. Leave some space at the top for expansion, and it will keep well for up to six months.
Final Thoughts
Making Maple Apple Butter is more than just a recipe; it’s an experience filled with warmth and nostalgia. The sweet aroma wafting through your kitchen will transport you to cozy autumn days, even if it’s summer outside. Each jar you fill is a little piece of joy, perfect for sharing with family and friends. Whether you’re spreading it on toast or using it in your favorite baked goods, this delightful spread brings smiles and comfort. So, roll up your sleeves, embrace the process, and enjoy the sweet rewards of your culinary adventure!
Print
Maple Apple Butter: A Deliciously Unique Spread Recipe
- Total Time: 1 hour 15 minutes
- Yield: 2 cups 1x
- Diet: Vegetarian
Description
Maple Apple Butter is a deliciously unique spread made from apples and maple syrup, perfect for toast, pancakes, or as a filling for pastries.
Ingredients
- 4 cups of peeled and chopped apples
- 1 cup of pure maple syrup
- 1 teaspoon of cinnamon
- 1/2 teaspoon of nutmeg
- 1/4 teaspoon of allspice
- 1 tablespoon of lemon juice
Instructions
- In a large pot, combine the chopped apples and lemon juice.
- Add the maple syrup, cinnamon, nutmeg, and allspice to the pot.
- Cook over medium heat, stirring occasionally, until the apples are soft, about 20 minutes.
- Use an immersion blender to puree the mixture until smooth.
- Reduce the heat to low and simmer for an additional 30-40 minutes, stirring frequently, until thickened.
- Transfer to sterilized jars and let cool before sealing.
Notes
- Store in the refrigerator for up to 2 weeks.
- This can also be canned for longer storage.
- Adjust the spices according to your taste preference.
- Prep Time: 15 minutes
- Cook Time: 1 hour
- Category: Spread
- Method: Stovetop
- Cuisine: American
Nutrition
- Serving Size: 2 tablespoons
- Calories: 50
- Sugar: 10g
- Sodium: 1mg
- Fat: 0g
- Saturated Fat: 0g
- Unsaturated Fat: 0g
- Trans Fat: 0g
- Carbohydrates: 13g
- Fiber: 1g
- Protein: 0g
- Cholesterol: 0mg
Keywords: Maple Apple Butter, spread, recipe, apples, maple syrup
