

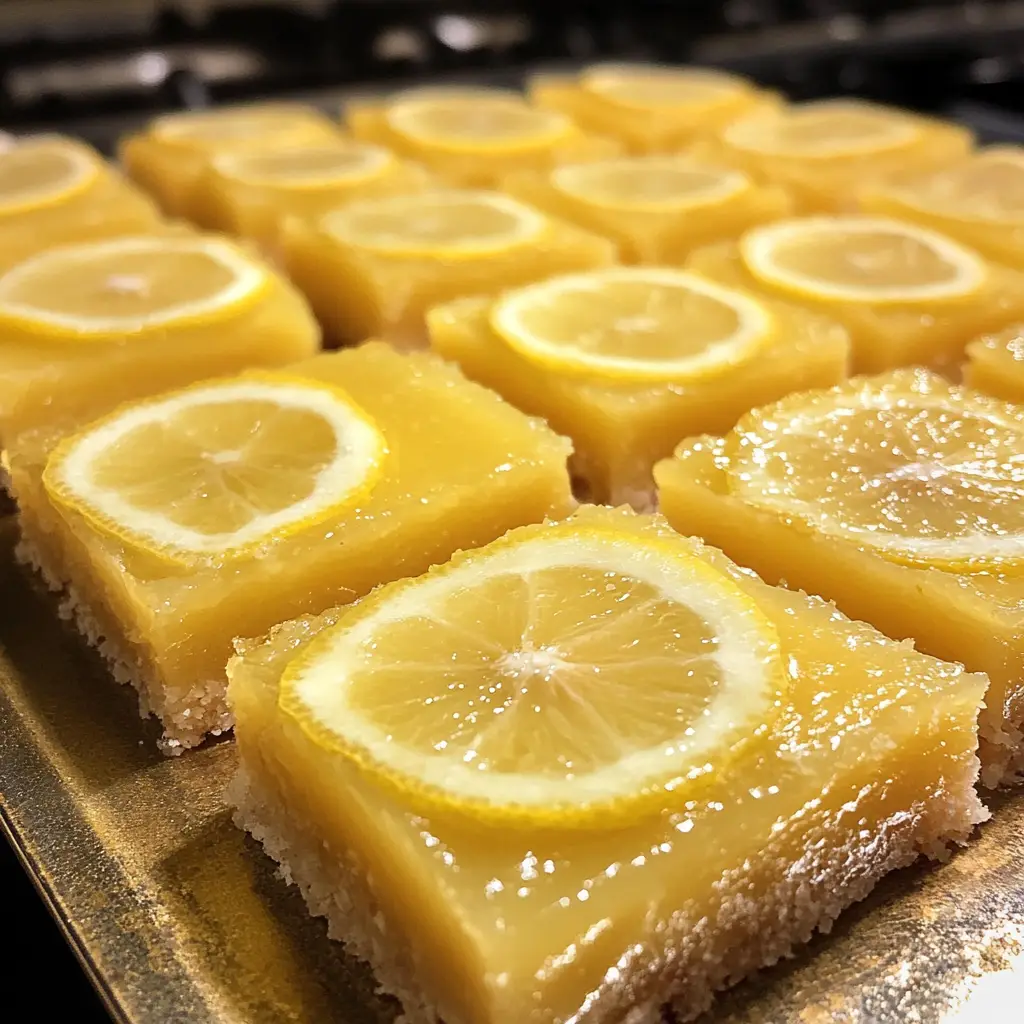
Introduction to No-Bake Lemon Bars
As a busy mom, I know how precious time can be, especially when it comes to whipping up something delicious. That’s why I absolutely adore these No-Bake Lemon Bars! They’re a refreshing treat that requires no baking, making them perfect for those warm days when you want something sweet without the fuss. Imagine serving these tangy delights at your next gathering or simply enjoying them after a long day. Trust me, they’ll impress your loved ones and leave you feeling like a culinary superstar, all while keeping your kitchen cool and your schedule intact!
Why You’ll Love This No-Bake Lemon Bars
These No-Bake Lemon Bars are a lifesaver for anyone juggling a busy schedule. They come together in just 15 minutes, allowing you to spend more time with your family and less time in the kitchen. Plus, the bright, zesty flavor is like a burst of sunshine on your palate. Whether you’re hosting a gathering or just treating yourself, these bars are sure to bring smiles all around!
Ingredients for No-Bake Lemon Bars
Gathering the right ingredients is the first step to creating these delightful No-Bake Lemon Bars. Here’s what you’ll need:
- Graham cracker crumbs: These form the base of your crust, providing a sweet and crunchy texture. You can crush whole graham crackers if you prefer.
- Unsalted butter: Melted butter binds the crumbs together, giving the crust a rich flavor. If you’re looking for a lighter option, coconut oil works well too.
- Powdered sugar: This sweetens the lemon filling and gives it a smooth consistency. You can substitute with a sugar alternative if you’re watching your sugar intake.
- Fresh lemon juice: The star of the show! Freshly squeezed juice adds that vibrant tang. Bottled lemon juice can work in a pinch, but fresh is always best.
- Lemon zest: This adds an extra punch of lemon flavor. The zest is the outer peel of the lemon, so be sure to use a microplane for fine zesting.
- Whipped cream: Light and fluffy, it makes the filling airy and delightful. You can use store-bought or whip your own for a fresher taste.
For exact measurements, check the bottom of the article where you can find everything listed for easy printing. Happy cooking!
How to Make No-Bake Lemon Bars
Now that you have all your ingredients ready, let’s dive into the fun part—making these No-Bake Lemon Bars! Follow these simple steps, and you’ll have a delightful dessert that’s sure to impress.
Step 1: Prepare the Crust
Start by grabbing a mixing bowl. Combine the graham cracker crumbs and melted butter. Mix until everything is well blended. The mixture should resemble wet sand. Next, take a greased 9×9 inch pan and press the crumb mixture firmly into the bottom. This forms a solid crust that will hold your lemon filling. Make sure it’s even; a good crust is key to a great bar!
Step 2: Make the Lemon Filling
In another bowl, mix the powdered sugar, fresh lemon juice, and lemon zest. Stir until the mixture is smooth and creamy. The aroma of fresh lemon will fill your kitchen, and trust me, it’s heavenly! This filling is where the magic happens, so take your time to get it just right.
Step 3: Combine and Spread
Now, gently fold in the whipped cream into your lemon mixture. Be careful not to deflate the cream; you want to keep it light and airy. Once it’s fully incorporated, pour this luscious lemon filling over your prepared crust. Use a spatula to spread it evenly. This is where the bars start to look like a dessert masterpiece!
Step 4: Chill and Set
Cover the pan with plastic wrap and pop it into the refrigerator. Let it chill for at least 4 hours, or until set. This step is crucial! The longer they chill, the firmer they become. Plus, the flavors meld beautifully during this time. You can use this waiting period to catch up on your favorite show or enjoy a cup of tea.
Step 5: Serve and Enjoy
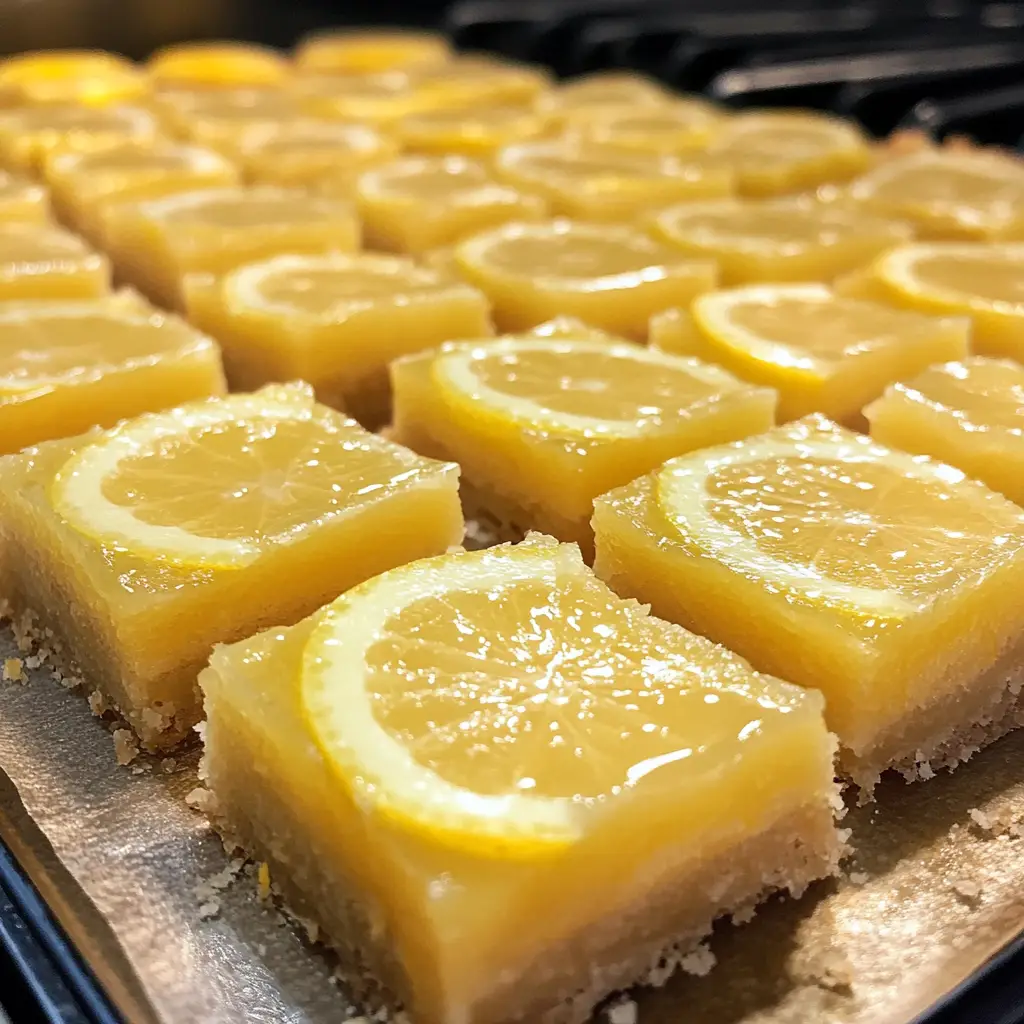
Once your No-Bake Lemon Bars are set, it’s time to cut them into squares. I like to use a sharp knife dipped in warm water for clean cuts. Serve them chilled, and if you’re feeling fancy, add a dollop of whipped cream or a slice of lemon on top. Enjoy every tangy, sweet bite!
Tips for Success
- Use fresh lemons for the best flavor; they make a world of difference!
- Don’t rush the chilling process; patience is key for the perfect texture.
- For a fun twist, try adding a hint of vanilla extract to the filling.
- Keep your whipped cream cold before folding it in for a fluffier texture.
- Store leftovers in an airtight container to maintain freshness.
Equipment Needed
- Mixing bowls: A set of various sizes is handy. You can also use a large pot if you’re in a pinch.
- 9×9 inch pan: This is perfect for the bars. A similar-sized dish will work too.
- Spatula: Essential for spreading the filling. A spoon can do the job if you don’t have one.
- Whisk: Great for mixing. A fork can also work in a pinch!
Variations
- Berry Bliss: Add a layer of fresh berries like raspberries or blueberries on top of the lemon filling for a fruity twist.
- Chocolate Drizzle: Melt some dark chocolate and drizzle it over the bars before serving for a decadent touch.
- Gluten-Free Option: Substitute graham cracker crumbs with gluten-free cookies or almond flour for a gluten-free crust.
- Vegan Delight: Use coconut cream instead of whipped cream and a vegan butter alternative for a plant-based version.
- Herbal Infusion: Infuse the lemon filling with fresh herbs like mint or basil for a unique flavor profile.
Serving Suggestions
- Pair your No-Bake Lemon Bars with a refreshing glass of iced tea or lemonade for a delightful summer treat.
- Serve with fresh berries on the side for a pop of color and added flavor.
- Garnish with mint leaves for a touch of elegance and a burst of freshness.
- For a fun presentation, place bars on a decorative platter and sprinkle with powdered sugar.
FAQs about No-Bake Lemon Bars
Can I make No-Bake Lemon Bars ahead of time?
Absolutely! These bars are perfect for making ahead. Just prepare them a day in advance and let them chill overnight. They’ll be even more flavorful!
How long do No-Bake Lemon Bars last in the fridge?
Stored in an airtight container, your No-Bake Lemon Bars can last up to a week in the refrigerator. Just be sure to keep them covered to maintain their freshness.
Can I use bottled lemon juice instead of fresh?
While fresh lemon juice is best for flavor, bottled lemon juice can work in a pinch. Just remember, fresh juice gives that vibrant zing that makes these bars shine!
What can I substitute for graham cracker crumbs?
If you don’t have graham cracker crumbs, you can use crushed cookies like digestive biscuits or even oats for a healthier twist. Just adjust the butter accordingly!
Can I freeze No-Bake Lemon Bars?
Yes, you can freeze them! Just wrap them tightly in plastic wrap and then in foil. They’ll keep well for up to three months. Thaw in the fridge before serving for the best texture.
Final Thoughts
Making No-Bake Lemon Bars is more than just a recipe; it’s an experience filled with joy and satisfaction. The bright, zesty flavor dances on your taste buds, bringing a smile to your face with every bite. I love how easy they are to whip up, allowing me to spend more time with my family. Whether it’s a sunny afternoon or a cozy gathering, these bars are the perfect treat. So, roll up your sleeves, gather your ingredients, and let the magic of these No-Bake Lemon Bars brighten your day. You deserve a little sweetness in your life!
Print
No-Bake Lemon Bars: Deliciousness in Every Bite!
- Total Time: 4 hours 15 minutes
- Yield: 16 bars 1x
- Diet: Vegetarian
Description
No-Bake Lemon Bars are a refreshing and tangy dessert that requires no baking, making them perfect for warm weather or when you’re short on time.
Ingredients
- 1 cup graham cracker crumbs
- 1/2 cup unsalted butter, melted
- 1 cup powdered sugar
- 1/2 cup fresh lemon juice
- 1 tablespoon lemon zest
- 1 cup whipped cream
Instructions
- In a bowl, combine graham cracker crumbs and melted butter until well mixed.
- Press the mixture into the bottom of a greased 9×9 inch pan to form the crust.
- In another bowl, mix powdered sugar, lemon juice, and lemon zest until smooth.
- Fold in the whipped cream gently until fully incorporated.
- Pour the lemon mixture over the crust and spread evenly.
- Refrigerate for at least 4 hours or until set.
- Cut into squares and serve chilled.
Notes
- For a stronger lemon flavor, add more lemon zest.
- These bars can be stored in the refrigerator for up to a week.
- Garnish with additional whipped cream or lemon slices if desired.
- Prep Time: 15 minutes
- Cook Time: 0 minutes
- Category: Dessert
- Method: No-Bake
- Cuisine: American
Nutrition
- Serving Size: 1 bar
- Calories: 150
- Sugar: 10g
- Sodium: 50mg
- Fat: 8g
- Saturated Fat: 5g
- Unsaturated Fat: 3g
- Trans Fat: 0g
- Carbohydrates: 18g
- Fiber: 1g
- Protein: 1g
- Cholesterol: 15mg
Keywords: No-Bake Lemon Bars, Lemon Dessert, Easy Dessert Recipe
