
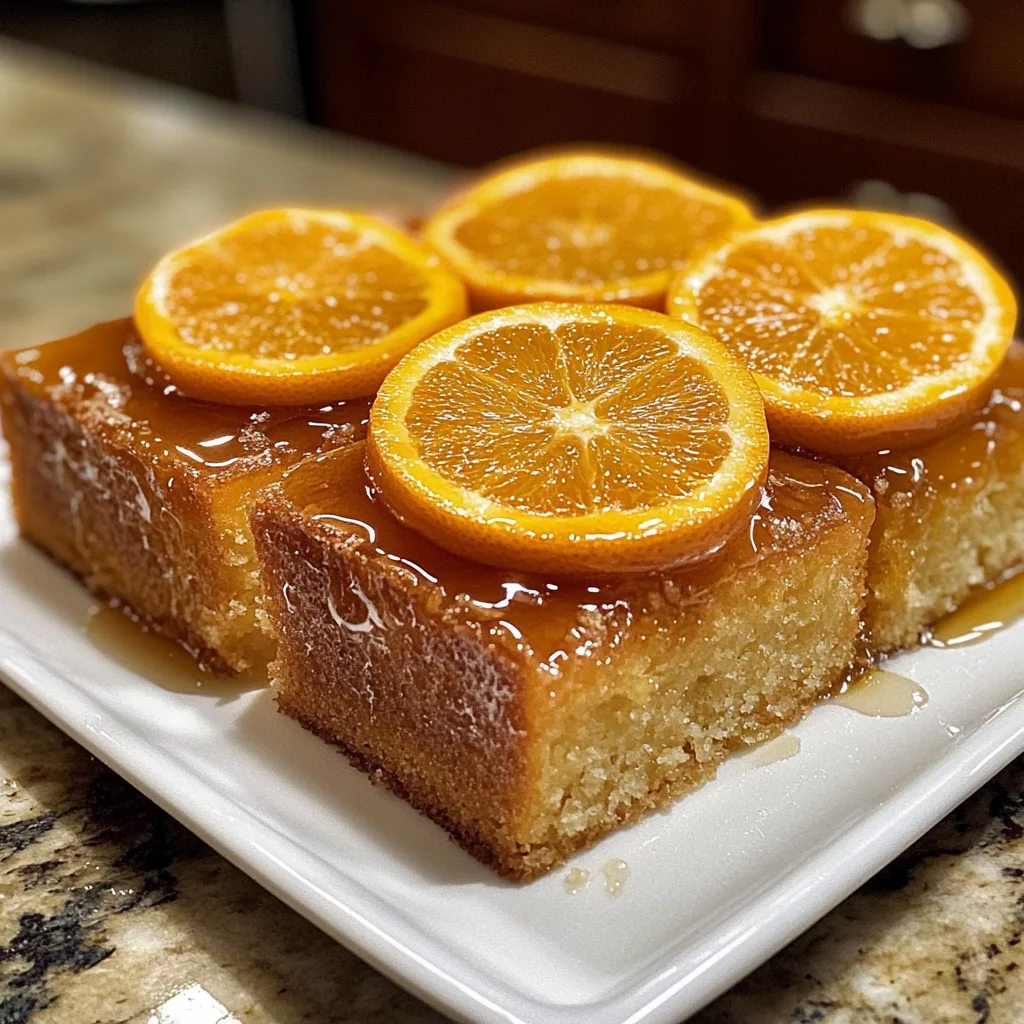
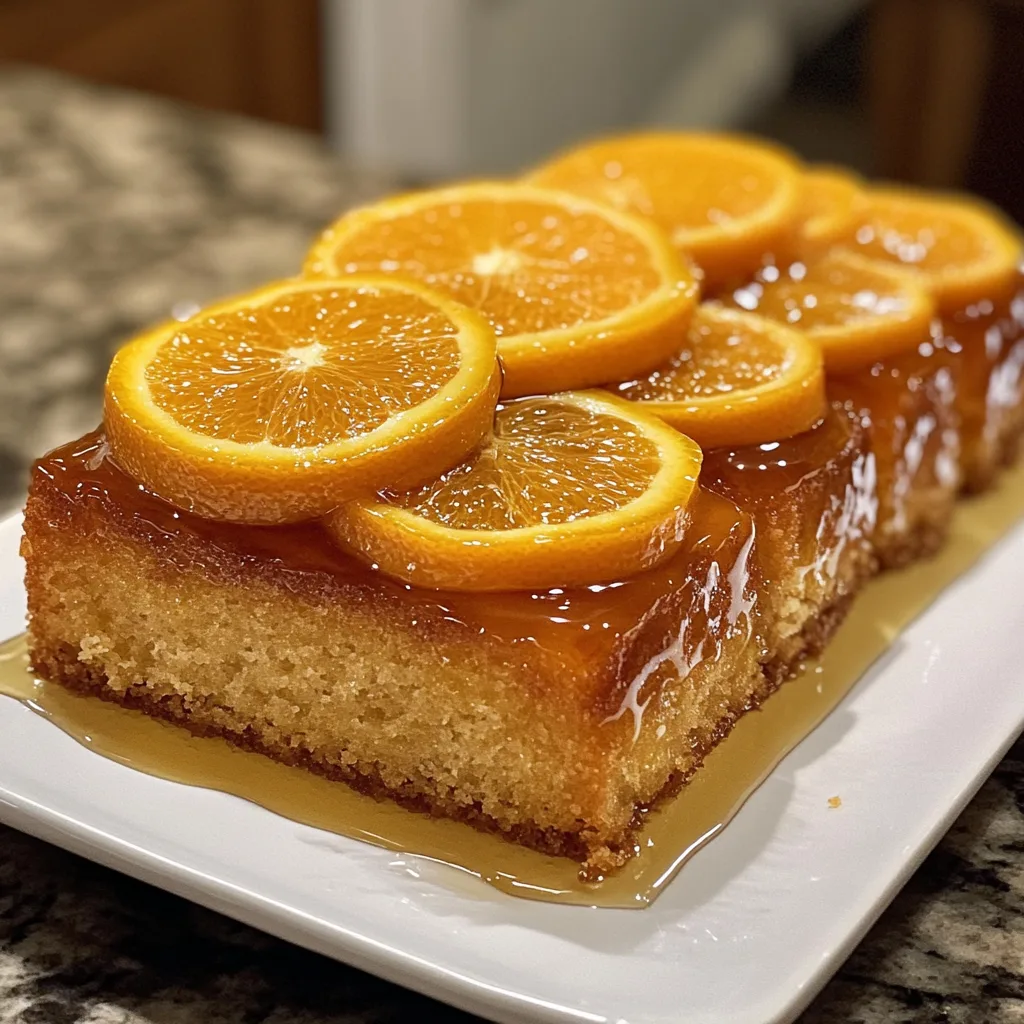
Introduction to Orange Ginger Honey Cakes
As a busy mom, I know how precious time can be, especially when it comes to whipping up something sweet. That’s why I absolutely adore these orange ginger honey cakes. They’re not just a treat; they’re a delightful escape from the daily grind. Imagine the zesty aroma of oranges mingling with the warm spice of ginger wafting through your kitchen. It’s like a warm hug on a plate! Perfect for a quick dessert or a charming addition to your next gathering, these cakes are sure to impress your loved ones without taking up your entire afternoon.
Why You’ll Love This Orange Ginger Honey Cakes
These orange ginger honey cakes are a dream come true for busy lives. They come together in just 40 minutes, making them a quick solution for unexpected guests or a sweet craving. The combination of citrus and spice creates a flavor explosion that dances on your taste buds. Plus, they’re versatile enough to be enjoyed as a snack, dessert, or even breakfast treat. Who wouldn’t love that?
Ingredients for Orange Ginger Honey Cakes
Gathering the right ingredients is the first step to creating these delightful orange ginger honey cakes. Here’s what you’ll need:
- All-purpose flour: The backbone of your cakes, providing structure and texture.
- Honey: This natural sweetener adds a unique flavor and moisture, making the cakes irresistibly tender.
- Brown sugar: It brings a hint of caramel flavor and enhances the overall sweetness.
- Unsalted butter: Softened butter creates a rich, creamy base that helps the cakes rise beautifully.
- Eggs: They act as a binding agent, giving the cakes their fluffy texture.
- Orange juice: Freshly squeezed juice infuses a bright, citrusy flavor that elevates the cakes.
- Grated orange zest: This adds an extra punch of orange flavor, making each bite burst with freshness.
- Ground ginger: The warm spice that complements the orange, adding depth and warmth to the cakes.
- Baking powder: A leavening agent that helps the cakes rise and become light and airy.
- Baking soda: Works alongside baking powder to ensure the cakes rise perfectly.
- Salt: Just a pinch enhances all the flavors, balancing the sweetness.
Feel free to get creative! You can add chopped nuts or dried fruits for added texture. If you’re looking for a healthier twist, consider substituting half of the all-purpose flour with whole wheat flour. For exact measurements, check the bottom of the article where you can find everything listed for easy printing.

How to Make Orange Ginger Honey Cakes
Now that you have your ingredients ready, let’s dive into the fun part: making these delightful orange ginger honey cakes. Follow these simple steps, and you’ll have a batch of sweet treats in no time!
Step 1: Preheat the Oven
First things first, preheat your oven to 350°F (175°C). This step is crucial because it ensures your cakes bake evenly. While the oven warms up, grease your muffin tin with a little butter or non-stick spray. This will help your cakes pop out easily once they’re baked.
Step 2: Cream the Butter and Sugars
In a mixing bowl, cream together the softened butter, honey, and brown sugar until the mixture is smooth and fluffy. This process is essential because it incorporates air into the batter, giving your cakes that light, airy texture. It’s like giving your cakes a little boost of happiness!
Step 3: Add the Eggs
Next, add the eggs one at a time, mixing well after each addition. This step is important because it allows each egg to fully incorporate into the batter, ensuring a uniform texture. Think of it as building a strong foundation for your cakes!
Step 4: Incorporate Orange Juice and Zest
Now, stir in the orange juice and grated orange zest. Using fresh ingredients here makes a world of difference. The bright citrus flavor will elevate your cakes, making them taste like sunshine on a plate. Trust me, your taste buds will thank you!
Step 5: Mix Dry Ingredients
In another bowl, whisk together the all-purpose flour, ground ginger, baking powder, baking soda, and salt. Whisking the dry ingredients separately helps to evenly distribute the leavening agents. This ensures that your cakes rise perfectly, avoiding any unexpected surprises!
Step 6: Combine Wet and Dry Mixtures
Gradually add the dry ingredients to the wet mixture, stirring gently until just combined. Be careful not to overmix! Overmixing can lead to dense cakes, and we want them to be light and fluffy. Just mix until you no longer see dry flour.
Step 7: Fill the Muffin Tin
Pour the batter into the prepared muffin tin, filling each cup about two-thirds full. This allows room for the cakes to rise without overflowing. If you have a little extra batter, you can always bake a mini cake in a ramekin!
Step 8: Bake the Cakes
Place the muffin tin in the preheated oven and bake for 20-25 minutes. To check for doneness, insert a toothpick into the center of a cake. If it comes out clean, your cakes are ready! The aroma wafting through your kitchen will be absolutely irresistible.
Step 9: Cool the Cakes
Once baked, let the cakes cool in the tin for about 5 minutes. This helps them set and makes them easier to remove. After that, transfer them to a wire rack to cool completely. Cooling is important because it allows the flavors to meld together beautifully.
Tips for Success
- Always use room temperature ingredients for better mixing.
- Don’t skip the zest; it adds a burst of flavor!
- Check your oven temperature with an oven thermometer for accuracy.
- Let the cakes cool completely before storing to maintain moisture.
- Experiment with spices like cinnamon or nutmeg for a unique twist.
Equipment Needed
- Muffin tin: A standard 12-cup muffin tin works perfectly, but you can use silicone molds for easy removal.
- Mixing bowls: A large bowl for wet ingredients and a medium bowl for dry ingredients.
- Whisk: A simple whisk or electric mixer will do the job.
- Measuring cups and spoons: Essential for accurate ingredient measurements.
- Cooling rack: Helps cakes cool evenly, but a plate can work in a pinch.
Variations of Orange Ginger Honey Cakes
- Whole Wheat Flour: Substitute half of the all-purpose flour with whole wheat flour for a nuttier flavor and added fiber.
- Gluten-Free Option: Use a gluten-free all-purpose flour blend to make these cakes suitable for gluten-sensitive friends.
- Spiced Up: Add a pinch of cinnamon or nutmeg for a warm, cozy flavor that complements the ginger.
- Fruit Add-Ins: Toss in some dried cranberries or chopped walnuts for extra texture and flavor.
- Honey Variations: Experiment with different types of honey, like wildflower or clover, to change the sweetness profile.
Serving Suggestions
- Pair these orange ginger honey cakes with a dollop of whipped cream for a delightful contrast.
- Serve alongside a warm cup of herbal tea or coffee to enhance the flavors.
- For a festive touch, dust with powdered sugar or drizzle with honey before serving.
FAQs about Orange Ginger Honey Cakes
Can I make these orange ginger honey cakes ahead of time?
Absolutely! These cakes store well in an airtight container for up to a week. You can bake them in advance and enjoy them throughout the week. Just remember to let them cool completely before storing to keep them moist.
What can I substitute for honey in this recipe?
If you’re looking for a substitute, maple syrup or agave nectar can work well. Keep in mind that the flavor will change slightly, but they’ll still be delicious!
Can I freeze orange ginger honey cakes?
Yes, you can freeze these cakes! Wrap them tightly in plastic wrap and then place them in a freezer bag. They’ll stay fresh for up to three months. Just thaw them at room temperature when you’re ready to enjoy.
How can I make these cakes more festive for special occasions?
For a festive touch, consider adding a glaze made from powdered sugar and orange juice. You can also sprinkle some candied ginger on top for an extra zing. These little touches will make your orange ginger honey cakes stand out at any gathering!
Are these cakes suitable for a gluten-free diet?
Yes! Simply use a gluten-free all-purpose flour blend in place of regular flour. This way, everyone can enjoy the delightful flavors of these orange ginger honey cakes without worry.
Final Thoughts
Making these orange ginger honey cakes is more than just baking; it’s about creating moments of joy in our busy lives. The delightful aroma that fills your kitchen is a reminder of the simple pleasures that come from home cooking. Each bite offers a burst of flavor, transporting you to a sunny orchard with every taste. Whether you’re sharing them with family or savoring one with your morning coffee, these cakes bring warmth and happiness. So, roll up your sleeves and indulge in this sweet adventure—you deserve it!
Print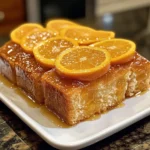
Orange Ginger Honey Cakes: A Delicious Treat You’ll Love!
- Total Time: 40 minutes
- Yield: 12 cakes 1x
- Diet: Vegetarian
Description
Orange Ginger Honey Cakes are a delightful dessert that combines the zesty flavor of oranges with the warmth of ginger and the sweetness of honey.
Ingredients
- 1 cup all-purpose flour
- 1/2 cup honey
- 1/4 cup brown sugar
- 1/2 cup unsalted butter, softened
- 2 large eggs
- 1/2 cup orange juice
- 1 tablespoon grated orange zest
- 1 teaspoon ground ginger
- 1/2 teaspoon baking powder
- 1/2 teaspoon baking soda
- 1/4 teaspoon salt
Instructions
- Preheat the oven to 350°F (175°C) and grease a muffin tin.
- In a mixing bowl, cream together the softened butter, honey, and brown sugar until smooth.
- Add the eggs one at a time, mixing well after each addition.
- Stir in the orange juice and grated orange zest.
- In another bowl, whisk together the flour, ground ginger, baking powder, baking soda, and salt.
- Gradually add the dry ingredients to the wet mixture, stirring until just combined.
- Pour the batter into the prepared muffin tin, filling each cup about 2/3 full.
- Bake for 20-25 minutes or until a toothpick inserted into the center comes out clean.
- Let the cakes cool in the tin for 5 minutes before transferring to a wire rack to cool completely.
Notes
- These cakes can be stored in an airtight container for up to a week.
- For an extra touch, drizzle with additional honey before serving.
- Feel free to add chopped nuts or dried fruits for added texture.
- Prep Time: 15 minutes
- Cook Time: 25 minutes
- Category: Dessert
- Method: Baking
- Cuisine: American
Nutrition
- Serving Size: 1 cake
- Calories: 180
- Sugar: 12g
- Sodium: 150mg
- Fat: 7g
- Saturated Fat: 4g
- Unsaturated Fat: 2g
- Trans Fat: 0g
- Carbohydrates: 25g
- Fiber: 1g
- Protein: 2g
- Cholesterol: 30mg
Keywords: orange ginger honey cakes, dessert, baking, sweet treats
