
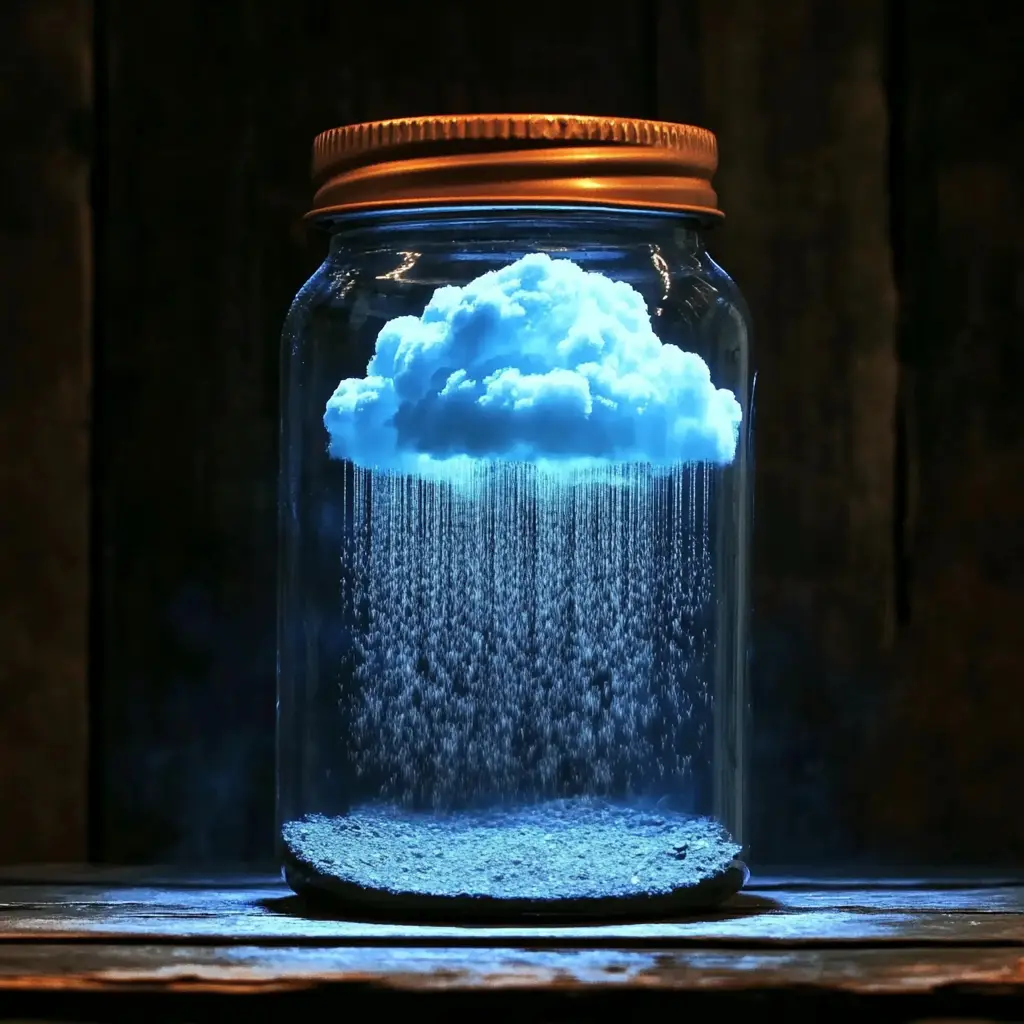
What if we told you that you could simulate a rainstorm using nothing more than a jar, shaving cream, and some food coloring? Welcome to the “Rainy Cloud in a Jar” experiment—an easy, visually stunning, and educational science activity that helps kids understand how rain forms in the atmosphere.
The water cycle is one of the most essential systems in our natural world. It’s responsible for delivering fresh water to ecosystems, replenishing rivers and lakes, and supporting plant and animal life. However, explaining such a complex concept to children can be a challenge. That’s where science experiments like this one come in handy. By visualizing how clouds gather water and release it as rain, children grasp abstract weather concepts in a hands-on, memorable way.
This activity is more than just a captivating experiment—it’s a gateway to learning about meteorology, cloud formation, precipitation, and the broader water cycle. Best of all, you don’t need any fancy lab equipment—just a few common household items.
Whether you’re a parent, teacher, or caregiver looking to make science fun and meaningful, this activity offers the perfect mix of creativity, discovery, and education.
Why You’ll Love This Science Activity
Before diving into the how-to, let’s explore what makes this experiment truly special:
1. It’s Simple Yet Effective
No need for special kits or hard-to-find materials. Everything required is probably in your home already. The simplicity makes it easy to set up in a classroom, kitchen, or outdoor learning space.
2. It’s Visually Captivating
Children are naturally curious, especially when they can see science happen in real time. Watching the colored “rain” fall through a fluffy “cloud” creates a magical visual that leaves a lasting impression.
3. It Demonstrates Key Scientific Concepts
This activity doesn’t just entertain—it educates. Children learn about cloud saturation, precipitation, and how water moves through the atmosphere, reinforcing both visual and tactile learning.
4. It Encourages Scientific Thinking
This experiment promotes curiosity and inquiry. Children can ask questions, form hypotheses (like how much rain it takes to make the cloud burst), and test their ideas—all vital parts of the scientific method.
5. It’s Adaptable for All Ages
You can keep it basic for younger kids or add complexity for older students. With a few modifications, it can be part of a more comprehensive lesson on the water cycle, states of matter, or even environmental science.
Materials You’ll Need
Here’s everything you’ll need to bring your cloud in a jar to life:
Ingredients:
-
1 clear glass jar or cup (a mason jar works best)
-
Shaving cream (foam, not gel)
-
Water (room temperature is ideal)
-
Food coloring (blue for realistic rain, but any color will work)
-
Small cup or bowl (for mixing food coloring with water)
-
Dropper, pipette, or spoon (to control the “rain”)
Preparation: Step-by-Step Instructions
Step 1: Create the Atmosphere
Start by filling your clear glass jar about three-quarters full with room temperature water. This water represents the atmosphere—the invisible layer of gases that surrounds our planet. In this simulation, it will also serve as the stage for the rain to fall through.
Step 2: Add Your Fluffy Cloud
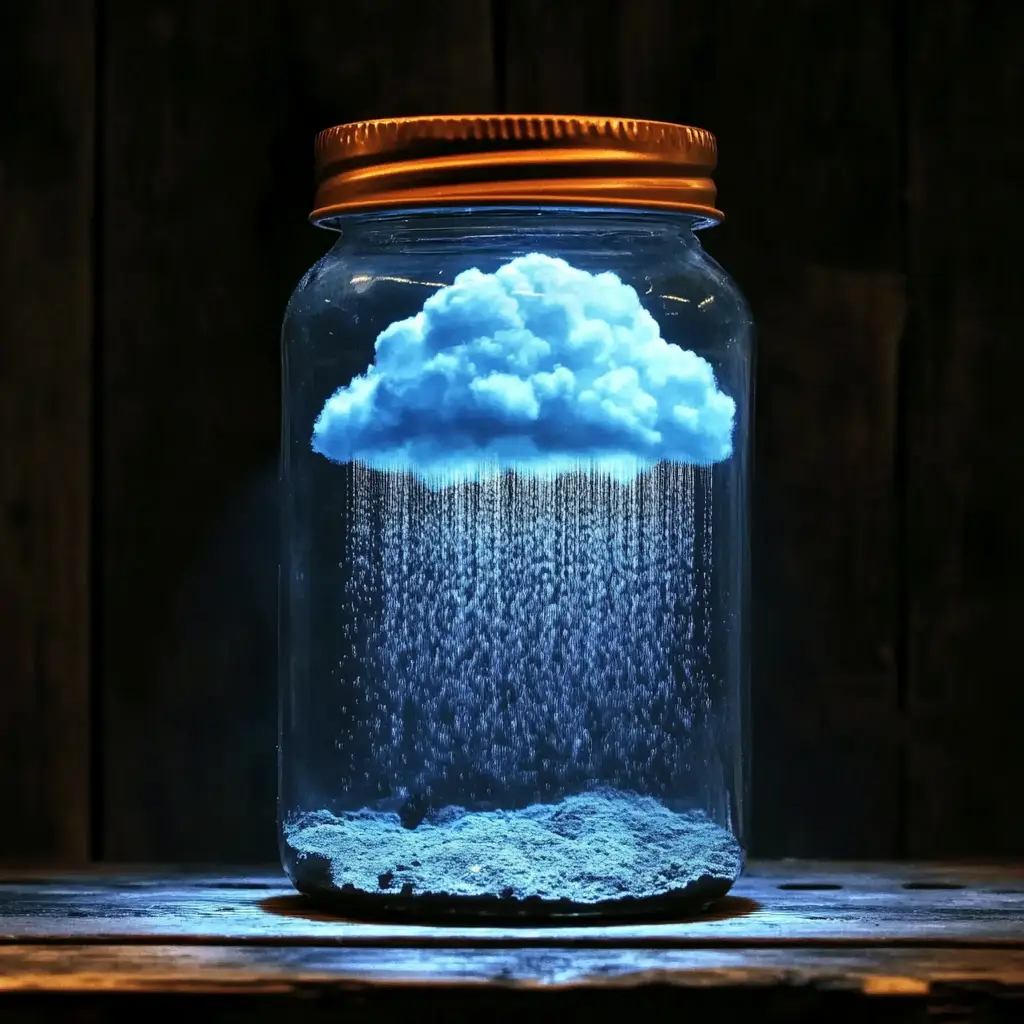
Shake your can of shaving cream and spray a generous layer on top of the water. This puffy, white foam represents a cloud. It should rest neatly on top of the water, creating a thick, floating barrier between the air and the water below.
Make sure not to overdo it—the shaving cream should sit like a fluffy cap, not overflow the jar. You want a thick enough layer to absorb water droplets, but not so much that it spills over the sides.
Step 3: Mix Up Your Rain
In a separate small bowl or cup, combine several drops of food coloring with a few tablespoons of water. This will represent the rainwater that collects inside real clouds. You can use blue for a realistic effect, or try red, green, purple, or even rainbow mixes to add an artistic twist.
Step 4: Make it Rain!
Using a dropper, pipette, or spoon, gently add drops of the colored water onto the shaving cream cloud. Drop by drop, the colored water will be absorbed by the shaving cream.
At first, nothing may seem to happen—but don’t rush it. Like real clouds in the sky, the shaving cream cloud can only hold so much water before it becomes saturated. As you continue to drip colored water, gravity begins to pull the heavier liquid down, and the “cloud” will eventually begin to “rain.”
Step 5: Observe and Learn
Watch closely as the first streaks of colored rain fall through the shaving cream and into the water below. The colors may swirl, mix, and drift, creating mesmerizing patterns that look just like falling rain or storm clouds moving across the sky.
This visual simulation shows exactly how precipitation works. As clouds fill with moisture, they eventually can’t hold any more water, resulting in rainfall.
The Science Behind It
So, what’s really going on in this jar? Let’s break down the science:
1. Cloud Formation
In nature, clouds are formed when warm, moist air rises into the atmosphere and cools. This cooling causes the moisture in the air to condense into tiny droplets that group together to form clouds. The shaving cream in your jar represents one of these fluffy clouds.
2. Saturation
As clouds collect more and more moisture, they reach a point of saturation. This means they can no longer hold all the water vapor inside. The shaving cream acts the same way—it absorbs the colored water until it can’t absorb any more.
3. Precipitation
When saturation occurs in the atmosphere, gravity pulls the excess water droplets down as precipitation—rain, snow, sleet, or hail. In your jar, the colored water drips through the shaving cream and into the jar, mimicking rainfall.
This experiment is a clear, interactive demonstration of the water cycle, specifically the phase where clouds release their moisture in the form of rain.
Educational Benefits
This experiment provides an ideal opportunity to introduce or reinforce key science concepts, including:
-
Evaporation: The process by which water turns into vapor and rises into the atmosphere.
-
Condensation: The cooling and grouping of water vapor into droplets that form clouds.
-
Saturation: The point at which clouds cannot hold any more water.
-
Precipitation: The falling of rain, snow, sleet, or hail from the sky.
In classrooms or homeschooling settings, it serves as a visual, kinetic learning experience. Children get to see the cause-and-effect relationship between saturation and precipitation, making abstract concepts more understandable.
Fun Variations and Ideas for Exploration
1. Try Different Colors
Why stick to just blue? Use red, green, purple, or mix several colors to create a vibrant “storm.” It’s especially fun to observe how the colors mix as they fall into the jar.
2. Use Different Jar Shapes
Try using tall skinny glasses, wide-mouthed mason jars, or even clear plastic bottles. Observe how the shape affects the cloud’s behavior and the way the rain falls.
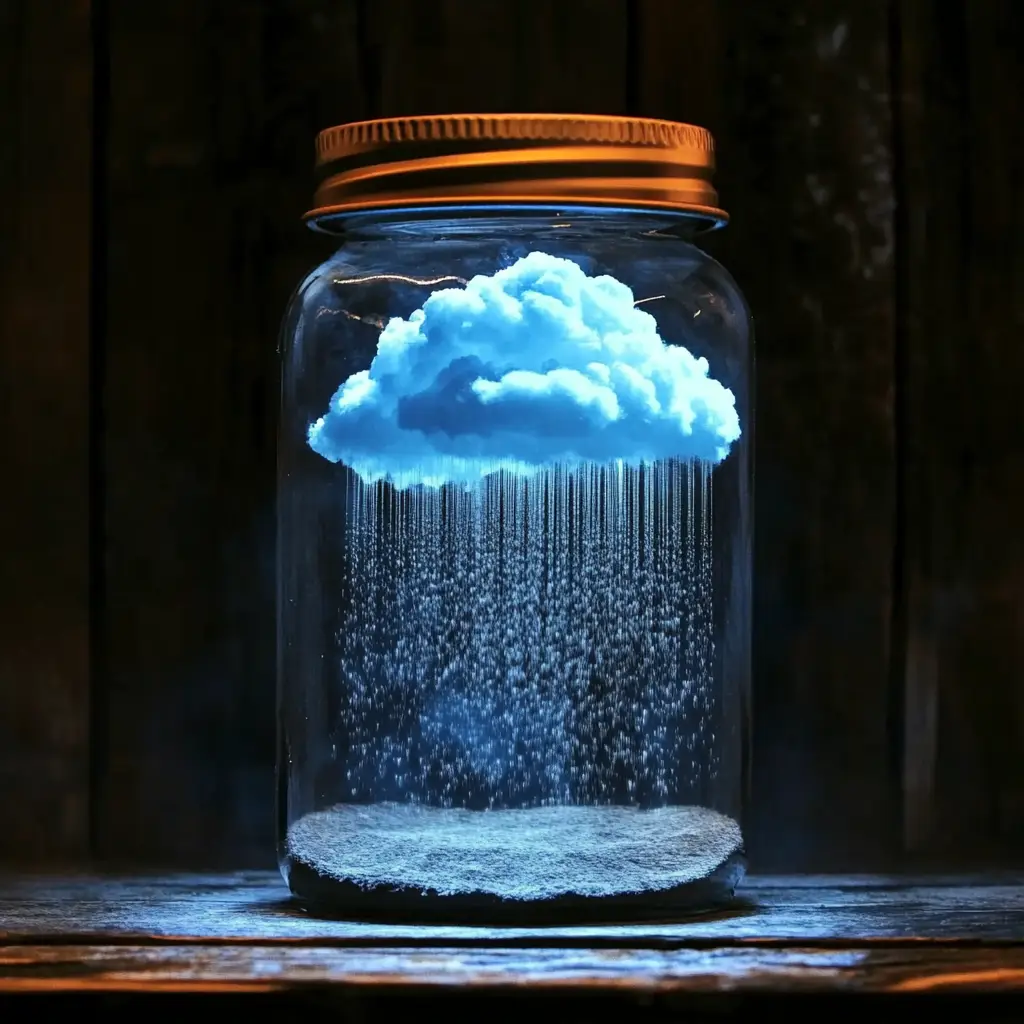
3. Make a Thunderstorm
Dim the lights and use a flashlight to shine from the side of the jar. The shadows and swirling colors will look like a thunderstorm in motion.
4. Add Learning Challenges
Ask kids to predict how many drops it will take before the rain begins. Have them chart the results for different jars or cloud thicknesses. This turns the experiment into a fun, data-driven project.
Conversation Starters and Science Questions
While the experiment is going on, ask these thought-provoking questions to get kids thinking deeper:
-
What do you think clouds are made of?
-
Why do you think the rain didn’t fall right away?
-
How is this experiment similar to real rain?
-
What happens if we stop adding water? Will the cloud dry out?
-
How would this be different if we used hot water instead of cold?
Encouraging open-ended questions like these promotes critical thinking and scientific inquiry.
Cleanup Instructions
Clean-up is simple. Just pour the contents of your jar down the sink. Rinse the jar with warm water to remove any leftover shaving cream or food coloring. Use a little dish soap if necessary to get rid of any lingering residue.
Shaving cream can stick to some surfaces, so be sure to wipe down your workspace afterward. If you’re doing this with a group of kids, consider laying down some old newspaper or a plastic tablecloth beforehand.
Frequently Asked Questions (FAQs)
Q: Can I reuse the shaving cream cloud?
No, once the shaving cream is saturated, it loses its structure and won’t produce the same rain effect again. It’s best to start fresh each time.
Q: Can I use whipped cream instead of shaving cream?
Whipped cream may float on water, but it quickly dissolves and doesn’t maintain the fluffy structure needed. Stick with foam shaving cream for best results.
Q: Will gel shaving cream work?
No, gel shaving cream does not foam and will not create the cloud-like structure needed.
Q: How long does the rain effect last?
It varies depending on how much colored water is added, but typically the rain will continue to fall for a few minutes before the cloud collapses.
Q: Can I do this experiment outdoors?
Absolutely! It’s great for outdoor learning on a sunny day. Just be careful of wind tipping over your setup.
Conclusion
The Rainy Cloud in a Jar experiment is the perfect way to bring science to life. With its simple setup, beautiful visuals, and strong educational value, it’s an engaging experience for learners of all ages. It encourages curiosity, reinforces key concepts of the water cycle, and offers an opportunity for meaningful conversations about the natural world.
Whether you’re teaching a weather unit in school, doing a science project at home, or just looking for a creative way to spend an afternoon, this experiment delivers big results with minimal materials. And the best part? Every time you do it, it looks a little different—just like real clouds in the sky.
So gather your materials, get your “cloud” ready, and prepare to make it rain… in a jar!
