
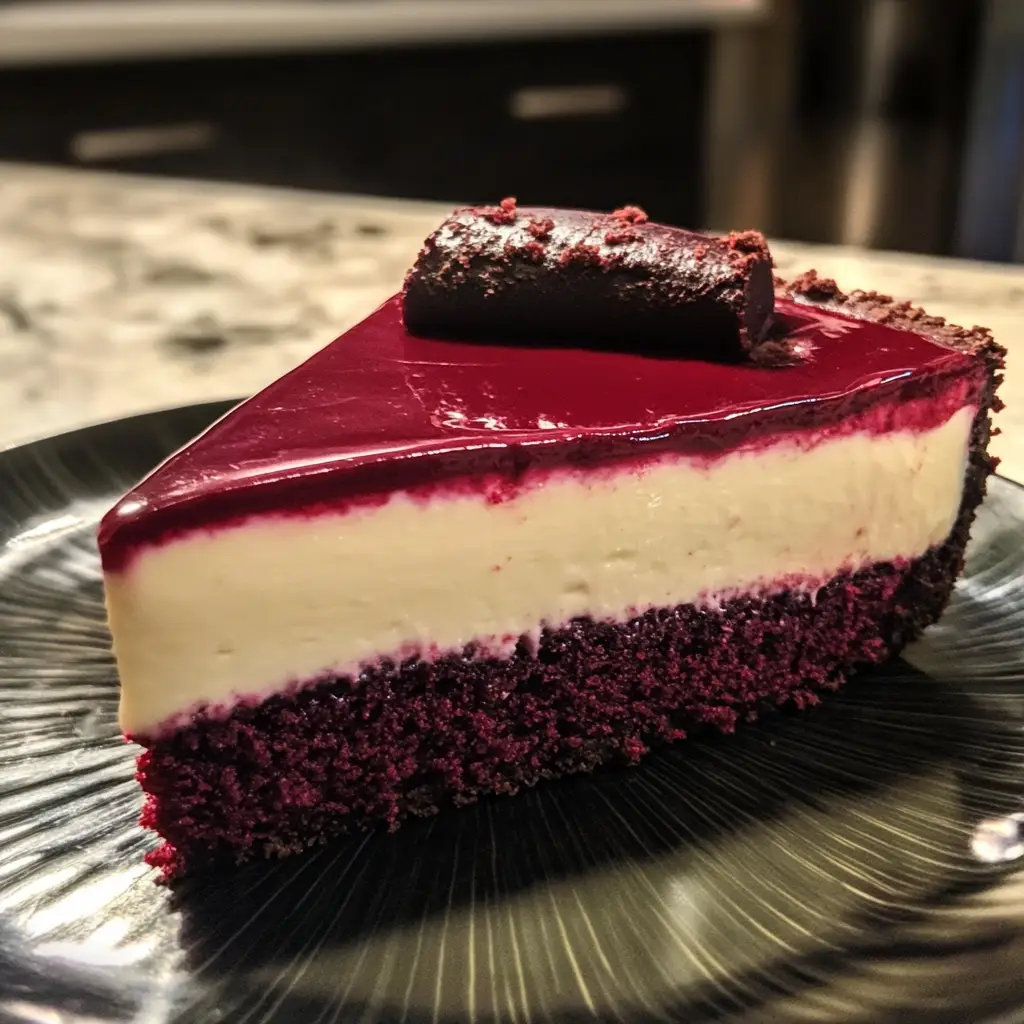
Rich, vibrant, and decadently creamy, Red Velvet Cheesecake is the ultimate dessert for those who adore the classic flavor of red velvet cake and the indulgent smoothness of cheesecake. This show-stopping hybrid dessert brings together two timeless favorites in one elegant, layered masterpiece. The deep red hue of the moist cake layers contrasts beautifully with the silky, tangy cheesecake center and is finished with a cloud of cream cheese frosting for a dreamy finish. Whether you’re making it for a birthday, Valentine’s Day, holiday celebration, or simply to impress guests, this dessert doesn’t just taste incredible—it looks absolutely stunning. It’s a dessert that evokes indulgence, elegance, and nostalgia all in one glorious slice.
Why You’ll Love This Recipe
There are countless reasons to fall head over heels for Red Velvet Cheesecake. To begin with, it’s the ultimate fusion of two iconic desserts: the soft, slightly tangy, and subtly chocolatey red velvet cake meets the rich, creamy, and indulgent texture of classic New York-style cheesecake. This unique combination creates a harmonious balance of flavor and texture—light yet dense, tangy yet sweet, with every bite melting in your mouth like a dream. It’s the kind of dessert that satisfies multiple cravings at once, appealing to both cake lovers and cheesecake aficionados alike.
Second, its appearance is absolutely stunning. The vibrant contrast between the deep red velvet layers and the pale, silky cheesecake center creates a show-stopping centerpiece that’s as photogenic as it is delicious. Whether you’re serving it at a wedding, birthday party, holiday dinner, or romantic date night, this dessert brings elegance and visual drama to the table. It’s guaranteed to grab attention and spark conversation.
Third, it’s surprisingly approachable for such an impressive-looking dessert. While it may look complex and bakery-worthy, this recipe breaks down each step in a clear and manageable way, ensuring success even for novice bakers. With thoughtful guidance on baking, assembling, and decorating, you’ll feel confident tackling this masterpiece from scratch—and proud when you slice into those perfect layers.
Fourth, Red Velvet Cheesecake is a planner’s dream. Both the cake and cheesecake components can be made in advance, stored in the fridge or freezer, and assembled when convenient. This flexibility makes it an ideal dessert for hosts, busy parents, or anyone juggling multiple dishes for a celebration. You can make it a day or two ahead and simply add the final touches before serving, reducing last-minute stress without compromising wow factor.
Fifth, it’s not just a dessert—it’s a conversation piece. Its unique layered construction, luxurious mouthfeel, and irresistible flavor make it unforgettable. Guests will ask what it is, how you made it, and—most importantly—when you’re making it again. It’s the type of treat that becomes your signature dish, the one people request for birthdays or special dinners.
Finally, it stores beautifully. Whether you’re planning to savor it over several days or freeze slices for a future indulgence, Red Velvet Cheesecake holds up well without losing its moisture or richness. Each bite remains just as satisfying days later, making it a smart choice for leftovers or meal prep for special occasions.
In short, Red Velvet Cheesecake isn’t just a dessert—it’s an experience. Beautiful, indulgent, and surprisingly simple to pull off, it’s everything you want in a show-stopping sweet treat and more.
Ingredients
For the Cheesecake Layer:
-
24 oz (3 blocks) cream cheese, softened
-
1 cup granulated sugar
-
3 large eggs
-
1 tsp vanilla extract
-
½ cup sour cream
-
1 tbsp all-purpose flour
For the Red Velvet Cake Layers:
-
2½ cups all-purpose flour
-
1½ cups granulated sugar
-
1 tsp baking soda
-
1 tsp salt
-
1 tbsp unsweetened cocoa powder
-
1½ cups vegetable oil
-
1 cup buttermilk, room temperature
-
2 large eggs, room temperature
-
2 tbsp red food coloring
-
1 tsp vanilla extract
-
1 tsp white vinegar
For the Cream Cheese Frosting:
-
16 oz cream cheese, softened
-
1 cup unsalted butter, softened
-
4 cups powdered sugar
-
1 tbsp vanilla extract
-
Pinch of salt
Preparation
Step 1: Prepare the Cheesecake Layer
-
Preheat your oven to 325°F (163°C). Line the bottom of a 9-inch springform pan with parchment paper and lightly grease the sides.
-
In a large bowl, beat the cream cheese until smooth and lump-free.
-
Add in the sugar and beat until creamy and well-combined.
-
Mix in the eggs, one at a time, scraping the sides of the bowl after each addition.
-
Stir in the vanilla extract, sour cream, and flour. Mix just until combined—do not overbeat.
-
Pour the cheesecake batter into the prepared pan and smooth the top.
-
Bake for 50–60 minutes, or until the center is set and just slightly jiggly. Let cool in the oven with the door slightly open for 1 hour to prevent cracking.
-
Once cool, cover and refrigerate for at least 4 hours or overnight.
Step 2: Bake the Red Velvet Cake Layers
-
Preheat the oven to 350°F (175°C). Grease and flour two 9-inch round cake pans.
-
In a large mixing bowl, sift together the flour, sugar, baking soda, salt, and cocoa powder.
-
In another bowl, whisk together the oil, buttermilk, eggs, food coloring, vanilla extract, and vinegar.
-
Gradually add the wet ingredients to the dry, mixing until smooth and well-incorporated.
-
Divide the batter evenly between the two prepared pans and bake for 30–35 minutes, or until a toothpick inserted comes out clean.
-
Allow the cakes to cool in the pans for 10 minutes, then turn out onto a wire rack to cool completely.
Step 3: Make the Cream Cheese Frosting
-
In a large bowl, beat together the softened cream cheese and butter until light and fluffy.
-
Add the powdered sugar, one cup at a time, mixing on low speed until fully combined.
-
Stir in the vanilla extract and salt, then beat on high for 2–3 minutes until the frosting is smooth and airy.
Step 4: Assemble the Red Velvet Cheesecake
-
Level your cake layers if needed for a flat surface.
-
Place one red velvet cake layer on your serving platter or cake stand.
-
Gently remove the cheesecake from the springform pan and transfer it on top of the red velvet layer.
-
Top with the second red velvet cake layer.
-
Frost the top and sides of the cake with the cream cheese frosting, smoothing it out with an offset spatula.
-
Optional: Decorate with red velvet cake crumbs, chocolate shavings, or a drizzle of white chocolate ganache.
Variation
-
Mini Cheesecakes: Use cupcake liners and bake individual cheesecake and cake layers for a personal-sized dessert.
-
Red Velvet Cheesecake Bars: Instead of layers, bake a red velvet base in a square pan and pour the cheesecake layer over it for easy-to-slice bars.
-
Chocolate Twist: Add mini chocolate chips to the cheesecake batter or drizzle chocolate ganache over the frosting for extra richness.
-
Marbled Version: Swirl red velvet and cheesecake batters together in one pan for a marbled effect and simpler presentation.
Cooking Note
When assembling layered desserts like this, it’s crucial that every component is completely cooled before stacking to prevent melting or slippage. Chilling the cheesecake overnight not only ensures firmness but also enhances its flavor. If you’re short on time, consider preparing each component on different days—cheesecake on day one, red velvet layers on day two, and frosting plus assembly on day three.
Serving Suggestions
Serve slices of this Red Velvet Cheesecake chilled, with a dollop of whipped cream, fresh berries, or a scoop of vanilla bean ice cream for extra indulgence. For holidays, consider adding festive toppings like sugared cranberries, sprigs of rosemary, or chocolate curls to dress it up. It pairs beautifully with coffee, black tea, or a dessert wine like port or sweet Moscato.
Tips
-
Use Room Temperature Ingredients: This helps achieve a smooth batter and prevents curdling.
-
Don’t Overmix the Cheesecake Batter: Overmixing incorporates too much air, which can cause cracking.
-
Line the Pan: Parchment helps you remove the cheesecake layer more easily without damaging it.
-
Chill Time is Crucial: Cheesecake needs time to set properly—overnight is best.
-
Level Your Cakes: Use a serrated knife or cake leveler to create even layers for a professional-looking cake.
Prep Time: 40 minutes
Cooking Time: 90 minutes (combined)
Total Time: About 2 hours 10 minutes + chilling time (preferably overnight)
Nutritional Information (Per Slice – Based on 12 servings)
-
Calories: 620
-
Protein: 8g
-
Sodium: 320mg
-
Carbohydrates: 58g
-
Fat: 40g
-
Sugars: 42g
FAQs
Can I make this cheesecake ahead of time?
Absolutely. In fact, it’s highly recommended to make the cheesecake layer at least a day in advance. This gives it plenty of time to chill and set properly, which makes it easier to assemble and slice cleanly. You can also bake the red velvet cake layers a day early and wrap them tightly in plastic wrap to keep them moist. Assembling the dessert the day of serving ensures peak freshness and presentation.
Can I freeze Red Velvet Cheesecake?
Yes, this dessert freezes beautifully. Whether you want to store leftovers or prep the entire dessert in advance, wrap the whole cheesecake or individual slices tightly in several layers of plastic wrap, followed by a layer of foil. Store in the freezer for up to 2 months. When ready to enjoy, thaw overnight in the refrigerator. For best results, add fresh frosting or garnish after thawing if it was frozen with minimal topping.
Can I use store-bought red velvet cake mix?
Definitely. Using a boxed red velvet cake mix is a great time-saving alternative, especially if you’re short on ingredients or in a hurry. Follow the box instructions to prepare two 9-inch layers. While the flavor and texture may be slightly different from the homemade version, it still delivers a delicious result. Just be sure to let the layers cool completely before assembling the cake.
How do I prevent cheesecake from cracking?
Cheesecake cracks are typically caused by overmixing, rapid temperature changes, or overbaking. To minimize the risk, mix the batter on low speed and stop as soon as the ingredients are fully incorporated. Use room temperature ingredients to create a smooth, lump-free mixture. After baking, turn off the oven, crack the oven door, and let the cheesecake cool gradually for about an hour inside—this slow cooling helps prevent cracks caused by sudden temperature shifts.
Can I make this gluten-free?
Yes, you can make a fully gluten-free Red Velvet Cheesecake by using a 1:1 gluten-free flour blend in place of the all-purpose flour in both the red velvet cake and the cheesecake mixture. Be sure to verify that all other ingredients, such as food coloring and baking soda, are certified gluten-free. The texture may be slightly different, but the taste will still be indulgent and satisfying.
How long does Red Velvet Cheesecake last in the fridge?
Once assembled, the cheesecake can be stored in the refrigerator for up to 5 days. Cover it with a cake dome or plastic wrap to prevent it from drying out or absorbing other odors from the fridge. The flavor often improves after the first day as the layers meld together!
Can I use a different frosting instead of cream cheese?
While cream cheese frosting is the classic and most complementary choice for red velvet, you can switch it up with stabilized whipped cream, buttercream, or even a white chocolate ganache if you prefer a different flavor or texture. Just keep in mind that alternative frostings may change the richness and balance of the final dessert.
Conclusion
Red Velvet Cheesecake is more than just a dessert—it’s an experience. From the first glance at its striking layers of deep crimson and creamy ivory to the last forkful of velvety richness, this dessert delivers on every level: visually stunning, texturally indulgent, and flavorfully unforgettable. The creamy tang of the cheesecake perfectly complements the slightly cocoa-flavored, moist red velvet cake, while the smooth, sweet cream cheese frosting ties everything together in harmonious balance. Each component shines on its own yet melds beautifully into a cohesive masterpiece that’s as elegant as it is satisfying.
Despite its luxurious look and layered structure, this dessert is entirely approachable and achievable for home bakers of all skill levels. With a bit of planning and patience, you can create a show-stopping centerpiece that rivals anything found in a professional bakery. It’s the ideal choice for holidays, birthdays, anniversaries, or any moment you want to turn into something extraordinary.
Even better, Red Velvet Cheesecake is a dessert that invites creativity and personalization. From flavor twists and decorative toppings to mini or bar-style versions, the possibilities are endless. Make it once, and you’ll find yourself looking for reasons to make it again and again. Whether you’re sharing it with family, serving it at a party, or sneaking a slice from the fridge for a midnight treat, this cheesecake is guaranteed to delight and impress. Prepare to be asked for the recipe—repeatedly—because Red Velvet Cheesecake is not just dessert… it’s a celebration in every bite.
