
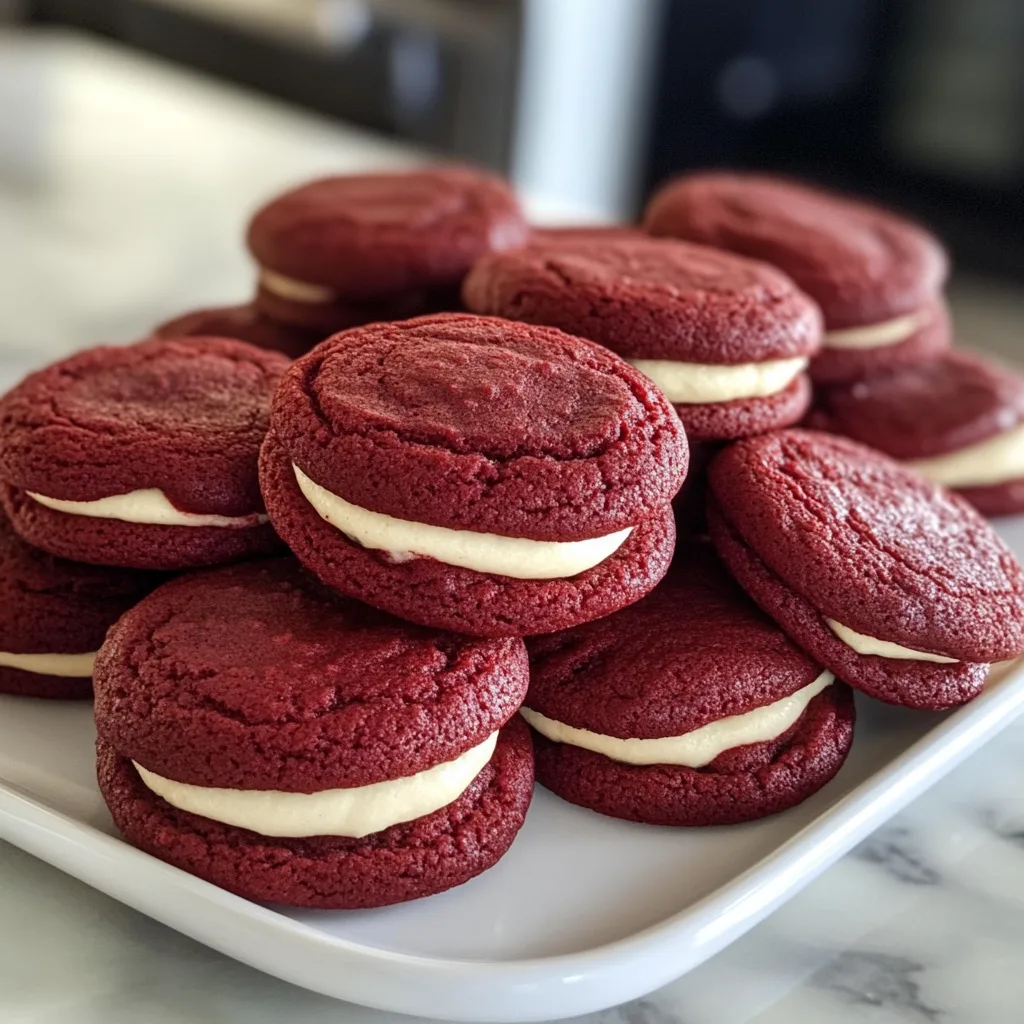
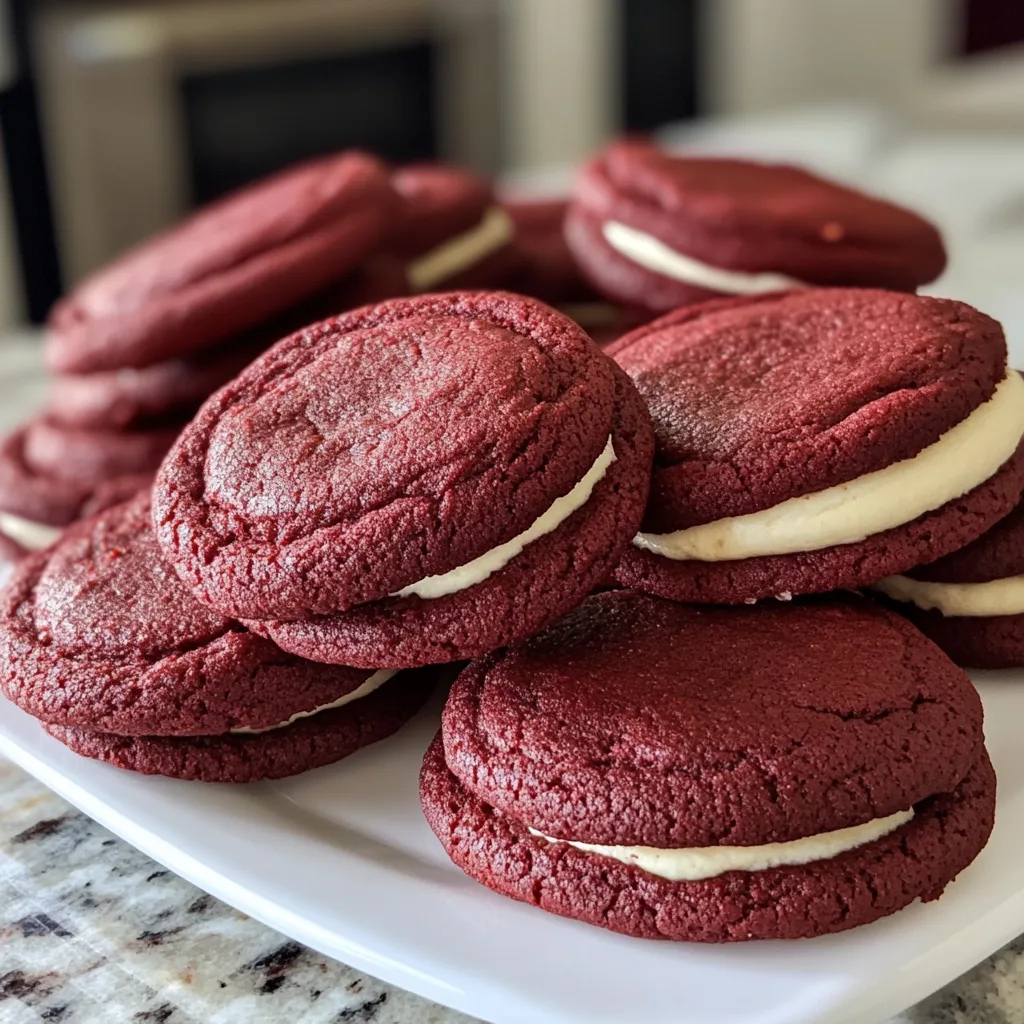
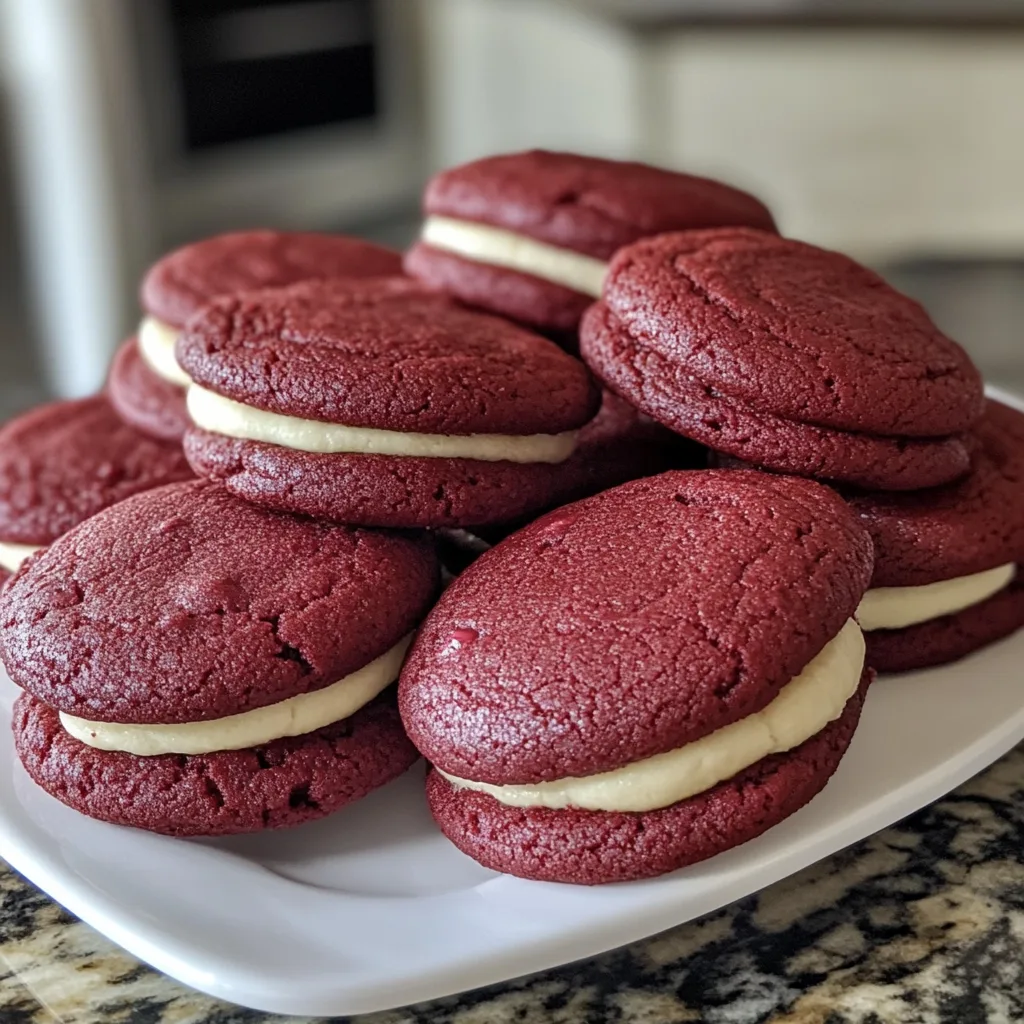
Introduction to Red Velvet Cookies
There’s something magical about the vibrant hue of red velvet cookies that instantly brightens up any day. As a busy mom, I know how precious time can be, and these cookies are a quick solution for those moments when you want to whip up something special without the fuss. Whether it’s a cozy family gathering or a last-minute treat for friends, these cookies are sure to impress. Soft, chewy, and bursting with flavor, they’re a delightful way to show love through baking. Trust me, once you try them, they’ll become a staple in your kitchen!
Why You’ll Love This Red Velvet Cookies
These red velvet cookies are not just a treat; they’re a celebration of flavor and ease. With a simple recipe that comes together in under 30 minutes, you can satisfy your sweet tooth without spending hours in the kitchen. The rich, buttery taste combined with the sweetness of white chocolate chips makes every bite a delight. Plus, they’re perfect for any occasion, making them a go-to recipe for busy days!
Ingredients for Red Velvet Cookies
Gathering the right ingredients is the first step to creating these delightful red velvet cookies. Here’s what you’ll need:
- Unsalted butter: This adds richness and helps create a soft texture. Make sure it’s softened for easy mixing.
- Granulated sugar: Sweetens the cookies and contributes to their chewy texture.
- Brown sugar: Packed with moisture, it enhances the flavor and adds a hint of caramel.
- Large eggs: They bind the ingredients together and provide structure to the cookies.
- Red food coloring: The star of the show! It gives these cookies their signature vibrant hue.
- Vanilla extract: A splash of this adds depth and enhances the overall flavor.
- All-purpose flour: The base of the cookies, providing the necessary structure.
- Baking soda: This leavening agent helps the cookies rise and become fluffy.
- Cocoa powder: Just a touch adds a subtle chocolate flavor that complements the red velvet.
- Salt: A pinch balances the sweetness and enhances the flavors.
- White chocolate chips: These sweet morsels melt beautifully, adding a creamy contrast to the cookies.
For those looking to experiment, you can swap the white chocolate chips for dark chocolate or even nuts for added crunch. If you’re in a pinch, feel free to use margarine instead of butter, but the flavor may vary slightly. You can find the exact quantities for each ingredient at the bottom of the article, ready for printing!
How to Make Red Velvet Cookies
Now that you have your ingredients ready, let’s dive into the fun part—making these delightful red velvet cookies! Follow these simple steps, and you’ll have a batch of cookies that will make your kitchen smell heavenly.
Step 1: Preheat the Oven
First things first, preheat your oven to 350°F (175°C). Preheating is crucial because it ensures that your cookies bake evenly. If you skip this step, your cookies might spread too much or not rise properly. Trust me, a well-preheated oven is the secret to cookie perfection!
Step 2: Cream the Butter and Sugars
In a large bowl, cream together the softened butter, granulated sugar, and brown sugar until the mixture is smooth and fluffy. This process is vital for creating a light texture in your cookies. The air you incorporate while creaming helps them rise beautifully. So, take your time and mix until it’s just right!
Step 3: Add Eggs and Color
Next, add the eggs, red food coloring, and vanilla extract to the creamed mixture. The eggs act as a binder, holding everything together, while the food coloring gives your cookies that stunning red hue. Don’t be shy with the color; it’s what makes these cookies so special!
Step 4: Combine Dry Ingredients
In another bowl, whisk together the all-purpose flour, baking soda, cocoa powder, and salt. Mixing these dry ingredients separately is important. It ensures that the baking soda and cocoa are evenly distributed throughout the flour, which leads to consistent flavor and texture in every cookie.
Step 5: Mix Wet and Dry Ingredients
Now, gradually add the dry ingredients to the wet mixture. Stir gently until just combined. Be careful not to overmix! Overmixing can lead to tough cookies, and we want them soft and chewy. A few flour streaks are okay; they’ll disappear as you fold in the next ingredients.
Step 6: Fold in White Chocolate Chips
Time to add the white chocolate chips! Gently fold them into the dough using a spatula. This technique helps distribute the chips evenly without breaking them apart. Each bite should be a delightful surprise of creamy sweetness!
Step 7: Shape and Bake
Using a spoon or cookie scoop, drop spoonfuls of dough onto a baking sheet lined with parchment paper. Make sure to leave some space between each cookie, as they will spread while baking. Bake for 10-12 minutes, or until the edges are set but the centers are still soft. This will give you that perfect chewy texture!
Step 8: Cooling the Cookies
Once baked, allow the cookies to cool on the baking sheet for a few minutes. This step is essential because it helps them firm up. After a short wait, transfer them to a wire rack to cool completely. This cooling process ensures your cookies maintain their soft, chewy goodness!
Tips for Success
- Use room temperature ingredients for better mixing.
- Don’t skip the cooling time; it enhances texture.
- For a richer flavor, let the dough chill for 30 minutes before baking.
- Experiment with different chocolate chips for unique flavors.
- Keep an eye on baking time; ovens can vary.
Equipment Needed
- Mixing bowls: A large bowl for wet ingredients and a medium bowl for dry ingredients.
- Electric mixer: A hand mixer works well, but a whisk can do the job too.
- Baking sheet: Use parchment paper or a silicone mat for easy cleanup.
- Cookie scoop: A spoon works, but a scoop ensures even-sized cookies.
Variations of Red Velvet Cookies
- Dark Chocolate Red Velvet Cookies: Swap white chocolate chips for dark chocolate chips for a richer flavor.
- Nutty Delight: Add chopped walnuts or pecans for a crunchy texture that complements the softness of the cookies.
- Gluten-Free Option: Substitute all-purpose flour with a gluten-free flour blend to make these cookies suitable for gluten-sensitive friends.
- Vegan Version: Replace eggs with flaxseed meal mixed with water and use vegan butter for a plant-based treat.
- Minty Fresh: Add a few drops of peppermint extract for a refreshing twist that pairs beautifully with the chocolate.
Serving Suggestions for Red Velvet Cookies
- Pair these cookies with a tall glass of cold milk for a classic treat.
- Serve alongside a scoop of vanilla ice cream for an indulgent dessert.
- For a festive touch, dust with powdered sugar before serving.
- Present on a colorful platter for special occasions.
FAQs about Red Velvet Cookies
As you embark on your baking adventure with red velvet cookies, you might have a few questions. Here are some common queries that can help you along the way:
Can I use less food coloring?
Absolutely! If you prefer a subtler color, feel free to reduce the amount of red food coloring. Just remember, the vibrant hue is part of the fun!
How do I store leftover cookies?
Store your red velvet cookies in an airtight container at room temperature for up to a week. They’ll stay soft and delicious, ready for snacking!
Can I freeze these cookies?
Yes! These cookies freeze beautifully. Just place them in a freezer-safe container, and they’ll be good for up to three months. Perfect for those unexpected cravings!
What can I substitute for white chocolate chips?
If white chocolate isn’t your thing, try dark chocolate chips or even butterscotch chips for a different flavor profile. The possibilities are endless!
Why are my cookies flat?
Flat cookies can happen if the butter is too warm or if you overmixed the dough. Make sure to chill your dough for a bit if you notice it’s too soft before baking.
Final Thoughts
Making red velvet cookies is more than just baking; it’s about creating moments of joy and connection. The vibrant color and rich flavor bring smiles to faces, whether it’s a family gathering or a cozy night in. I love how these cookies can turn an ordinary day into something special with just a few simple ingredients. Plus, they’re a fantastic way to involve the kids in the kitchen, making memories that last a lifetime. So, roll up your sleeves, embrace the mess, and enjoy the sweet rewards of your baking adventure. You won’t regret it!
Print
Red Velvet Cookies: Indulge in This Irresistible Treat!
- Total Time: 27 minutes
- Yield: 24 cookies 1x
- Diet: Vegetarian
Description
Delicious and soft red velvet cookies that are perfect for any occasion.
Ingredients
- 1 cup unsalted butter, softened
- 1 cup granulated sugar
- 1 cup brown sugar, packed
- 2 large eggs
- 2 tablespoons red food coloring
- 1 teaspoon vanilla extract
- 3 cups all-purpose flour
- 1 teaspoon baking soda
- 1 teaspoon cocoa powder
- 1/2 teaspoon salt
- 1 cup white chocolate chips
Instructions
- Preheat your oven to 350°F (175°C).
- In a large bowl, cream together the softened butter, granulated sugar, and brown sugar until smooth.
- Add the eggs, red food coloring, and vanilla extract, mixing until well combined.
- In another bowl, whisk together the flour, baking soda, cocoa powder, and salt.
- Gradually add the dry ingredients to the wet ingredients, mixing until just combined.
- Fold in the white chocolate chips.
- Drop spoonfuls of dough onto a baking sheet lined with parchment paper.
- Bake for 10-12 minutes or until the edges are set.
- Allow to cool on the baking sheet for a few minutes before transferring to a wire rack to cool completely.
Notes
- For a more intense red color, add more food coloring.
- Store cookies in an airtight container for up to a week.
- These cookies can be frozen for up to 3 months.
- Prep Time: 15 minutes
- Cook Time: 12 minutes
- Category: Dessert
- Method: Baking
- Cuisine: American
Nutrition
- Serving Size: 1 cookie
- Calories: 150
- Sugar: 10g
- Sodium: 100mg
- Fat: 7g
- Saturated Fat: 4g
- Unsaturated Fat: 2g
- Trans Fat: 0g
- Carbohydrates: 20g
- Fiber: 1g
- Protein: 2g
- Cholesterol: 30mg
Keywords: Red Velvet Cookies, Cookies, Dessert, Baking
