

Introduction to Tie-Dye Ice Cream Cake
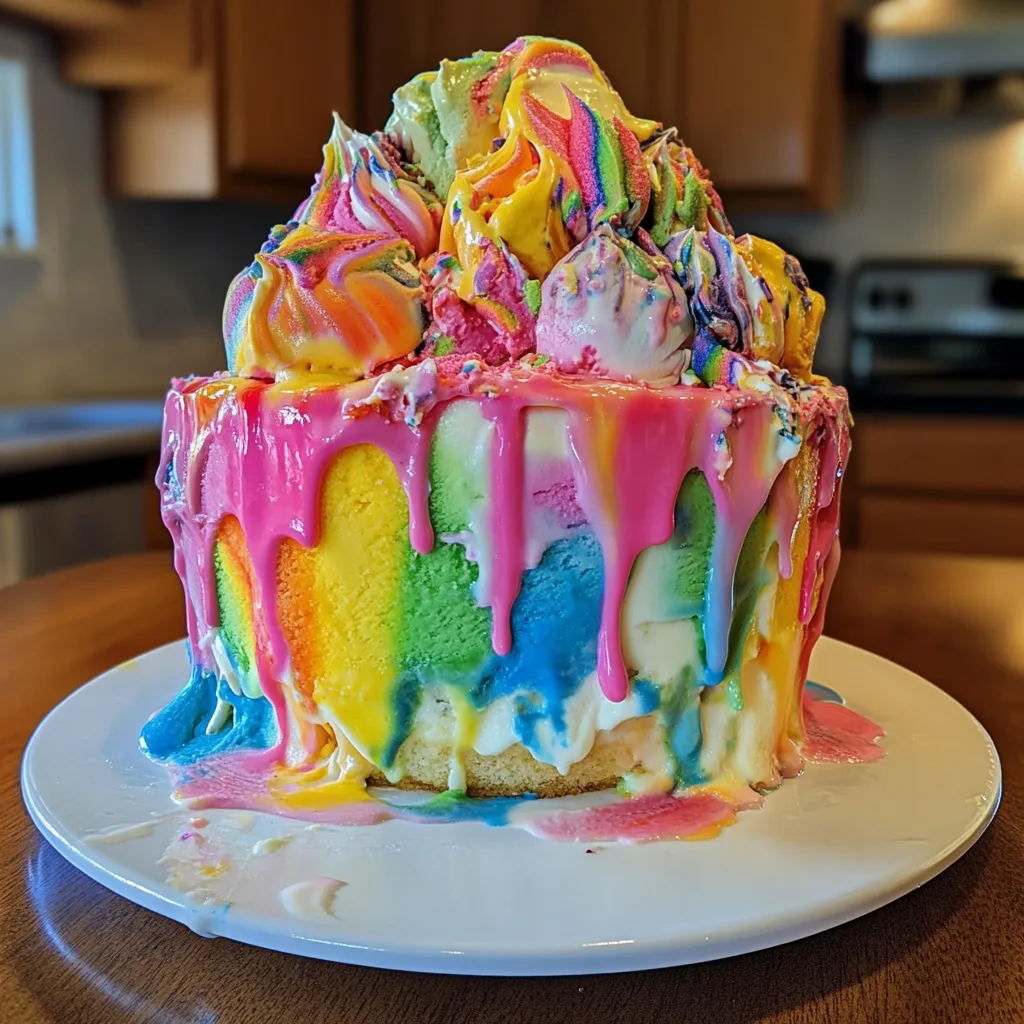
Hey there, fellow dessert lovers! If you’re looking for a fun and vibrant treat, let me introduce you to the Tie-Dye Ice Cream Cake. This colorful dessert delight is not just a feast for the eyes; it’s a quick solution for those busy days when you want to impress your loved ones without spending hours in the kitchen. Imagine layers of colorful ice cream and fluffy cake, all coming together in a joyful explosion of flavor. Trust me, this cake will bring smiles to faces and make any gathering feel like a celebration!
Why You’ll Love This Tie-Dye Ice Cream Cake
This Tie-Dye Ice Cream Cake is a game-changer for busy moms and professionals alike. It’s incredibly easy to whip up, making it perfect for last-minute celebrations or family gatherings. The vibrant colors and delightful flavors will have everyone raving about it. Plus, it’s a fantastic way to get creative in the kitchen without the stress. Who doesn’t love a dessert that’s as fun to make as it is to eat?
Ingredients for Tie-Dye Ice Cream Cake
Let’s gather our colorful cast of ingredients for this delightful Tie-Dye Ice Cream Cake! Each component plays a vital role in creating this masterpiece.
- Cake mix: The base of our cake, providing a fluffy texture. You can use any flavor you love, from classic vanilla to rich chocolate.
- Ice cream: This is where the magic happens! Choose a variety of colors and flavors to create that stunning tie-dye effect. Think fruity, chocolatey, or even nutty!
- Whipped cream: A light and airy topping that adds a creamy finish. You can use store-bought or whip your own for a fresher taste.
- Food coloring: This is your secret weapon for achieving those vibrant hues. Gel food coloring works best, as it won’t alter the ice cream’s texture.
- Sprinkles (optional): These little gems add a fun crunch and extra color. Feel free to get creative with shapes and sizes!
For exact quantities, check the bottom of the article where you can find everything you need for printing. Now, let’s get ready to create a dessert that’s as fun to make as it is to eat!
How to Make Tie-Dye Ice Cream Cake
Now that we have our ingredients ready, let’s dive into the fun part—making the Tie-Dye Ice Cream Cake! Follow these simple steps, and you’ll have a colorful dessert that’s sure to impress.
Step 1: Prepare the Cake Mix
Start by preheating your oven according to the instructions on the cake mix box. Then, mix the cake batter as directed. Pour it into a round cake pan and bake until golden brown. The aroma of baking cake will fill your kitchen, making it feel like a celebration already!
Step 2: Cool the Cake
Once the cake is baked, let it cool completely in the pan. This step is crucial! If you try to layer the ice cream on a warm cake, it will melt and create a colorful puddle instead of a masterpiece. Patience is key here!
Step 3: Color the Ice Cream
While the cake cools, it’s time to get creative with the ice cream. Soften your chosen ice cream flavors slightly, just enough to mix in food coloring. Use a separate bowl for each color. This is where the fun begins! Swirl in the colors until you achieve your desired shades. The vibrant hues will make your cake pop!
Step 4: Layer the Ice Cream
Now comes the exciting part—layering! Start with a scoop of one color of ice cream and spread it evenly over the cooled cake. Then, add another color, and continue alternating until the cake is covered. This is your chance to create that stunning tie-dye effect. Don’t worry about perfection; the more random, the better!
Step 5: Add Whipped Cream
Once your ice cream layers are in place, it’s time to add a fluffy layer of whipped cream on top. Spread it evenly, covering the colorful ice cream. This adds a delightful creaminess and makes the cake look even more inviting. You can use a spatula or a piping bag for a fancy touch!
Step 6: Decorate and Freeze
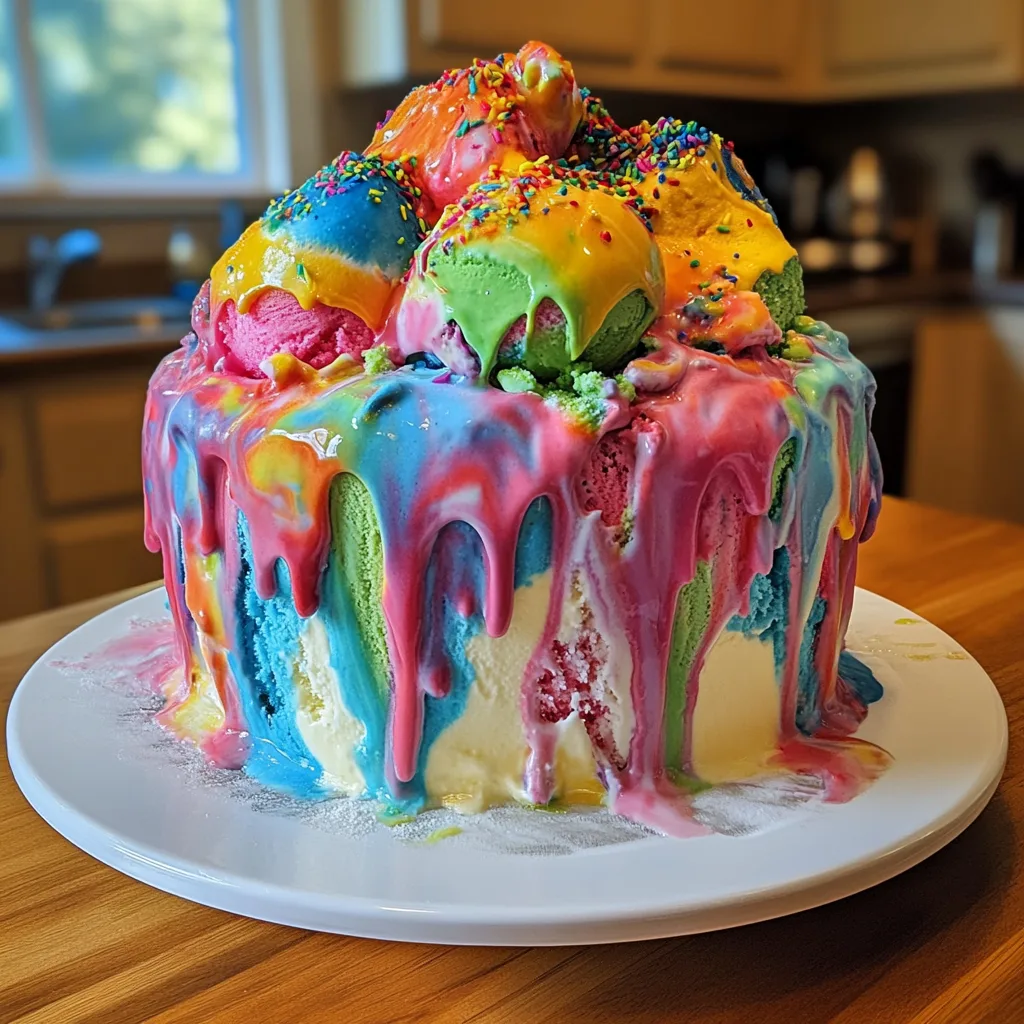
Finally, it’s time to add the finishing touches. If you’re feeling festive, sprinkle some colorful sprinkles on top. They add a fun crunch and extra flair! Now, place your cake in the freezer for at least two hours. This will help everything set perfectly. When you’re ready to serve, let it sit at room temperature for a few minutes for easier slicing. Enjoy your vibrant creation!
Tips for Success
- Use high-quality ice cream for the best flavor and texture.
- Let the ice cream soften slightly before mixing in colors for easier blending.
- Don’t rush the cooling process; a completely cooled cake is essential.
- Experiment with different color combinations to match your occasion.
- For easier slicing, let the cake sit at room temperature for a few minutes before serving.
Equipment Needed
- Round cake pan: A standard 9-inch pan works well. If you don’t have one, a square pan will do in a pinch!
- Mixing bowls: Use a few different sizes for mixing cake batter and coloring ice cream.
- Spatula: A rubber spatula is perfect for spreading ice cream and whipped cream.
- Whisk or electric mixer: For mixing the cake batter smoothly.
- Freezer-safe plate: To place your cake in the freezer without worry.
Variations of Tie-Dye Ice Cream Cake
- Gluten-Free Option: Use a gluten-free cake mix to make this dessert suitable for those with gluten sensitivities.
- Vegan Delight: Swap the regular ice cream for dairy-free alternatives and use a vegan cake mix for a plant-based version.
- Flavor Fusion: Experiment with different ice cream flavors like mint chocolate chip or strawberry for a unique twist.
- Fruit-Infused: Add layers of fresh fruit like sliced strawberries or bananas between the ice cream layers for added texture and flavor.
- Chocolate Lovers: Use chocolate cake mix and chocolate ice cream for a rich, decadent version that’s sure to please any chocoholic.
Serving Suggestions for Tie-Dye Ice Cream Cake
- Fresh Berries: Serve with a side of fresh strawberries or blueberries for a fruity contrast.
- Chocolate Sauce: Drizzle warm chocolate sauce over each slice for an indulgent touch.
- Colorful Plates: Use vibrant plates to enhance the cake’s colorful presentation.
- Ice Cream Scoops: Pair with a scoop of your favorite ice cream for extra creaminess.
- Festive Drinks: Offer colorful fruit punch or lemonade to complement the cake’s fun vibe.
FAQs about Tie-Dye Ice Cream Cake
As you embark on your colorful baking adventure, you might have a few questions about this delightful Tie-Dye Ice Cream Cake. Here are some common queries I’ve encountered, along with helpful answers!
Can I use homemade cake instead of a box mix?
Absolutely! If you have a favorite homemade cake recipe, feel free to use it. Just ensure it’s completely cooled before layering the ice cream.
What types of ice cream work best for this cake?
Any flavor you love can work! However, I recommend using a mix of creamy and fruity flavors for a delightful contrast. Think vanilla, strawberry, and mint chocolate chip!
How long can I store the Tie-Dye Ice Cream Cake?
This cake can be stored in the freezer for up to a week. Just make sure it’s well-covered to prevent freezer burn. Trust me, it won’t last long once your family gets a taste!
Can I make this cake ahead of time?
Yes! This cake is perfect for making ahead. Just prepare it a day or two in advance and keep it in the freezer until you’re ready to serve.
What if my ice cream melts while I’m layering?
No worries! If your ice cream gets too soft, pop it back in the freezer for a few minutes to firm up. This will make layering much easier and help maintain that beautiful tie-dye effect.
Final Thoughts
Creating a Tie-Dye Ice Cream Cake is more than just baking; it’s about bringing joy and color to your table. This vibrant dessert is perfect for any occasion, whether it’s a birthday party or a simple family gathering. The smiles on your loved ones’ faces as they dig into this colorful treat are priceless. Plus, it’s a fantastic way to unleash your creativity in the kitchen without the stress. So, roll up your sleeves, gather your ingredients, and let the fun begin! You’ll be amazed at how a little color can brighten up your day and your dessert!
Print
Tie-Dye Ice Cream Cake: A Colorful Dessert Delight!
- Total Time: 3 hours
- Yield: 12 servings 1x
- Diet: Vegetarian
Description
A vibrant and fun dessert that combines layers of colorful ice cream and cake, perfect for parties and celebrations.
Ingredients
- 1 box of cake mix
- 3 cups of ice cream (various colors)
- 1 cup of whipped cream
- Food coloring (various colors)
- Sprinkles (optional)
Instructions
- Prepare the cake mix according to package instructions and bake in a round cake pan.
- Allow the cake to cool completely.
- While the cake is cooling, soften the ice cream and mix in food coloring to create different colors.
- Layer the colored ice cream on top of the cooled cake, alternating colors to create a tie-dye effect.
- Spread whipped cream on top of the ice cream layer.
- Decorate with sprinkles if desired.
- Freeze the cake for at least 2 hours before serving.
Notes
- For best results, use high-quality ice cream.
- Feel free to customize the colors based on the occasion.
- Let the cake sit at room temperature for a few minutes before slicing for easier serving.
- Prep Time: 30 minutes
- Cook Time: 30 minutes
- Category: Dessert
- Method: Baking and Freezing
- Cuisine: American
Nutrition
- Serving Size: 1 slice
- Calories: 350
- Sugar: 25g
- Sodium: 150mg
- Fat: 15g
- Saturated Fat: 8g
- Unsaturated Fat: 5g
- Trans Fat: 0g
- Carbohydrates: 45g
- Fiber: 1g
- Protein: 4g
- Cholesterol: 30mg
Keywords: Tie-Dye Ice Cream Cake, colorful dessert, party cake, ice cream cake
