
Introduction to Apple Crisp with Oat Topping Recipe
As the leaves begin to turn golden and the air gets a little crisper, I find myself drawn to the kitchen, eager to whip up something warm and comforting. There’s something magical about the aroma of baked apples mingling with cinnamon that instantly transports me back to my childhood. I remember my grandmother’s kitchen, where she would make her famous apple crisp with oat topping every fall. The way she would slice the apples, her hands moving with practiced grace, always fascinated me. It was a simple dish, yet it held the power to bring family together around the table.
Today, I want to share my version of this beloved recipe. It’s not just about the ingredients; it’s about the memories we create while cooking. This apple crisp with oat topping is a delightful blend of sweet and tart, with a crunchy topping that adds a satisfying texture. Whether you’re hosting a cozy gathering or simply treating yourself after a long day, this dish is sure to warm your heart and fill your home with delightful scents.
So, grab your apron and let’s embark on this culinary adventure together! I promise, by the end of this journey, you’ll have a delicious apple crisp that not only tastes amazing but also brings a little piece of nostalgia to your kitchen. Let’s dive into the ingredients and get started on this delightful recipe!
Ingredients for Apple Crisp with Oat Topping Recipe
Before we dive into the cooking process, let’s gather our ingredients. Having everything ready makes the experience smoother and more enjoyable. I always find that when I have my ingredients prepped, it feels like I’m setting the stage for a delightful performance in the kitchen. Here’s what you’ll need for this scrumptious apple crisp with oat topping recipe.
Main Ingredients
- 6 cups of apples (about 6 medium-sized apples) – I love using a mix of Granny Smith and Honeycrisp for that perfect balance of tart and sweet.
- 1 cup of rolled oats – These give the topping that delightful crunch.
- 1 cup of brown sugar – For that rich, caramel-like sweetness.
- 1/2 cup of all-purpose flour – This helps bind the topping together.
- 1 teaspoon of ground cinnamon – A warm spice that makes everything better.
- 1/2 teaspoon of salt – Just a pinch to enhance the flavors.
- 1/2 cup of unsalted butter, melted – This adds richness to the topping.
Optional Add-ons
- 1/2 cup of chopped nuts (like walnuts or pecans) – For an extra crunch and nutty flavor.
- 1/4 cup of raisins or dried cranberries – A little chewiness and sweetness can elevate the dish.
- 1 tablespoon of lemon juice – This brightens the apple flavor and keeps them from browning too quickly.
- 1/2 teaspoon of vanilla extract – A splash of vanilla can add a lovely depth to the overall flavor.
When selecting your apples, I recommend visiting a local farmer’s market if you can. Fresh, in-season apples not only taste better but also support local agriculture. Remember, the quality of your ingredients can make a world of difference in the final dish. Now that we have our ingredients ready, let’s move on to the next exciting step of preparing our apple crisp!
How to Prepare Apple Crisp with Oat Topping Recipe
Now that we have our ingredients ready, it’s time to roll up our sleeves and get cooking! Preparing this apple crisp with oat topping is a delightful process that fills your kitchen with warmth and anticipation. I love how each step brings us closer to that golden, bubbling dish of goodness. Let’s dive into the steps together!
Step 1: Prepping the Apples
First things first, we need to prep our apples. This is where the magic begins! Start by washing the apples thoroughly to remove any dirt or wax. Then, peel them if you prefer a smoother texture, but I often leave the skins on for added color and nutrients. Next, core and slice the apples into thin wedges. Aim for about 1/4-inch thickness so they cook evenly.
Tips for Choosing the Right Apples
When selecting apples, I always go for a mix of tart and sweet varieties. Granny Smith apples bring that lovely tartness, while Honeycrisp adds a sweet crunch. If you can, try to pick apples that are firm and free from bruises. Fresh, in-season apples will give your crisp the best flavor!
Step 2: Making the Oat Topping
Now, let’s create that irresistible oat topping! In a large bowl, combine the rolled oats, brown sugar, flour, cinnamon, and salt. Mix them together until they’re well combined. Then, pour in the melted butter and stir until the mixture resembles coarse crumbs. This is the part where I get my hands in there; it’s so satisfying to feel the texture change as you mix!
Tips for Achieving the Perfect Crumble
To get that perfect crumble, make sure your butter is melted but not too hot. If it’s too warm, it can make the topping greasy. You want it to be just right—enough to hold everything together but still crumbly. If you’re adding nuts or dried fruits, fold them in gently at this stage for an extra layer of flavor!
Step 3: Assembling the Dish
With our apples prepped and topping ready, it’s time to assemble the dish! Start by spreading the sliced apples evenly in a greased baking dish. If you’re using lemon juice, drizzle it over the apples now to enhance their flavor. Then, sprinkle the oat topping generously over the apples, making sure to cover them completely. I like to leave some clumps for that extra crunch!
Tips for Layering Ingredients
When layering, try to distribute the apples evenly so every bite has a good mix of fruit and topping. If you want to get fancy, you can even add a sprinkle of cinnamon or a few extra nuts on top of the oat layer for a beautiful finish. It’s all about making it look as good as it tastes!
Step 4: Baking the Apple Crisp
Finally, it’s time to bake our creation! Preheat your oven to 350°F (175°C). Place the assembled dish in the oven and bake for about 30-35 minutes, or until the topping is golden brown and the apples are bubbling. The aroma that fills your kitchen during this time is simply heavenly!
Tips for Baking Time and Temperature
Keep an eye on your crisp as it bakes. If the topping starts to brown too quickly, you can cover it loosely with aluminum foil to prevent burning. The key is to let it bake long enough for the apples to soften and the flavors to meld together. Trust me, the wait will be worth it!
Equipment Needed for Apple Crisp with Oat Topping Recipe
Before we dive into the deliciousness of our apple crisp, let’s make sure we have the right tools at hand. Having the right equipment can make the cooking process smoother and more enjoyable. Here’s what you’ll need to create this delightful dish:
- Cutting Board: A sturdy cutting board is essential for slicing those apples safely and efficiently.
- Sharp Knife: A good knife will make peeling and slicing the apples a breeze. I always keep mine sharp for the best results!
- Mixing Bowls: You’ll need a couple of mixing bowls—one for the apples and another for the oat topping. I love using glass bowls so I can see the beautiful colors of my ingredients.
- Baking Dish: A 9×13 inch baking dish works perfectly for this recipe. If you don’t have one, any oven-safe dish will do, just adjust the baking time as needed.
- Measuring Cups and Spoons: Accurate measurements are key to a successful apple crisp, so don’t forget these handy tools!
- Whisk or Fork: Use a whisk or fork to mix the oat topping ingredients together. It’s a simple tool, but it makes a big difference!
- Oven Mitts: Safety first! Protect your hands when taking the hot dish out of the oven.
If you find yourself missing any of these items, don’t worry! You can often improvise with what you have at home. For example, a large skillet can double as a mixing bowl, and a pie dish can work in place of a baking dish. The most important thing is to have fun and enjoy the process of creating this delicious apple crisp!
Variations of Apple Crisp with Oat Topping Recipe
While I adore the classic apple crisp with oat topping, there are so many delightful variations to explore! Each twist brings a new flavor profile and can make the dish feel fresh and exciting. Here are a few of my favorite variations that I’ve tried over the years:
- Berry Apple Crisp: Add a cup of fresh or frozen berries, like blueberries or raspberries, to the apple mixture. The tartness of the berries pairs beautifully with the sweet apples, creating a burst of flavor in every bite.
- Spiced Apple Crisp: For a warm, cozy twist, try adding spices like nutmeg or ginger to the oat topping. Just a pinch can elevate the flavor and give your crisp a delightful warmth.
- Maple Pecan Apple Crisp: Swap out the brown sugar for maple syrup and add chopped pecans to the topping. The maple syrup adds a rich sweetness, while the pecans provide a lovely crunch.
- Gluten-Free Apple Crisp: Substitute the all-purpose flour with almond flour or a gluten-free flour blend. This way, everyone can enjoy the deliciousness without worry!
- Caramel Apple Crisp: Drizzle some caramel sauce over the apples before adding the topping. It adds a decadent touch that’s perfect for special occasions.
These variations not only keep things interesting but also allow you to customize the dish to suit your taste or the season. I love experimenting with different ingredients, and each time I do, I’m reminded of how versatile this apple crisp can be. So, don’t hesitate to get creative and make it your own!
Cooking Notes for Apple Crisp with Oat Topping Recipe
As I’ve learned through my culinary adventures, a few cooking notes can make all the difference in achieving that perfect apple crisp with oat topping. Here are some tips I’ve gathered over the years that I hope will help you create a dish that’s not only delicious but also a joy to make!
- Apple Variety: Remember, the type of apples you choose can greatly affect the flavor and texture of your crisp. Mixing different varieties, like tart Granny Smith and sweet Honeycrisp, creates a delightful balance.
- Texture Preference: If you prefer a softer apple filling, you can slice the apples thinner. For a firmer texture, keep them a bit thicker. It’s all about what you enjoy!
- Make Ahead: You can prepare the apple filling and oat topping separately a day in advance. Just store them in the fridge and assemble right before baking. This is a great time-saver for gatherings!
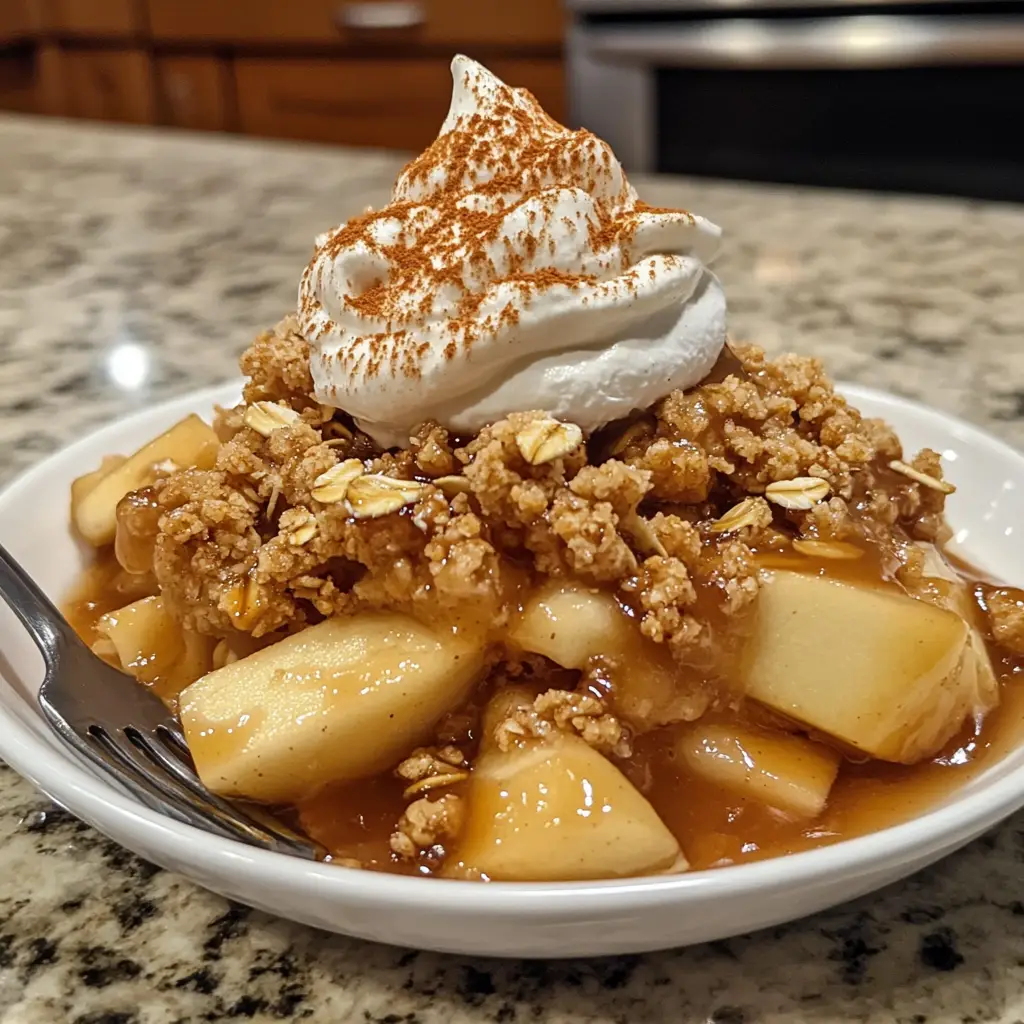
- Serving Warm: For the best experience, serve your apple crisp warm from the oven. The topping will be crunchy, and the apples will be perfectly tender. A scoop of vanilla ice cream on top is the cherry on the cake!
- Storage: If you have leftovers (which is rare in my house!), store them in an airtight container in the fridge for up to three days. Reheat in the oven for a few minutes to bring back that fresh-baked goodness.
These cooking notes are like little nuggets of wisdom that I’ve picked up along the way. They help ensure that every time I make this apple crisp with oat topping, it turns out just as delightful as the last. Happy baking!
Serving Suggestions for Apple Crisp with Oat Topping Recipe
Now that our apple crisp with oat topping is baked to golden perfection, it’s time to think about how to serve it! Presentation can elevate the experience, and I love to make it special. Here are some of my favorite serving suggestions that will make your dish shine:
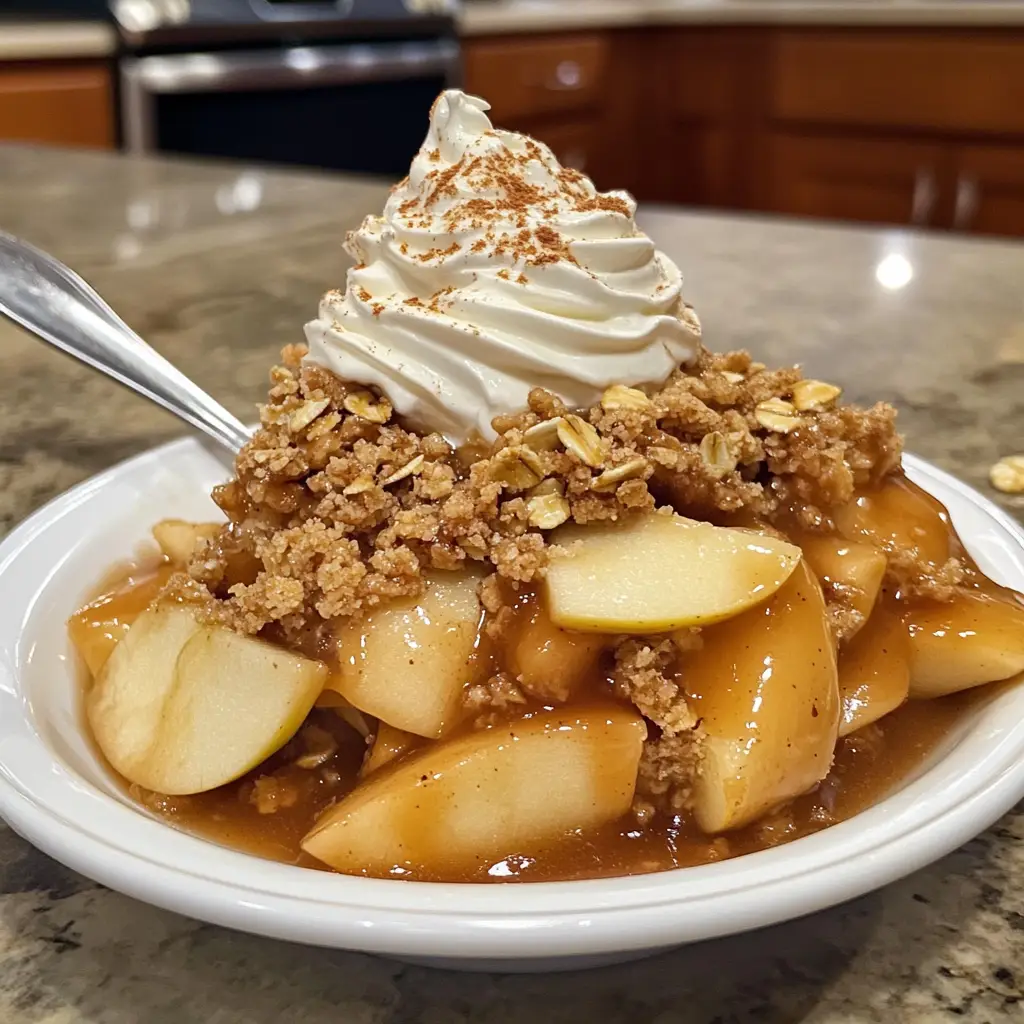
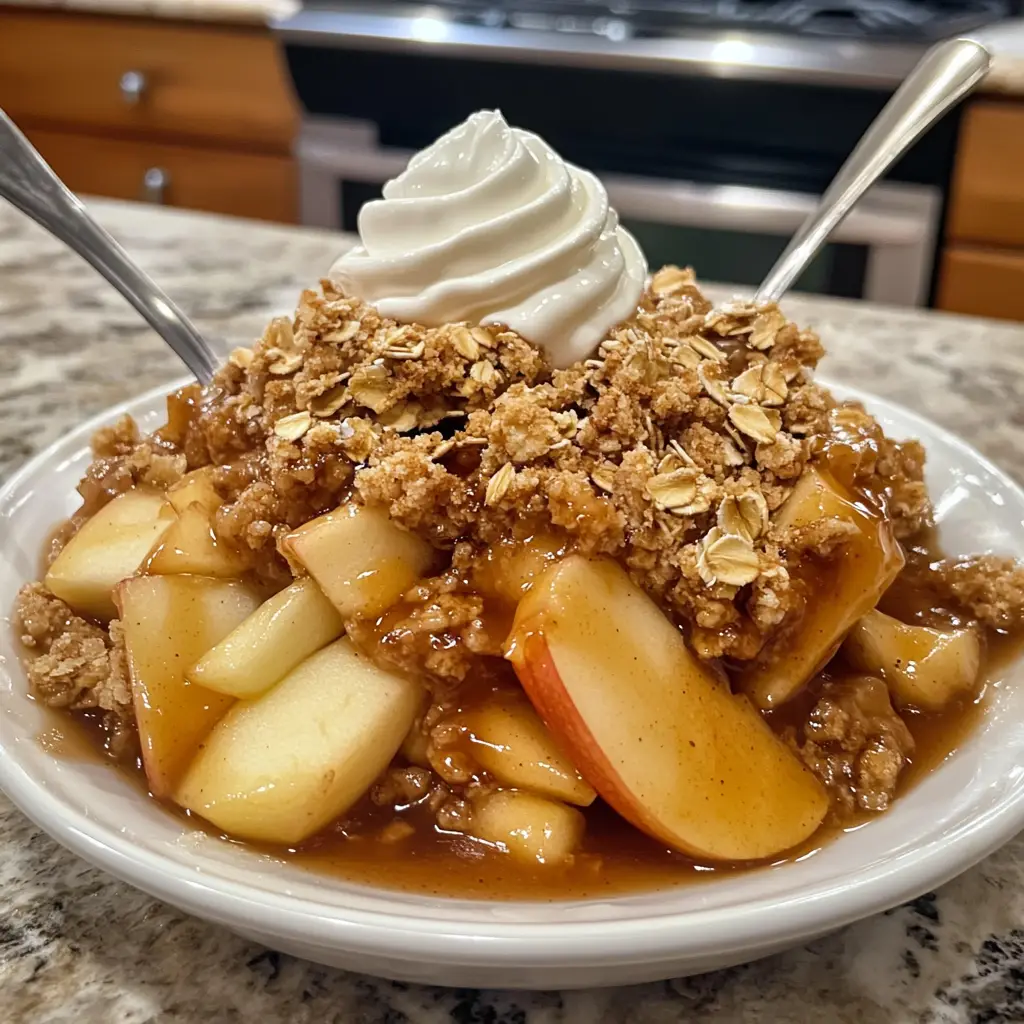
- Serve Warm: There’s nothing quite like a warm apple crisp fresh from the oven. The topping is crunchy, and the apples are tender. I always recommend serving it warm for the best flavor and texture.
- Top with Ice Cream: A scoop of vanilla ice cream on top is a classic pairing. The cold creaminess melts into the warm crisp, creating a delightful contrast. It’s pure bliss!
- Drizzle with Caramel Sauce: For an extra touch of indulgence, drizzle some caramel sauce over the top. It adds a rich sweetness that complements the apples beautifully.
- Garnish with Nuts: Sprinkle some chopped nuts, like walnuts or pecans, on top for added crunch and flavor. It’s a simple way to enhance the presentation and taste.
- Serve with Whipped Cream: A dollop of freshly whipped cream can add a light and airy touch. It’s a lovely way to balance the richness of the crisp.
These serving suggestions not only enhance the dish but also create a warm and inviting atmosphere at the table. I love to gather my family and friends around, sharing stories and laughter as we dig into this comforting dessert. No matter how you choose to serve it, I’m sure your apple crisp will be a hit!
Tips for Making the Best Apple Crisp with Oat Topping Recipe
As I’ve spent countless hours perfecting my apple crisp with oat topping recipe, I’ve gathered a treasure trove of tips that can elevate your dish to new heights. These little nuggets of wisdom can make all the difference, ensuring that your apple crisp is not only delicious but also a joy to prepare. Here are my top tips for making the best apple crisp:
- Use Fresh Ingredients: Fresh, in-season apples are key to a flavorful crisp. Visit your local farmer’s market for the best selection. The difference in taste is remarkable!
- Don’t Skip the Salt: A pinch of salt in the topping enhances the sweetness of the brown sugar and balances the flavors. It’s a small addition that packs a big punch!
- Experiment with Spices: While cinnamon is a classic, don’t hesitate to try adding nutmeg, ginger, or even cardamom for a unique twist. Each spice brings its own warmth and depth.
- Let It Rest: After baking, let your apple crisp sit for about 10-15 minutes before serving. This allows the juices to settle, making it easier to scoop and serve.
- Customize Your Topping: Feel free to mix in different nuts, seeds, or even coconut flakes into the oat topping. This adds texture and flavor, making each bite exciting!
These tips are like little secrets I’ve learned along the way, and I’m excited to share them with you. With these insights, I’m confident that your apple crisp with oat topping will be a delightful success, bringing warmth and joy to your kitchen!
Breakdown of Time for Apple Crisp with Oat Topping Recipe
As a passionate home cook, I know that timing can make or break a recipe. When it comes to my apple crisp with oat topping, having a clear breakdown of the time involved helps me plan my cooking adventure. Here’s how the timing typically breaks down:
- Prep Time: About 20-25 minutes. This includes washing, peeling, coring, and slicing the apples, as well as mixing the oat topping ingredients. I like to take my time here, enjoying the process and the delightful aromas that fill my kitchen.
- Cooking Time: 30-35 minutes. This is when the magic happens! The apple crisp bakes in the oven, filling your home with that irresistible scent of cinnamon and baked apples.
- Total Time: Approximately 50-60 minutes. In just under an hour, you can have a warm, comforting dessert ready to share with family and friends.
Having this time breakdown not only helps me stay organized but also builds anticipation for that first delicious bite. I can’t wait for you to experience the joy of making this apple crisp with oat topping!
Nutritional Information for Apple Crisp with Oat Topping Recipe
As a passionate home cook, I believe that enjoying delicious food doesn’t have to come at the expense of our health. This apple crisp with oat topping is not only a comforting dessert but also offers some nutritional benefits. Here’s a quick breakdown of the nutritional information per serving (based on an 8-serving recipe):
- Calories: Approximately 250-300 calories
- Protein: 3-4 grams
- Fat: 10-12 grams (mostly from the butter and nuts)
- Carbohydrates: 40-45 grams
- Fiber: 3-4 grams (thanks to the oats and apples)
- Sugar: 15-20 grams (natural sugars from apples and added brown sugar)
While this dessert is a treat, it also provides some fiber from the oats and apples, which can be beneficial for digestion. If you want to make it a bit healthier, consider reducing the sugar or using a sugar substitute. You can also add more nuts for healthy fats and protein. Remember, balance is key, and enjoying a slice of this apple crisp with oat topping can be part of a wholesome diet. So, dig in and savor every bite!
Frequently Asked Questions about Apple Crisp with Oat Topping Recipe
As I’ve shared my apple crisp with oat topping recipe, I often get questions from fellow home cooks eager to try it out. It’s always exciting to see others dive into the world of baking! Here are some of the most common questions I receive, along with my answers to help you on your culinary journey.
Can I use different types of apples for this recipe?
Absolutely! While I love the combination of Granny Smith and Honeycrisp, you can experiment with any apples you enjoy. Just remember to mix sweet and tart varieties for the best flavor. Some great options include Fuji, Braeburn, or even Gala apples. Each type will bring its own unique taste to the dish!
Can I make this apple crisp ahead of time?
Yes, you can! You can prepare the apple filling and oat topping separately a day in advance. Just store them in the fridge. When you’re ready to bake, simply assemble and pop it in the oven. This is a fantastic time-saver, especially for gatherings!
How do I store leftovers?
If you have any leftovers (which is rare in my house!), store them in an airtight container in the fridge. They’ll stay fresh for about three days. To reheat, just pop it back in the oven for a few minutes until warmed through. The topping will regain some of its crunch, making it just as delightful as when it was fresh!
Can I make this recipe gluten-free?
<pDefinitely! To make a gluten-free version, simply substitute the all-purpose flour with a gluten-free flour blend or almond flour. Just be sure to check that your oats are certified gluten-free, as some brands may process oats in facilities that handle gluten-containing grains.
What can I serve with apple crisp?
There are so many delicious options! I love serving my apple crisp warm with a scoop of vanilla ice cream or a dollop of whipped cream. You can also drizzle caramel sauce on top for an extra indulgent treat. Freshly chopped nuts or a sprinkle of cinnamon can add a lovely finishing touch, too!
These questions reflect the curiosity and excitement that come with baking. I hope my answers help you feel more confident as you embark on your own apple crisp adventure. Remember, cooking is all about experimenting and having fun, so don’t hesitate to make this recipe your own!
Conclusion on Apple Crisp with Oat Topping Recipe
As we wrap up our delightful journey through the world of apple crisp with oat topping, I can’t help but feel a sense of warmth and nostalgia. This recipe is more than just a dessert; it’s a celebration of flavors, memories, and the joy of cooking. The combination of sweet and tart apples, paired with a crunchy oat topping, creates a symphony of textures that dance on your palate.
What I love most about this apple crisp is its versatility. Whether you’re enjoying it on a cozy fall evening or serving it at a family gathering, it brings people together. The aroma wafting through your home is an invitation to gather around the table, share stories, and create new memories. Plus, with the option to customize it to your taste, every batch can be a unique experience!
So, as you embark on your own apple crisp adventure, remember to savor each moment in the kitchen. Embrace the process, experiment with flavors, and most importantly, enjoy the delicious results. I hope this recipe becomes a cherished part of your culinary repertoire, just as it has in mine. Happy baking!
