
Introduction to Baked French Toast Cups Recipe
As a passionate home cook, I often find myself reminiscing about the cozy mornings spent with family, gathered around the breakfast table. One dish that always brings a smile to my face is French toast. The warm, sweet aroma wafting through the kitchen is like a warm hug on a chilly day. But let me tell you, there’s something even more delightful than traditional French toast: Baked French Toast Cups!
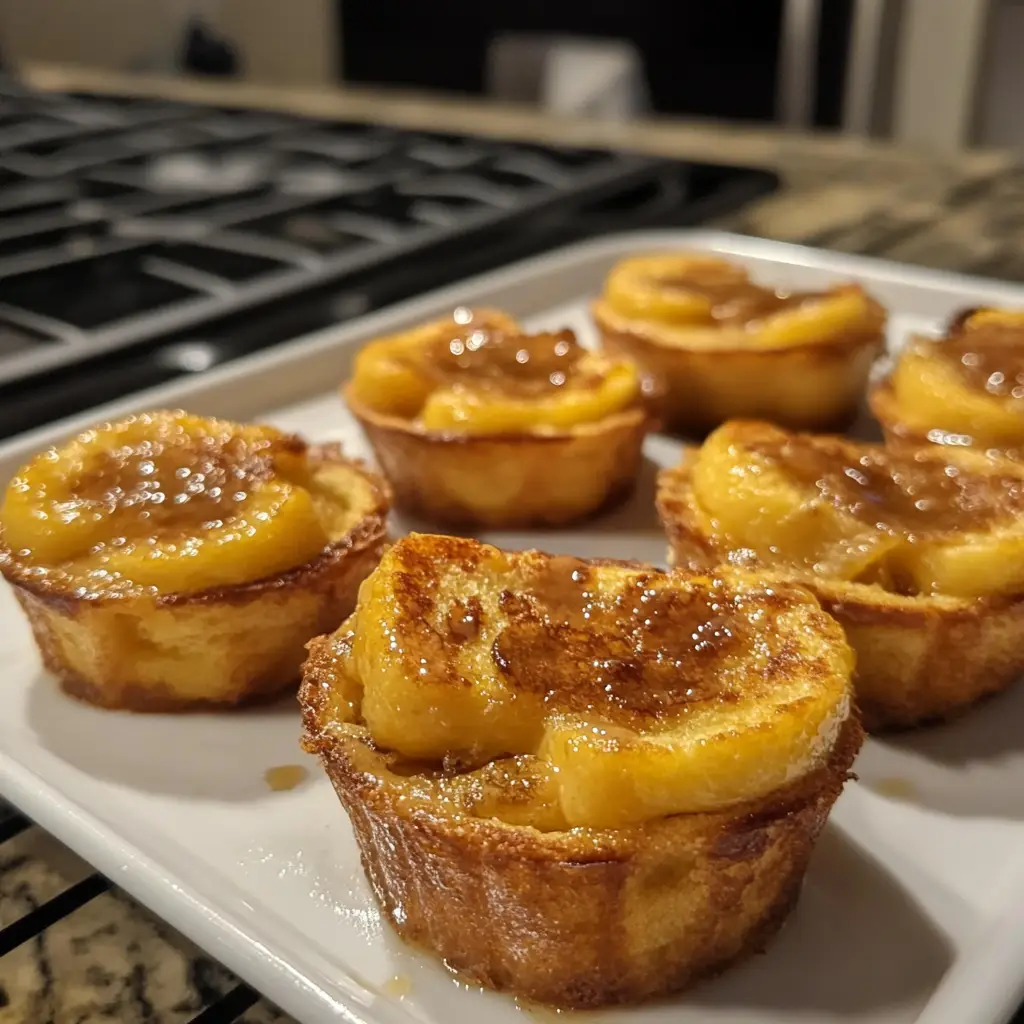
These little cups of joy are not only adorable but also incredibly easy to make. They’re perfect for brunch gatherings or a special weekend breakfast. I remember the first time I made them; I was hosting a small get-together, and I wanted to impress my friends with something unique. I stumbled upon the idea of baked French toast cups, and it was a game-changer! Each cup is filled with a delicious mixture of bread, eggs, and spices, baked to golden perfection. They’re like little edible bowls of happiness!
What I love most about this recipe is its versatility. You can customize it with your favorite toppings, fruits, or even chocolate chips. The possibilities are endless! Plus, they can be made ahead of time, which means less stress in the kitchen when guests arrive. Just pop them in the oven, and you’ll have a delightful breakfast ready in no time.
So, if you’re looking to elevate your breakfast game and create some unforgettable memories, join me as we dive into this scrumptious Baked French Toast Cups Recipe. Trust me, your taste buds will thank you!
Ingredients for Baked French Toast Cups Recipe
Before we dive into the delightful process of making Baked French Toast Cups, let’s gather our ingredients. I always believe that the quality of ingredients can make or break a dish. So, let’s ensure we have the best of the best for this recipe!
Main Ingredients
- 6 slices of bread: I prefer using thick-cut bread like challah or brioche for a rich flavor and soft texture. You can also use whole wheat or gluten-free bread if you prefer.
- 4 large eggs: Fresh eggs are key! They add richness and help bind everything together.
- 1 cup of milk: Whole milk works wonders, but you can substitute with almond milk or oat milk for a dairy-free option.
- 1/4 cup of granulated sugar: This adds sweetness, but feel free to adjust based on your taste. Brown sugar can also be used for a deeper flavor.
- 1 teaspoon of vanilla extract: A splash of pure vanilla extract elevates the flavor. Trust me, it’s worth it!
- 1 teaspoon of ground cinnamon: This spice brings warmth and a hint of nostalgia to the dish.
- Pinch of salt: Just a little to balance the sweetness.
Optional Add-ons
- Fresh fruits: Berries, bananas, or apples can be added for a fruity twist. I love tossing in some blueberries for a pop of color and flavor!
- Chocolate chips: If you’re feeling indulgent, sprinkle some chocolate chips into the mixture. They melt beautifully and create a sweet surprise.
- Nuts: Chopped pecans or walnuts add a delightful crunch. Just be sure to toast them lightly for extra flavor.
- Maple syrup: Drizzle some on top before serving for that classic breakfast touch.
Gathering these ingredients is like preparing for a culinary adventure! Each one plays a role in creating those delightful Baked French Toast Cups. Now that we have everything ready, let’s move on to the fun part—preparing our delicious breakfast treat!
How to Prepare Baked French Toast Cups Recipe
Now that we have our ingredients ready, it’s time to roll up our sleeves and get cooking! Making Baked French Toast Cups is a fun and straightforward process. I promise, you’ll be amazed at how easy it is to create these delightful little treats. Let’s dive into the steps!
Step 1: Preheat the Oven
The first step is to preheat your oven to 350°F (175°C). This ensures that your Baked French Toast Cups will cook evenly and come out perfectly golden.
Tips for Preheating
- Make sure to give your oven enough time to reach the right temperature. A hot oven is key to achieving that lovely, fluffy texture.
- If you have an oven thermometer, use it! Sometimes, ovens can be a bit off, and you want to be sure you’re baking at the right temperature.
Step 2: Prepare the Bread
Next, let’s prepare the bread. I like to cut my bread into small cubes, about 1-inch in size. This helps them soak up the egg mixture beautifully.
Tips for Choosing the Right Bread
- As I mentioned earlier, thick-cut bread like challah or brioche works wonders. They’re soft and absorb the egg mixture without falling apart.
- If you’re using stale bread, that’s even better! Stale bread soaks up the mixture more effectively, giving you a richer flavor.
Step 3: Mix the Egg Mixture
In a large mixing bowl, whisk together the eggs, milk, sugar, vanilla extract, cinnamon, and salt. This is where the magic happens! The combination of these ingredients creates a creamy, flavorful base for our cups.
Tips for Mixing Ingredients
- Make sure to whisk until everything is well combined. You want the sugar to dissolve completely for a smooth texture.
- Feel free to add a splash of orange juice or a pinch of nutmeg for an extra layer of flavor!
Step 4: Assemble the Cups
Now comes the fun part—assembling the cups! In a muffin tin, place the bread cubes and pour the egg mixture over them. Gently toss to coat the bread evenly.
Tips for Layering Ingredients
- Don’t be afraid to get your hands in there! I find that using my hands helps to ensure every piece of bread is coated.
- If you’re adding any optional ingredients like fruits or chocolate chips, sprinkle them in between the layers for a delightful surprise in every bite.
Step 5: Bake the Cups
Finally, it’s time to bake! Place the muffin tin in the preheated oven and bake for about 20-25 minutes, or until the tops are golden brown and the centers are set.
Tips for Baking Time and Temperature
- Keep an eye on them during the last few minutes of baking. Ovens can vary, and you want to catch them just as they turn golden.
- Let them cool for a few minutes before removing them from the tin. This helps them hold their shape better!
And there you have it! Each step brings you closer to those scrumptious Baked French Toast Cups. I can already smell the sweet aroma filling my kitchen. Let’s move on to the next section and see what equipment we’ll need for this delightful recipe!
Equipment Needed for Baked French Toast Cups Recipe
Before we dive into the kitchen, let’s gather the essential tools for making our delightful Baked French Toast Cups. Having the right equipment can make the process smoother and more enjoyable. Here’s what you’ll need:
- Muffin Tin: This is the star of the show! A standard 12-cup muffin tin works perfectly for baking our French toast cups. If you don’t have one, you can use a silicone muffin pan, which makes it easy to pop out the cups once they’re baked.
- Mixing Bowls: You’ll need a large mixing bowl for whisking the egg mixture and a smaller one for preparing the bread. If you’re like me and love to keep things tidy, having a few bowls on hand can help.
- Whisk: A good whisk is essential for mixing the egg mixture until it’s smooth and creamy. If you don’t have a whisk, a fork will do the trick!
- Measuring Cups and Spoons: Accurate measurements are key to a successful recipe. Make sure you have a set of measuring cups and spoons to get everything just right.
- Spatula or Tongs: These are handy for gently tossing the bread cubes in the egg mixture. I love using a spatula to ensure everything is well coated without making a mess.
And there you have it! With these simple tools, you’re all set to create your scrumptious Baked French Toast Cups. Remember, cooking is all about having fun, so don’t stress if you need to improvise with what you have. Let’s keep the culinary adventure going!
Variations of Baked French Toast Cups Recipe
One of the things I adore about Baked French Toast Cups is their versatility. You can easily switch things up to suit your taste or the season. Here are a few delightful variations that I’ve tried and loved:
- Berry Bliss: Swap out the traditional bread for a berry-flavored bread, like strawberry or blueberry. Add fresh berries into the mix for a burst of fruity goodness!
- Chocolate Lover’s Dream: Use chocolate chip bread or add a handful of chocolate chips to the egg mixture. It’s like having dessert for breakfast!
- Nutty Banana: Incorporate sliced bananas and a sprinkle of chopped walnuts or pecans. The combination of flavors is simply divine!
- Spiced Pumpkin: For a fall twist, mix in some pumpkin puree and pumpkin spice. It’s like a cozy hug in a cup!
- Savory Delight: If you’re in the mood for something savory, try adding cooked bacon or sausage, along with some shredded cheese. It’s a breakfast that will satisfy any craving!
These variations not only keep things exciting but also allow you to cater to different preferences. I love experimenting with new flavors, and I encourage you to do the same! The beauty of Baked French Toast Cups is that they can be whatever you want them to be. So, let your creativity shine in the kitchen!
Cooking Notes for Baked French Toast Cups Recipe
As I embark on my culinary adventures, I’ve learned a few cooking notes that can make a world of difference when preparing Baked French Toast Cups. These little tips can help you achieve the best results and ensure your breakfast treat is nothing short of spectacular!
- Soak Time: For an even richer flavor, let the bread cubes soak in the egg mixture for about 10-15 minutes before baking. This allows the bread to absorb all those delicious flavors.
- Storage: If you have leftovers (which is rare, but it happens!), store them in an airtight container in the fridge for up to three days. You can reheat them in the oven or microwave for a quick breakfast treat.
- Freezing: You can also freeze the uncooked cups! Just assemble them in the muffin tin, cover with plastic wrap, and freeze. When you’re ready to bake, just pop them in the oven straight from the freezer, adding a few extra minutes to the baking time.
- Garnishing: Don’t forget to get creative with your toppings! A sprinkle of powdered sugar, a dollop of whipped cream, or a drizzle of maple syrup can elevate your Baked French Toast Cups to a whole new level.
These cooking notes are like little nuggets of wisdom I’ve gathered over time. They help me create the perfect Baked French Toast Cups every time. So, keep these tips in mind as you embark on your own delicious journey!
Serving Suggestions for Baked French Toast Cups Recipe
Now that our Baked French Toast Cups are baked to golden perfection, it’s time to think about how to serve them! Presentation can elevate your breakfast experience, and I love to get a little creative when it comes to serving. Here are some delightful serving suggestions that I’ve tried and absolutely adore:
- Fresh Fruit Medley: Serve the cups with a side of fresh fruit, like sliced strawberries, blueberries, or bananas. The vibrant colors and natural sweetness complement the warm, spiced flavors of the cups beautifully.
- Yogurt Parfait: Pair your Baked French Toast Cups with a dollop of Greek yogurt. You can even layer them in a glass for a fun parfait effect, adding granola for crunch!
- Maple Syrup Drizzle: A classic touch! Drizzle warm maple syrup over the cups just before serving. It adds a sweet, sticky goodness that everyone will love.
- Whipped Cream: For a touch of indulgence, top each cup with a dollop of whipped cream. It’s like adding a cloud of sweetness to your breakfast!
- Nut Butter Spread: A smear of almond or peanut butter on the side can add a nutty flavor and extra protein. It’s a delicious way to enhance the overall taste!
These serving suggestions not only make your Baked French Toast Cups look appealing but also add layers of flavor and texture. I love to mix and match these ideas based on what I have on hand or what I’m in the mood for. So, get creative and enjoy your delightful breakfast treat!
Tips for Perfect Baked French Toast Cups Recipe
As I’ve whipped up countless batches of Baked French Toast Cups, I’ve gathered a treasure trove of tips that can help you achieve perfection every time. These little nuggets of wisdom can make a big difference in your cooking journey. Here are my top tips for creating the ultimate breakfast treat:
- Use Day-Old Bread: If you have some bread that’s a day or two old, use it! Stale bread absorbs the egg mixture better, resulting in a richer flavor and texture.
- Don’t Rush the Soaking: Allow the bread to soak in the egg mixture for at least 10-15 minutes. This ensures every piece is infused with flavor and moisture.
- Experiment with Spices: While cinnamon is a classic, don’t hesitate to try other spices like nutmeg or cardamom. They can add a unique twist to your cups!
- Check for Doneness: Use a toothpick to check if the centers are set. If it comes out clean, your cups are ready to be devoured!
- Let Them Cool: Allow the cups to cool for a few minutes in the muffin tin before removing them. This helps them hold their shape and makes for easier serving.
These tips are like little secrets I’ve learned along the way. They help me create Baked French Toast Cups that are not only delicious but also visually appealing. So, keep these in mind as you embark on your own culinary adventure!
Breakdown of Time for Baked French Toast Cups Recipe
As a home cook, I know that time management is key in the kitchen. When I’m whipping up my Baked French Toast Cups, I like to keep track of how long each step takes. This way, I can plan my morning or brunch gathering without a hitch. Here’s a quick breakdown of the time involved in making these delightful treats:
- Prep Time: Approximately 15 minutes. This includes gathering your ingredients, cutting the bread, and mixing the egg mixture. It’s a breeze, and you’ll be amazed at how quickly it comes together!
- Cooking Time: About 20-25 minutes. This is the time it takes for your Baked French Toast Cups to bake to golden perfection in the oven. The aroma will have everyone eagerly waiting!
- Total Time: Roughly 35-40 minutes. In less than an hour, you can have a delicious breakfast ready to serve. It’s perfect for those busy mornings or special occasions!
Knowing the time breakdown helps me stay organized and ensures that I can enjoy the cooking process without feeling rushed. Plus, it’s always nice to have a delicious breakfast ready in no time! So, let’s keep this momentum going and dive into the next section!
Nutritional Information for Baked French Toast Cups Recipe
As a passionate home cook, I always find it important to know what goes into my meals, especially when I’m sharing them with family and friends. Baked French Toast Cups are not only delicious but can also be a balanced breakfast option. Here’s a general breakdown of the nutritional information for one Baked French Toast Cup, assuming you use the main ingredients listed:
- Calories: Approximately 180-220 calories
- Protein: 6-8 grams
- Carbohydrates: 25-30 grams
- Fat: 6-8 grams
- Sugar: 5-7 grams
- Fiber: 1-2 grams
Keep in mind that these values can vary based on the type of bread you use and any optional add-ons you choose to include. For instance, adding fruits or nuts can increase the fiber and healthy fat content, making your breakfast even more nutritious!
As I whip up these delightful cups, I love knowing that I’m serving something that not only tastes great but also provides a good balance of nutrients. So, whether you’re enjoying them on a busy weekday or a leisurely weekend brunch, you can feel good about indulging in these scrumptious Baked French Toast Cups!
Frequently Asked Questions about Baked French Toast Cups Recipe
As I’ve shared my love for Baked French Toast Cups, I often get questions from fellow home cooks eager to try this delightful recipe. I love answering these queries because it shows just how much excitement there is around this breakfast treat! Here are some of the most frequently asked questions I encounter:
Can I make Baked French Toast Cups ahead of time?
Absolutely! One of the best things about these cups is that you can prepare them the night before. Just assemble everything in the muffin tin, cover it with plastic wrap, and refrigerate. In the morning, pop them in the oven straight from the fridge, adding a few extra minutes to the baking time. It’s a fantastic way to save time on busy mornings!
What type of bread works best for this recipe?
I recommend using thick-cut bread like challah or brioche for the best results. They soak up the egg mixture beautifully and create a soft, fluffy texture. However, you can also use whole wheat or gluten-free bread if you prefer. Just make sure it’s sturdy enough to hold up during baking!
Can I freeze Baked French Toast Cups?
Yes, you can! If you have leftovers or want to make a batch for later, freeze the uncooked cups in the muffin tin. Once they’re frozen solid, transfer them to a freezer-safe bag. When you’re ready to bake, just pop them in the oven straight from the freezer, adding a few extra minutes to the baking time. It’s a great way to have a quick breakfast option on hand!
How do I store leftovers?
If you happen to have any leftovers (which is rare in my house!), store them in an airtight container in the fridge for up to three days. You can reheat them in the oven or microwave. Just a quick zap in the microwave will have them warm and ready to enjoy again!
Can I customize the flavors?
Absolutely! The beauty of Baked French Toast Cups is their versatility. You can add fruits, nuts, chocolate chips, or even spices to suit your taste. I love experimenting with different flavors, so feel free to get creative! Whether you want a fruity twist or a chocolatey delight, the options are endless.
These questions reflect the curiosity and enthusiasm that surrounds Baked French Toast Cups. I hope my answers inspire you to try this recipe and make it your own. Remember, cooking is all about having fun and enjoying the process, so don’t hesitate to ask your own questions as you embark on this delicious journey!
Conclusion on Baked French Toast Cups Recipe
As I wrap up my culinary journey with Baked French Toast Cups, I can’t help but feel a sense of joy and satisfaction. These delightful little cups are not just a treat for the taste buds; they’re a celebration of creativity and togetherness in the kitchen. The ease of preparation, combined with the ability to customize them to your liking, makes this recipe a winner for any occasion.
Whether you’re hosting a brunch, enjoying a cozy family breakfast, or simply treating yourself, Baked French Toast Cups bring warmth and happiness to the table. The golden, fluffy texture paired with your favorite toppings creates a delightful experience that everyone will love. Plus, the fact that they can be made ahead of time means less stress and more time to enjoy the company of loved ones.
So, if you’re looking to elevate your breakfast game and create lasting memories, I wholeheartedly encourage you to give this recipe a try. With each bite, you’ll savor the love and passion that goes into making these scrumptious cups. Happy cooking, and may your kitchen always be filled with the sweet aroma of Baked French Toast Cups!
