
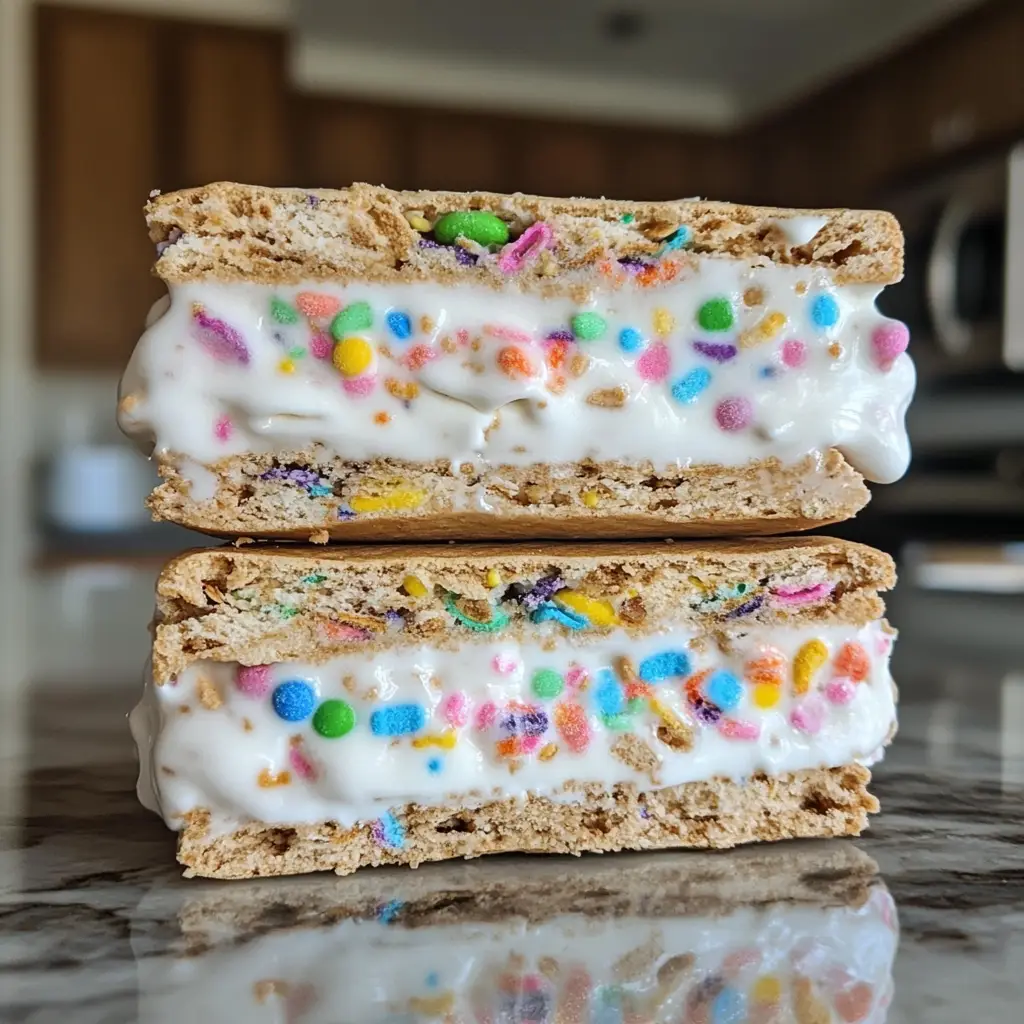
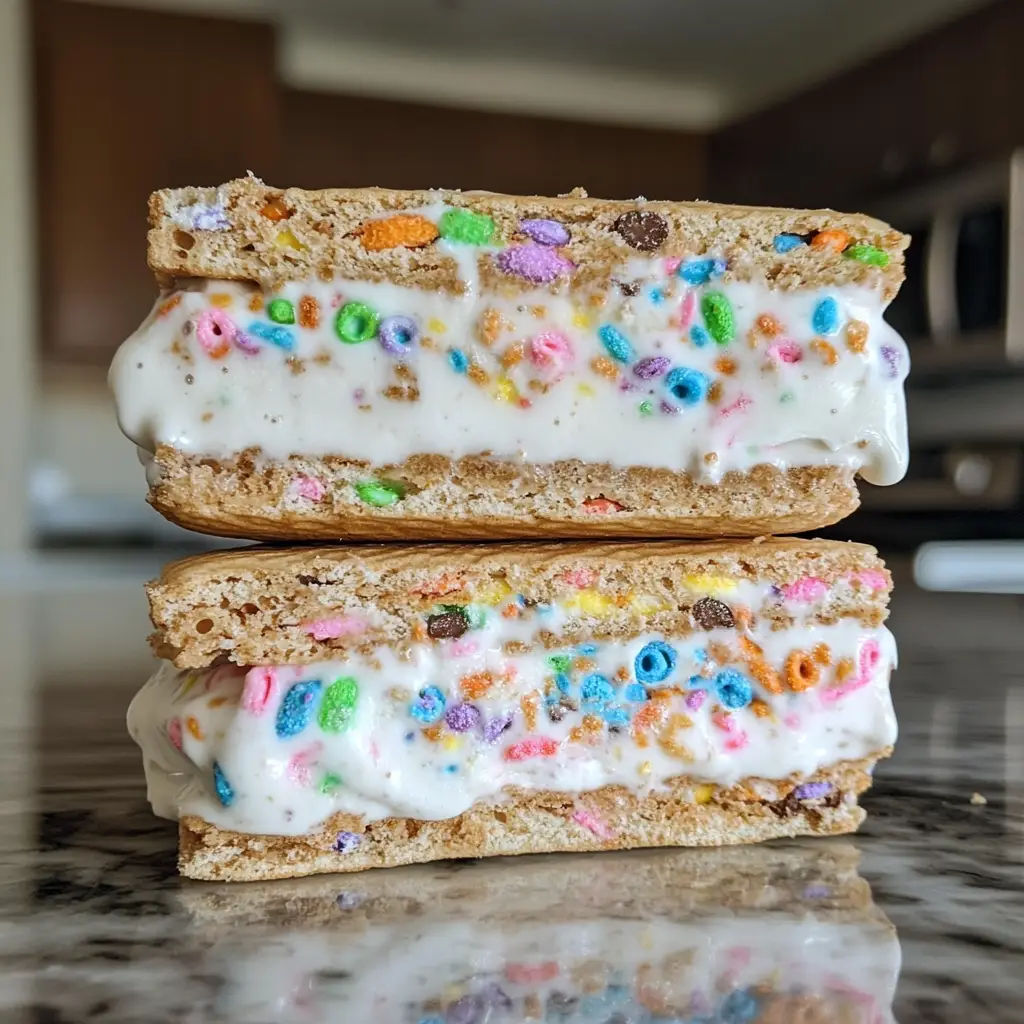
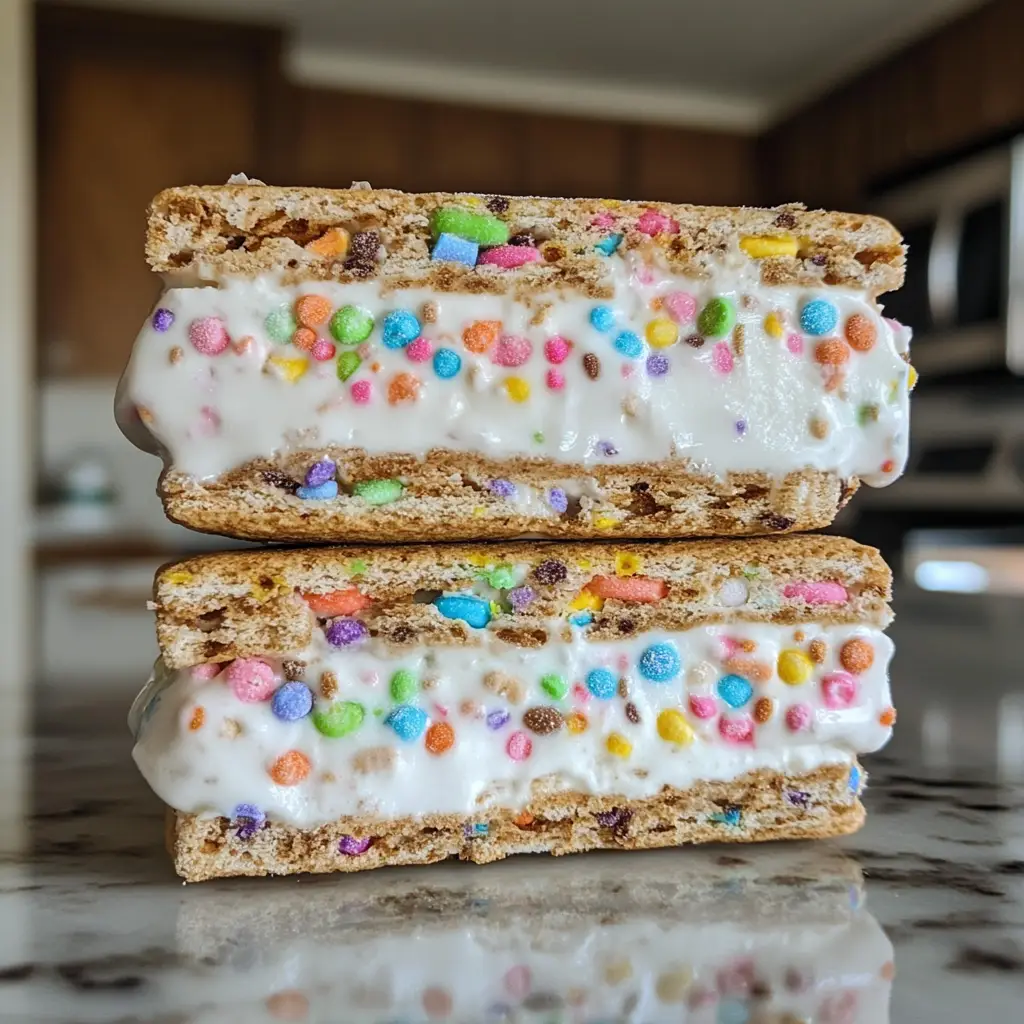
Introduction to Cereal Milk Ice Cream Sandwiches
As a busy mom, I know how precious time can be, especially when it comes to whipping up something special for my family. That’s why I absolutely adore these Cereal Milk Ice Cream Sandwiches! They’re not just a treat; they’re a delightful trip down memory lane, combining the nostalgic flavors of cereal milk with creamy ice cream, all nestled between two delicious cookies. Whether you’re looking to impress your loved ones or simply want a quick solution for a hot summer day, these sandwiches are sure to bring smiles and satisfaction to your table.
Why You’ll Love This Cereal Milk Ice Cream Sandwiches
These Cereal Milk Ice Cream Sandwiches are a dream come true for busy families! They’re incredibly easy to make, allowing you to whip up a batch in no time. The combination of creamy ice cream and soft cookies creates a taste sensation that’s hard to resist. Plus, they’re perfect for any occasion, whether it’s a backyard barbecue or a cozy movie night. Trust me, your taste buds will thank you!
Ingredients for Cereal Milk Ice Cream Sandwiches
Gathering the right ingredients is the first step to creating these delightful Cereal Milk Ice Cream Sandwiches. Here’s what you’ll need:
- Cereal Milk: This is the star of the show! It’s the sweet, milky goodness left after soaking your favorite cereal. Feel free to experiment with different cereals for unique flavors.
- Heavy Cream: This adds richness and creaminess to your ice cream. If you’re looking for a lighter option, you can substitute it with half-and-half.
- Whole Milk: It balances the heavy cream and helps create a smooth texture. You can use low-fat milk if you prefer, but the ice cream may be less creamy.
- Granulated Sugar: This sweetens the mixture and enhances the flavors. For a healthier twist, consider using honey or maple syrup.
- Vanilla Extract: A splash of this adds a warm, comforting flavor that complements the cereal milk beautifully. Pure vanilla extract is best, but imitation works in a pinch.
- Salt: Just a pinch helps to balance the sweetness and elevate the overall flavor of the ice cream.
- Cookie Dough: You can use your favorite cookie dough recipe or store-bought dough. Chocolate chip, oatmeal raisin, or even peanut butter cookies work wonderfully!
For exact measurements, check the bottom of the article where you can find everything listed for easy printing. Now that you have your ingredients ready, let’s dive into the fun part—making these scrumptious sandwiches!
How to Make Cereal Milk Ice Cream Sandwiches
Now that you have your ingredients ready, let’s get started on making these delightful Cereal Milk Ice Cream Sandwiches! Follow these simple steps, and you’ll be enjoying a sweet treat in no time.
Step 1: Prepare the Ice Cream Base
In a large mixing bowl, combine the cereal milk, heavy cream, whole milk, granulated sugar, vanilla extract, and salt. Whisk everything together until it’s well blended. This mixture is the foundation of your ice cream, so make sure it’s smooth and creamy. The aroma of vanilla will make your kitchen feel like a cozy bakery!
Step 2: Chill the Mixture
Once your ice cream base is ready, cover the bowl with plastic wrap and place it in the refrigerator. Chill the mixture for at least two hours. This step is crucial because it helps the flavors meld together. Plus, a cold base churns better, resulting in a creamier ice cream.
Step 3: Churn the Ice Cream
After chilling, pour the mixture into your ice cream maker. Follow the manufacturer’s instructions for churning. Typically, this takes about 20-30 minutes. You’ll know it’s ready when it reaches a soft-serve consistency. The excitement builds as you watch it transform into creamy goodness!
Step 4: Freeze the Ice Cream
Once churned, transfer the ice cream to a container. Smooth the top with a spatula and cover it tightly. Freeze for at least four hours to firm it up. This waiting period can feel like an eternity, but trust me, it’s worth it for that perfect scoop!
Step 5: Bake the Cookies
While the ice cream is freezing, it’s time to bake your cookies. Prepare your cookie dough according to your favorite recipe or package instructions. Bake them until they’re golden brown and let them cool completely. Warm cookies will melt your ice cream, and we don’t want that!
Step 6: Assemble the Sandwiches
Now comes the fun part! Take one cookie and scoop a generous amount of ice cream onto it. Top it with another cookie to create a sandwich. Press gently to ensure the ice cream spreads to the edges. Repeat this process with the remaining cookies and ice cream. Your kitchen will smell heavenly!
Step 7: Serve or Store
Enjoy your Cereal Milk Ice Cream Sandwiches immediately for a delightful treat. If you want to save some for later, wrap each sandwich in plastic wrap and store them in the freezer. They’ll keep for up to a week, but I doubt they’ll last that long!
Tips for Success
- Use chilled ingredients for a creamier ice cream texture.
- Experiment with different cereals to create unique flavors.
- Make sure your cookies are completely cool before assembling the sandwiches.
- For a fun twist, add sprinkles or chocolate chips to the ice cream mixture.
- Wrap sandwiches tightly in plastic wrap to prevent freezer burn.
Equipment Needed
- Ice Cream Maker: Essential for churning the ice cream. If you don’t have one, a blender can work in a pinch.
- Mixing Bowls: Use medium and large bowls for mixing ingredients.
- Spatula: Perfect for smoothing the ice cream and assembling sandwiches.
- Baking Sheet: Needed for baking your cookies. Line it with parchment paper for easy cleanup.
- Plastic Wrap: Great for covering the ice cream and wrapping sandwiches for storage.
Variations
- Gluten-Free: Use gluten-free cookie dough to make these sandwiches suitable for those with gluten sensitivities.
- Dairy-Free: Substitute heavy cream and whole milk with coconut milk or almond milk for a dairy-free version.
- Flavor Infusions: Add crushed cookies, nuts, or fruit to the ice cream mixture for added texture and flavor.
- Chocolate Lovers: Use chocolate chip cookies and add cocoa powder to the ice cream base for a rich chocolate flavor.
- Seasonal Flavors: Incorporate seasonal cereals, like pumpkin spice in the fall or fruity pebbles in the summer, for a festive twist.
Serving Suggestions
- Pair your Cereal Milk Ice Cream Sandwiches with a glass of cold milk for a nostalgic touch.
- Serve with fresh fruit, like strawberries or bananas, for a refreshing contrast.
- For a fun presentation, stack the sandwiches on a colorful platter and sprinkle with mini chocolate chips.
- Consider drizzling chocolate or caramel sauce over the top for an extra indulgent treat.
- Enjoy them alongside a scoop of your favorite sorbet for a delightful dessert spread.
FAQs about Cereal Milk Ice Cream Sandwiches
As you embark on your journey to create these delightful Cereal Milk Ice Cream Sandwiches, you might have a few questions. Here are some common queries I’ve encountered, along with helpful answers to guide you along the way.
Can I use any type of cereal for the milk?
Absolutely! The beauty of Cereal Milk Ice Cream Sandwiches lies in their versatility. You can use any cereal you love, from classic corn flakes to colorful fruity pebbles. Each cereal will impart its unique flavor to the milk, making your ice cream even more special.
How long can I store the ice cream sandwiches?
You can store your Cereal Milk Ice Cream Sandwiches in the freezer for up to a week. Just wrap each sandwich tightly in plastic wrap to keep them fresh and prevent freezer burn. But let’s be honest, they probably won’t last that long!
Can I make the ice cream without an ice cream maker?
Yes, you can! If you don’t have an ice cream maker, pour the chilled mixture into a shallow dish and freeze it. Every 30 minutes, stir the mixture with a fork to break up ice crystals until it reaches a creamy consistency. It’s a bit more work, but totally worth it!
What if I have leftover cookie dough?
Leftover cookie dough? No problem! You can bake the extra dough into cookies for snacking or freeze it for later use. Just scoop it into balls, freeze them on a baking sheet, and then transfer to a zip-top bag for future cookie cravings.
Can I make these sandwiches ahead of time for a party?
Definitely! You can prepare the ice cream and cookies a day in advance. Assemble the sandwiches just before serving for the best texture. Your guests will be impressed with this delightful treat!
Final Thoughts
Creating Cereal Milk Ice Cream Sandwiches is more than just a recipe; it’s a joyful experience that brings back cherished memories. The combination of creamy ice cream and soft cookies is a delightful treat that can brighten any day. Whether you’re making them for a family gathering or a quiet evening at home, these sandwiches are sure to spark smiles and laughter. Plus, the versatility of flavors means you can customize them to suit everyone’s taste. So, roll up your sleeves, gather your loved ones, and enjoy the sweet moments that come with each delicious bite!
PrintCereal Milk Ice Cream Sandwiches that Delight Your Tastebuds!
- Total Time: 4 hours 45 minutes
- Yield: 12 sandwiches 1x
- Diet: Vegetarian
Description
Cereal Milk Ice Cream Sandwiches are a delightful treat that combines the nostalgic flavors of cereal milk with creamy ice cream, all sandwiched between two delicious cookies.
Ingredients
- 2 cups cereal milk
- 1 cup heavy cream
- 1 cup whole milk
- 1 cup granulated sugar
- 1 teaspoon vanilla extract
- 1/2 teaspoon salt
- 1 cup cookie dough (your choice)
Instructions
- In a bowl, mix cereal milk, heavy cream, whole milk, sugar, vanilla extract, and salt until well combined.
- Chill the mixture in the refrigerator for at least 2 hours.
- Pour the chilled mixture into an ice cream maker and churn according to the manufacturer’s instructions.
- Once the ice cream reaches a soft-serve consistency, transfer it to a container and freeze for at least 4 hours.
- While the ice cream is freezing, prepare your cookie dough and bake cookies according to your recipe.
- Once the cookies are cool, scoop a generous amount of ice cream onto one cookie and top with another cookie to create a sandwich.
- Repeat with remaining cookies and ice cream.
- Serve immediately or freeze the sandwiches for later enjoyment.
Notes
- For a fun twist, try using different types of cereal for the milk.
- Make sure the cookies are completely cool before assembling the sandwiches.
- These sandwiches can be wrapped in plastic wrap and stored in the freezer for up to a week.
- Prep Time: 30 minutes
- Cook Time: 15 minutes
- Category: Dessert
- Method: Churning and Baking
- Cuisine: American
Nutrition
- Serving Size: 1 sandwich
- Calories: 300
- Sugar: 20g
- Sodium: 150mg
- Fat: 15g
- Saturated Fat: 10g
- Unsaturated Fat: 5g
- Trans Fat: 0g
- Carbohydrates: 35g
- Fiber: 1g
- Protein: 4g
- Cholesterol: 50mg
Keywords: Cereal Milk, Ice Cream, Sandwiches, Dessert, Treats
