
Introduction to Easy Cherry Pie Bars
As a busy mom, I know how precious time can be, especially when it comes to whipping up something sweet. That’s why I’m excited to share my recipe for Easy Cherry Pie Bars! These delightful treats are not only simple to make, but they also bring a burst of flavor that everyone will love. Whether you’re looking for a quick dessert for a family gathering or a special treat to impress your friends, these bars are the perfect solution. Trust me, once you try them, they’ll become a staple in your kitchen!
Why You’ll Love This Easy Cherry Pie Bars
These Easy Cherry Pie Bars are a dream come true for busy lives! They come together in just about 50 minutes, making them a quick solution for unexpected guests or a sweet craving. The buttery crust paired with luscious cherry filling creates a delightful balance of flavors. Plus, they’re versatile enough to adapt to your family’s tastes. Who wouldn’t love a dessert that’s both easy and delicious?
Ingredients for Easy Cherry Pie Bars
Gathering the right ingredients is the first step to creating these scrumptious Easy Cherry Pie Bars. Here’s what you’ll need:
- All-purpose flour: This is the backbone of your crust, providing structure and a tender bite.
- Granulated sugar: Sweetens the crust and balances the tartness of the cherries.
- Unsalted butter: Adds richness and flavor to the crust. Make sure it’s softened for easy mixing!
- Baking powder: This leavening agent helps the crust rise slightly, giving it a light texture.
- Salt: Just a pinch enhances the overall flavor, making the sweetness pop.
- Cherry pie filling: The star of the show! You can use store-bought for convenience or make your own if you’re feeling adventurous.
- Vanilla extract: A splash of this adds warmth and depth to the flavor profile.
- Almond extract: This is optional, but it gives a lovely nutty note that complements the cherries beautifully.
For those who want to mix things up, feel free to experiment with different fruit fillings like blueberry or peach. You can find the exact measurements for each ingredient at the bottom of the article, ready for printing!
How to Make Easy Cherry Pie Bars
Now that you have your ingredients ready, let’s dive into the fun part—making these Easy Cherry Pie Bars! Follow these simple steps, and you’ll have a delicious dessert in no time.
Step 1: Preheat the Oven
First things first, preheat your oven to 350°F (175°C). Preheating is crucial because it ensures that your bars bake evenly. If you skip this step, you might end up with a soggy bottom or unevenly cooked bars. Trust me, a little patience here goes a long way!
Step 2: Prepare the Crust Mixture
In a mixing bowl, combine your all-purpose flour, granulated sugar, baking powder, and salt. Each ingredient plays a role: the flour gives structure, sugar adds sweetness, baking powder helps it rise, and salt enhances flavor. Mix these dry ingredients well until they’re fully combined.
Step 3: Create the Base Layer
Next, add the softened butter to your dry mixture. Use a fork or your fingers to mix until it resembles coarse crumbs. Now, take half of this crumbly mixture and press it firmly into the bottom of a greased 9×9 inch baking pan. Make sure it’s evenly distributed; this will be the sturdy base for your cherry filling!
Step 4: Add the Cherry Filling
Now comes the fun part—spreading the cherry pie filling! Open your can of cherry pie filling and spoon it evenly over the crust. For an extra flavor boost, you can sprinkle a little cinnamon or lemon juice over the cherries. This little touch can elevate the taste and make your bars even more delightful!
Step 5: Finish with the Crumb Topping
Take the remaining crumb mixture and mix it with the vanilla and almond extracts. This will add a lovely aroma and flavor to your topping. Sprinkle this mixture generously over the cherry filling. Don’t worry about being perfect; a little unevenness adds character!
Step 6: Bake to Perfection
Pop your baking pan into the preheated oven and bake for 30-35 minutes. Keep an eye on it! You’ll know it’s done when the top is golden brown and the edges are slightly bubbling. The aroma wafting through your kitchen will be irresistible!
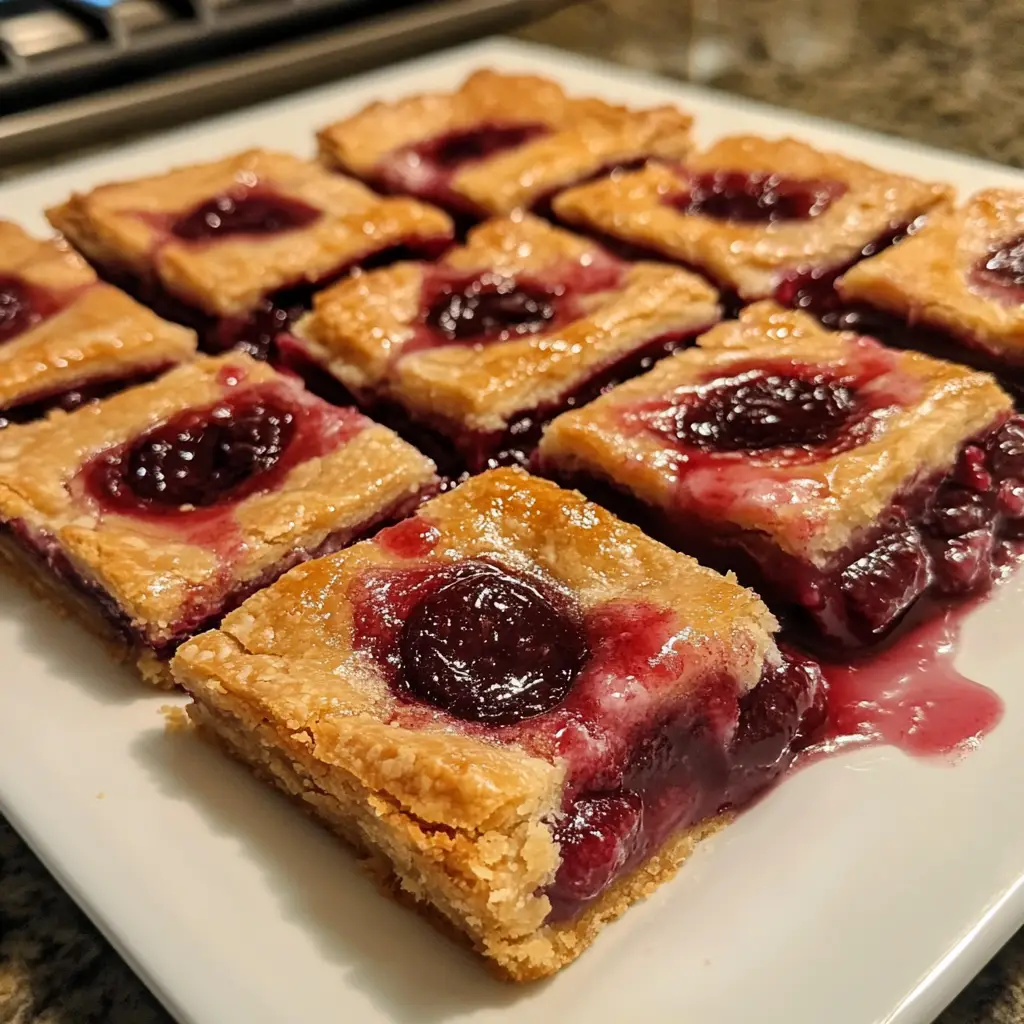
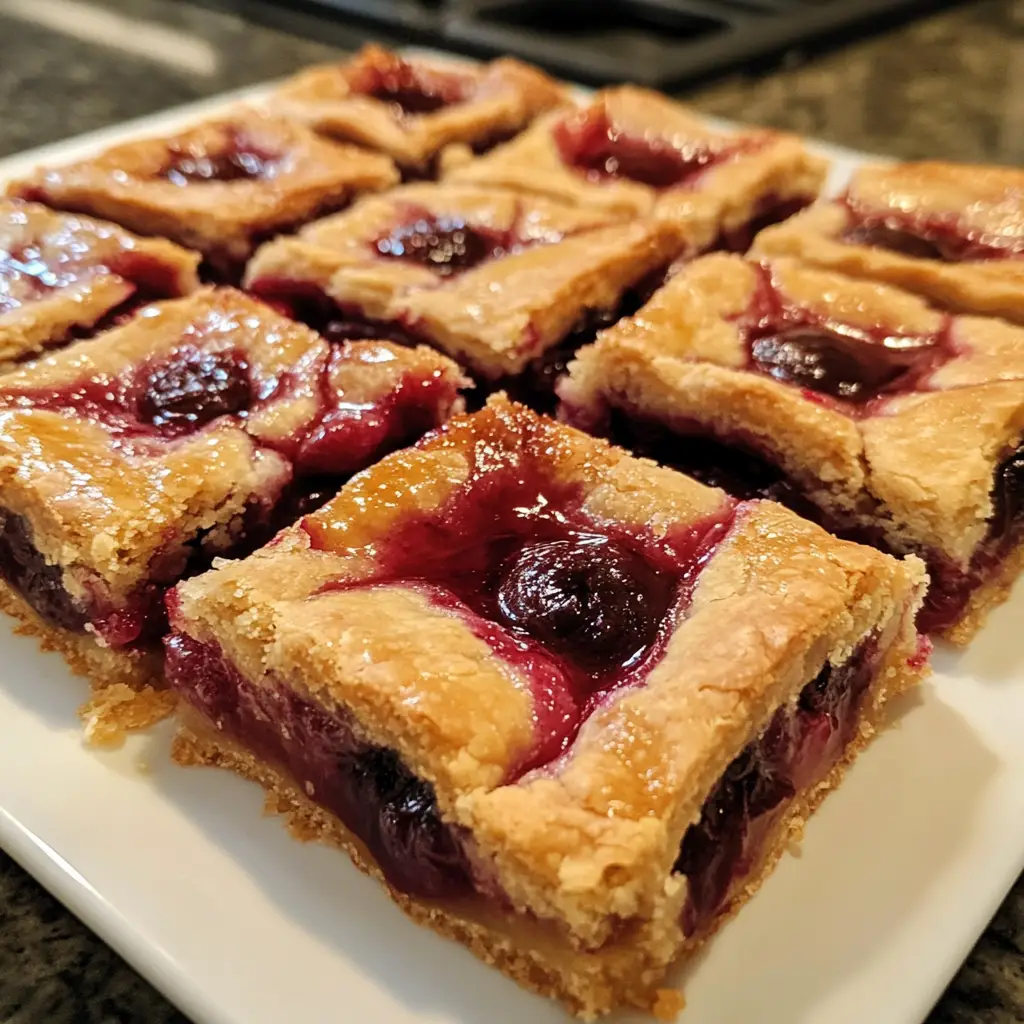
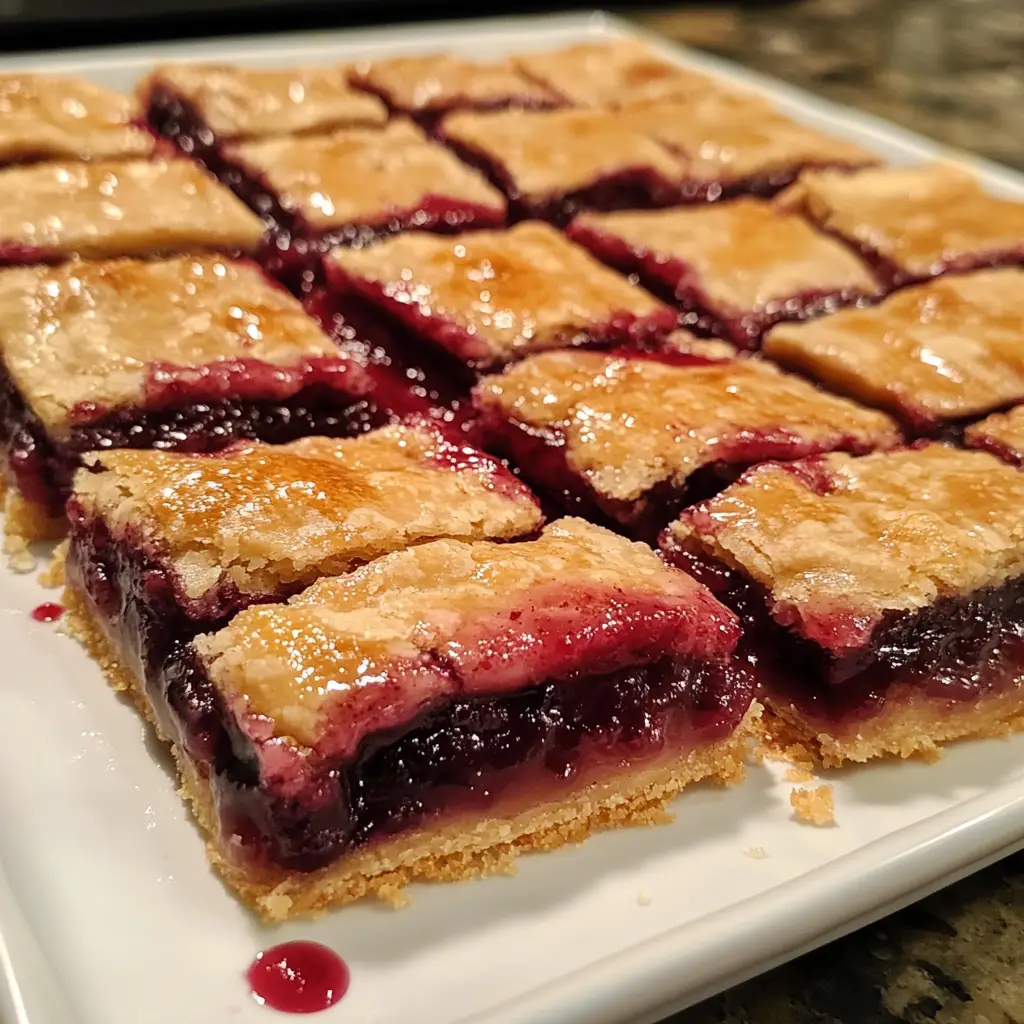
Step 7: Cool and Cut
Once baked, remove the pan from the oven and let it cool completely. This step is essential; cutting too soon can lead to messy bars. Once cooled, slice them into squares and serve. They’re perfect on their own or with a scoop of ice cream!
Tips for Success
- Use room temperature butter for easier mixing and a smoother crust.
- Don’t skip the cooling step; it helps the bars set properly.
- For a fun twist, try adding a sprinkle of cinnamon to the crust mixture.
- Store leftovers in an airtight container to keep them fresh.
- Feel free to double the recipe for larger gatherings!
Equipment Needed
- 9×9 inch baking pan: A square pan is ideal, but an 8×8 inch pan works too.
- Mixing bowls: Use any size you have on hand; just make sure they’re sturdy.
- Fork or pastry cutter: Great for mixing the butter into the dry ingredients.
- Measuring cups and spoons: Essential for accurate ingredient amounts.
- Spatula: Perfect for spreading the cherry filling evenly.
Variations of Easy Cherry Pie Bars
- Berry Medley: Swap out the cherry filling for a mix of blueberries, raspberries, and strawberries for a vibrant twist.
- Peach Delight: Use peach pie filling instead of cherries for a summery flavor that’s equally delicious.
- Gluten-Free Option: Substitute all-purpose flour with a gluten-free blend to accommodate dietary needs.
- Nutty Crust: Add chopped nuts like almonds or pecans to the crust mixture for added crunch and flavor.
- Chocolate Drizzle: Drizzle melted chocolate over the cooled bars for a decadent finish that chocolate lovers will adore.
Serving Suggestions for Easy Cherry Pie Bars
- Serve warm with a scoop of vanilla ice cream for a delightful contrast.
- Pair with a dollop of whipped cream and a sprinkle of chopped nuts for added texture.
- Drizzle with chocolate sauce for a decadent touch.
- Enjoy with a cup of coffee or tea for a cozy afternoon treat.
- Garnish with fresh cherries or mint leaves for a beautiful presentation.
FAQs about Easy Cherry Pie Bars
As you embark on your journey to make these Easy Cherry Pie Bars, you might have a few questions. Here are some common queries I’ve encountered, along with helpful answers!
Can I use fresh cherries instead of pie filling?
Absolutely! If you have fresh cherries, you can make your own filling. Just pit and slice them, then cook with a bit of sugar and cornstarch until thickened. It’s a delightful way to elevate your bars!
How do I store leftovers?
Store any leftover Easy Cherry Pie Bars in an airtight container at room temperature. They’ll stay fresh for a few days, but I doubt they’ll last that long!
Can I freeze these bars?
Yes, you can freeze them! Just wrap the bars tightly in plastic wrap and then place them in a freezer-safe container. They’ll keep well for up to three months. Just thaw before serving!
What can I substitute for almond extract?
If you don’t have almond extract, you can simply omit it or replace it with an equal amount of vanilla extract. It’ll still taste delicious!
Can I make these bars ahead of time?
Definitely! These Easy Cherry Pie Bars can be made a day in advance. Just store them in an airtight container, and they’ll be ready to impress your guests when you are!
Final Thoughts
Making these Easy Cherry Pie Bars is more than just baking; it’s about creating sweet memories with loved ones. The joy of pulling a warm, golden pan from the oven fills your kitchen with delightful aromas that invite everyone to gather around. Each bite is a perfect blend of buttery crust and luscious cherry filling, bringing smiles to faces young and old. Whether it’s a family gathering or a quiet evening treat, these bars are sure to bring happiness. So, roll up your sleeves and enjoy the simple pleasure of baking something delicious that everyone will adore!
Print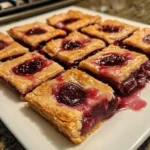
Easy Cherry Pie Bars that Everyone Will Love!
- Total Time: 50 minutes
- Yield: 12 bars 1x
- Diet: Vegetarian
Description
Delicious and easy-to-make cherry pie bars that are perfect for any occasion.
Ingredients
- 1 cup all-purpose flour
- 1/2 cup granulated sugar
- 1/2 cup unsalted butter, softened
- 1/2 teaspoon baking powder
- 1/4 teaspoon salt
- 1 can (21 oz) cherry pie filling
- 1 teaspoon vanilla extract
- 1/2 teaspoon almond extract
Instructions
- Preheat the oven to 350°F (175°C).
- In a mixing bowl, combine flour, sugar, baking powder, and salt.
- Add softened butter and mix until crumbly.
- Press half of the mixture into the bottom of a greased 9×9 inch baking pan.
- Spread the cherry pie filling evenly over the crust.
- Mix the remaining crumb mixture with vanilla and almond extract, then sprinkle it over the cherry filling.
- Bake for 30-35 minutes or until the top is golden brown.
- Allow to cool before cutting into bars.
Notes
- For a twist, try using different fruit fillings.
- Serve with whipped cream or ice cream for added flavor.
- Store leftovers in an airtight container at room temperature.
- Prep Time: 15 minutes
- Cook Time: 35 minutes
- Category: Dessert
- Method: Baking
- Cuisine: American
Nutrition
- Serving Size: 1 bar
- Calories: 180
- Sugar: 12g
- Sodium: 150mg
- Fat: 8g
- Saturated Fat: 5g
- Unsaturated Fat: 2g
- Trans Fat: 0g
- Carbohydrates: 24g
- Fiber: 1g
- Protein: 2g
- Cholesterol: 30mg
Keywords: Easy Cherry Pie Bars, Cherry Dessert, Pie Bars, Easy Dessert Recipe
