
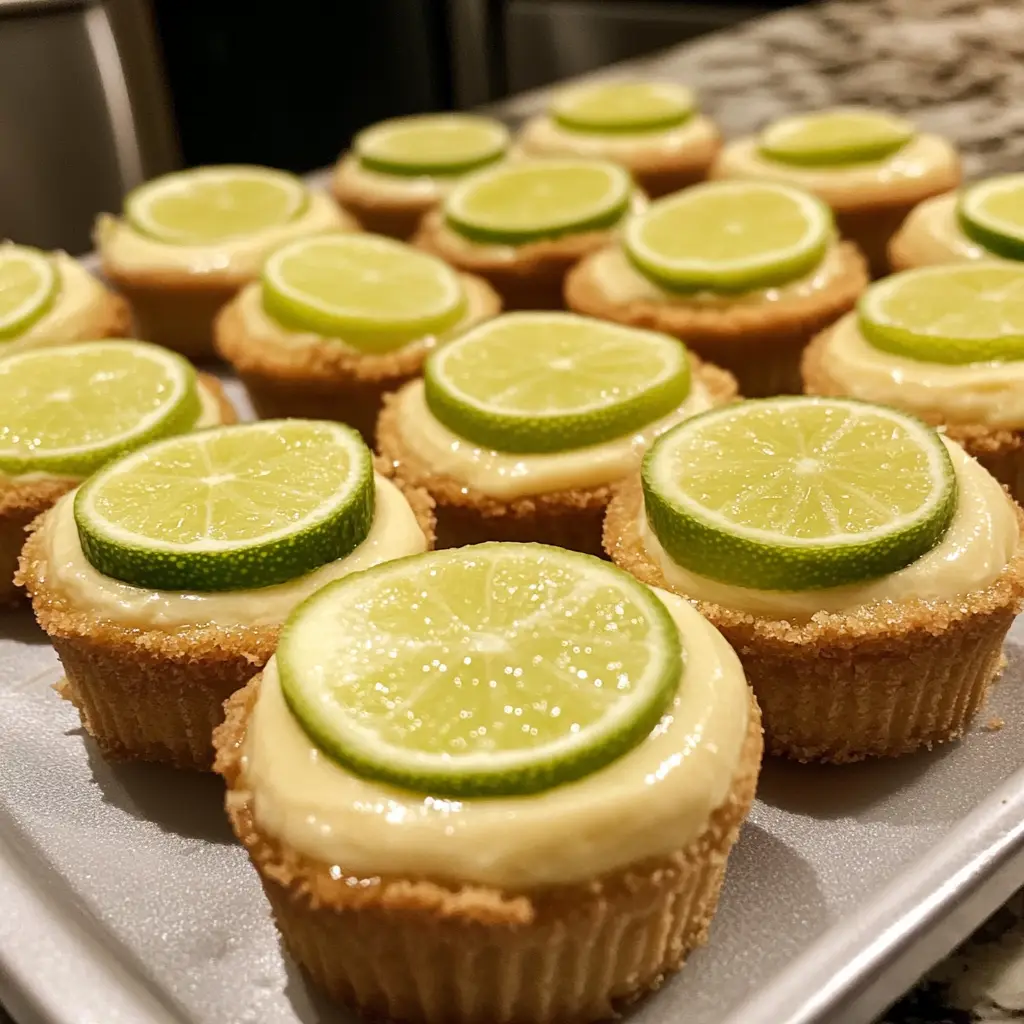
Introduction to Key Lime Cheesecake Bites
As a busy mom, I know how precious time can be, especially when it comes to whipping up something sweet. That’s why I absolutely adore these Key Lime Cheesecake Bites! They’re not just a treat; they’re a zesty delight that brings a burst of sunshine to any occasion. Whether you’re hosting a gathering or just need a quick dessert to impress your family, these bites are the perfect solution. With their creamy texture and refreshing key lime flavor, they’ll have everyone asking for seconds. Trust me, you’ll want to keep this recipe close at hand!
Why You’ll Love This Key Lime Cheesecake Bites
These Key Lime Cheesecake Bites are a dream come true for busy lives. They’re quick to make, taking just over 30 minutes of your time, and they bake in a flash! The delightful combination of creamy cheesecake and zesty lime is simply irresistible. Plus, they’re perfect for any occasion, whether it’s a family dinner or a potluck. You’ll love how they bring smiles without the stress!
Ingredients for Key Lime Cheesecake Bites
Gathering the right ingredients is the first step to creating these delightful Key Lime Cheesecake Bites. Here’s what you’ll need:
- Cream Cheese: This is the star of the show, providing that rich and creamy texture we all love in cheesecake.
- Granulated Sugar: A touch of sweetness to balance the tartness of the key lime juice.
- Key Lime Juice: The zesty flavor that makes these bites shine! Freshly squeezed is best, but bottled works too.
- Vanilla Extract: Adds a warm, aromatic note that complements the other flavors beautifully.
- Whipped Topping: This lightens the cheesecake filling, giving it a fluffy texture that melts in your mouth.
- Graham Cracker Crumbs: The base of our bites, providing a crunchy contrast to the creamy filling. You can use store-bought or crush your own.
- Melted Butter: Helps bind the graham cracker crumbs together, creating a sturdy crust.
- Powdered Sugar: For a light dusting on top, adding a touch of sweetness and a pretty finish.
For those who want to experiment, feel free to add more key lime juice for an extra zing! You can also make these bites a day in advance, which is a lifesaver for busy schedules. If you have leftovers, store them in an airtight container in the fridge to keep them fresh.
Exact measurements for each ingredient can be found at the bottom of the article, ready for you to print and take to the kitchen!
How to Make Key Lime Cheesecake Bites
Now that you have your ingredients ready, let’s dive into the fun part—making these delightful Key Lime Cheesecake Bites! Follow these simple steps, and you’ll have a zesty dessert that’s sure to impress.
Step 1: Preheat the Oven
First things first, preheat your oven to 350°F (175°C). Preheating is crucial because it ensures even baking. If you skip this step, your cheesecake bites might not set properly, and nobody wants a gooey mess!
Step 2: Prepare the Crust
In a mixing bowl, combine your graham cracker crumbs with the melted butter. Stir until the crumbs are evenly coated. This mixture should resemble wet sand. Next, press it firmly into the bottom of a lined muffin tin. Use the back of a spoon or your fingers to create a nice, even layer. This crust will provide a delightful crunch against the creamy filling.
Step 3: Make the Cheesecake Filling
In another bowl, beat the softened cream cheese and granulated sugar together until smooth. This is where the magic begins! Once it’s creamy, add in the key lime juice and vanilla extract. Mix well until everything is combined. The key lime juice is what gives these bites their signature zesty flavor, so don’t skimp on it!
Step 4: Fold in the Whipped Topping
Now, it’s time to fold in the whipped topping. This step is essential for achieving that light, airy texture. Gently mix it into the cheesecake filling using a spatula. Be careful not to overmix; you want to keep that fluffiness intact. This is what makes each bite feel like a little cloud of joy!
Step 5: Assemble and Bake
Pour the cheesecake mixture over the prepared crust in the muffin tin. Fill each cup to the top, but don’t worry if it looks a bit messy. Bake in your preheated oven for 10-12 minutes, or until the edges are set. The centers may still jiggle a little, but that’s perfectly fine!
Step 6: Cool and Chill
Once baked, remove the muffin tin from the oven and let it cool for a bit. After about 15 minutes, transfer the bites to the refrigerator. Chill them for at least 2 hours before serving. This step is crucial! Chilling allows the flavors to meld and the texture to firm up, making each bite a refreshing treat.
Tips for Success
- Use room temperature cream cheese for a smoother filling.
- Don’t skip the chilling time; it enhances the flavor and texture.
- For a fun twist, add a sprinkle of lime zest on top before serving.
- Make sure to press the crust firmly for a sturdy base.
- Experiment with different toppings like fresh berries or a drizzle of chocolate!
Equipment Needed
- Muffin Tin: A standard muffin tin works great, but you can also use silicone molds for easy removal.
- Mixing Bowls: Use medium and large bowls for mixing ingredients; any size will do!
- Electric Mixer: A hand mixer is perfect, but a whisk can work if you’re feeling strong!
- Spatula: A rubber spatula is ideal for folding in the whipped topping.
Variations
- Chocolate Drizzle: Add a rich chocolate drizzle on top for a decadent twist that pairs beautifully with the zesty lime.
- Fruit Toppings: Top with fresh berries like strawberries or blueberries for a pop of color and added flavor.
- Gluten-Free Option: Use gluten-free graham cracker crumbs to make these bites suitable for gluten-sensitive friends.
- Vegan Version: Substitute cream cheese with a vegan alternative and use coconut whipped cream for a dairy-free delight.
- Key Lime Pie Flavor: Add a teaspoon of key lime zest to the filling for an extra burst of citrus flavor.
Serving Suggestions
- Pair these Key Lime Cheesecake Bites with a refreshing glass of iced tea or lemonade for a perfect summer treat.
- Serve with a dollop of whipped cream on top for added indulgence.
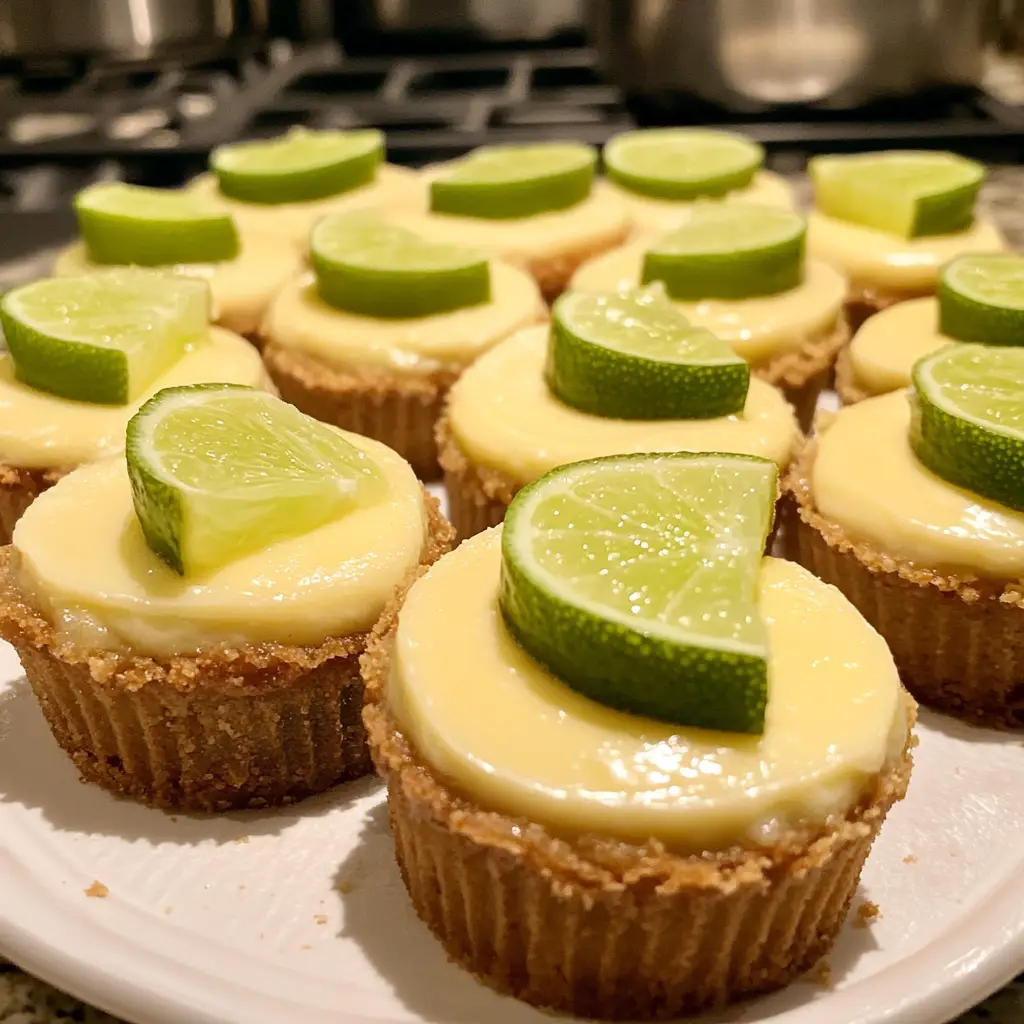
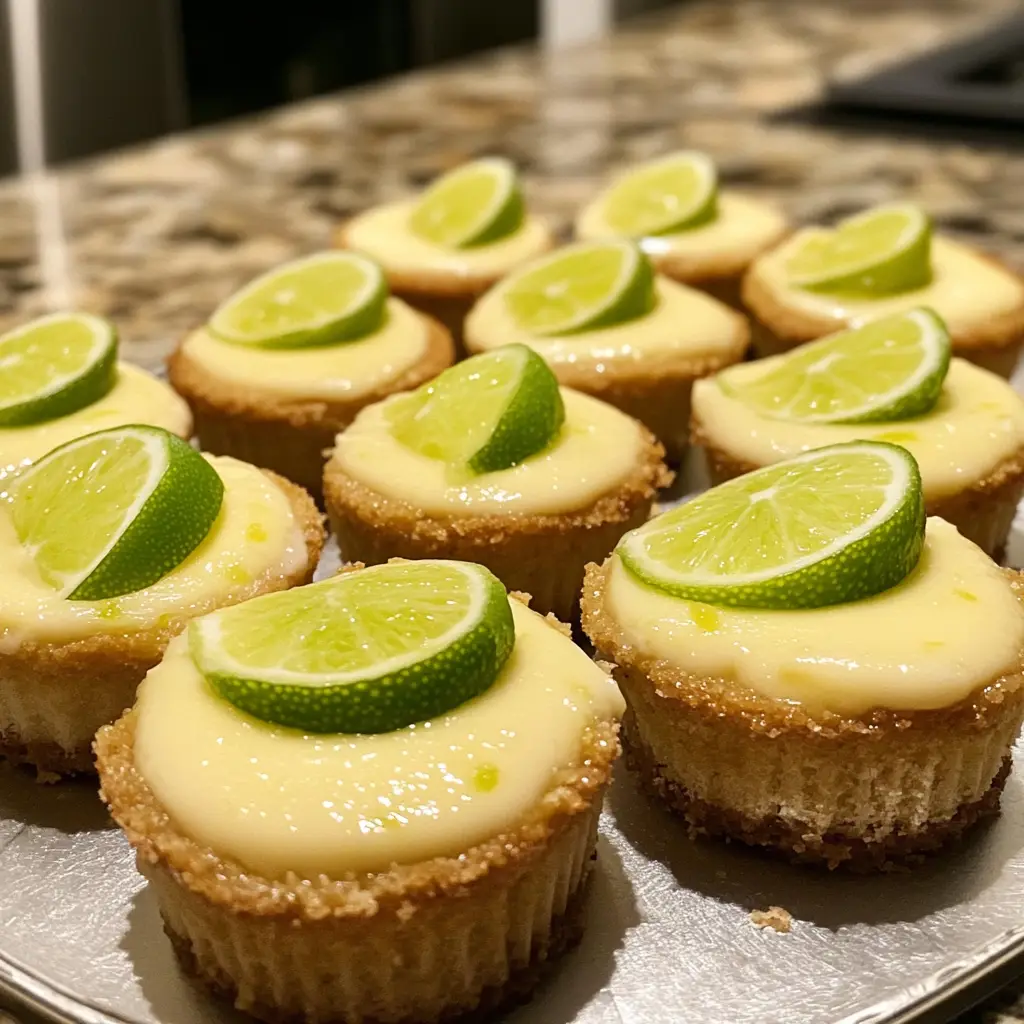
- Garnish with lime slices or zest for a beautiful presentation.
- Consider a side of fresh fruit salad to complement the zesty flavors.
FAQs about Key Lime Cheesecake Bites
Can I make Key Lime Cheesecake Bites ahead of time?
Absolutely! These bites can be made a day in advance. Just store them in an airtight container in the refrigerator. This actually enhances the flavors, making them even more delicious!
What can I substitute for cream cheese?
If you’re looking for a dairy-free option, you can use a vegan cream cheese alternative. It works wonderfully and keeps the creamy texture intact!
How do I store leftovers?
Store any leftover Key Lime Cheesecake Bites in an airtight container in the refrigerator. They should stay fresh for up to 3 days, but trust me, they won’t last that long!
Can I freeze these cheesecake bites?
Yes, you can freeze them! Just make sure to wrap each bite individually in plastic wrap and then place them in a freezer-safe container. They can be frozen for up to a month. Thaw them in the fridge before serving.
What’s the best way to serve these bites?
For a stunning presentation, dust them with powdered sugar and garnish with lime slices or zest. Pair them with a refreshing drink, and you’re all set for a delightful treat!
Final Thoughts
Making these Key Lime Cheesecake Bites is more than just a cooking experience; it’s a joyful adventure in the kitchen. The zesty flavor and creamy texture create a delightful treat that brings smiles to my family’s faces. I love how easy they are to whip up, even on the busiest days. Plus, they’re a fantastic way to impress guests without spending hours in the kitchen. So, whether you’re celebrating a special occasion or just treating yourself, these bites are sure to brighten your day. Trust me, once you try them, you’ll be hooked!
PrintKey Lime Cheesecake Bites: A Zesty Delight Awaits!
- Total Time: 2 hours 32 minutes
- Yield: 12 bites 1x
- Diet: Vegetarian
Description
Key Lime Cheesecake Bites are a deliciously zesty dessert that combines the creamy texture of cheesecake with the refreshing flavor of key lime, perfect for any occasion.
Ingredients
- 8 oz cream cheese, softened
- 1/2 cup granulated sugar
- 1/4 cup key lime juice
- 1 tsp vanilla extract
- 1 cup whipped topping
- 1 package graham cracker crumbs (about 1 1/2 cups)
- 1/4 cup melted butter
- 1/4 cup powdered sugar (for dusting)
Instructions
- Preheat the oven to 350°F (175°C).
- In a mixing bowl, combine graham cracker crumbs and melted butter, then press the mixture into the bottom of a lined muffin tin.
- In another bowl, beat the cream cheese and granulated sugar until smooth.
- Add key lime juice and vanilla extract to the cream cheese mixture and mix well.
- Fold in the whipped topping until fully combined.
- Pour the cheesecake mixture over the crust in the muffin tin.
- Bake for 10-12 minutes until set, then remove from the oven and let cool.
- Chill in the refrigerator for at least 2 hours before serving.
- Dust with powdered sugar before serving.
Notes
- For a stronger lime flavor, add more key lime juice to taste.
- These bites can be made a day in advance for convenience.
- Store leftovers in an airtight container in the refrigerator.
- Prep Time: 20 minutes
- Cook Time: 12 minutes
- Category: Dessert
- Method: Baking
- Cuisine: American
Nutrition
- Serving Size: 1 bite
- Calories: 150
- Sugar: 10g
- Sodium: 120mg
- Fat: 8g
- Saturated Fat: 5g
- Unsaturated Fat: 2g
- Trans Fat: 0g
- Carbohydrates: 18g
- Fiber: 1g
- Protein: 2g
- Cholesterol: 30mg
Keywords: Key Lime Cheesecake Bites, dessert, cheesecake, key lime, zesty dessert
