
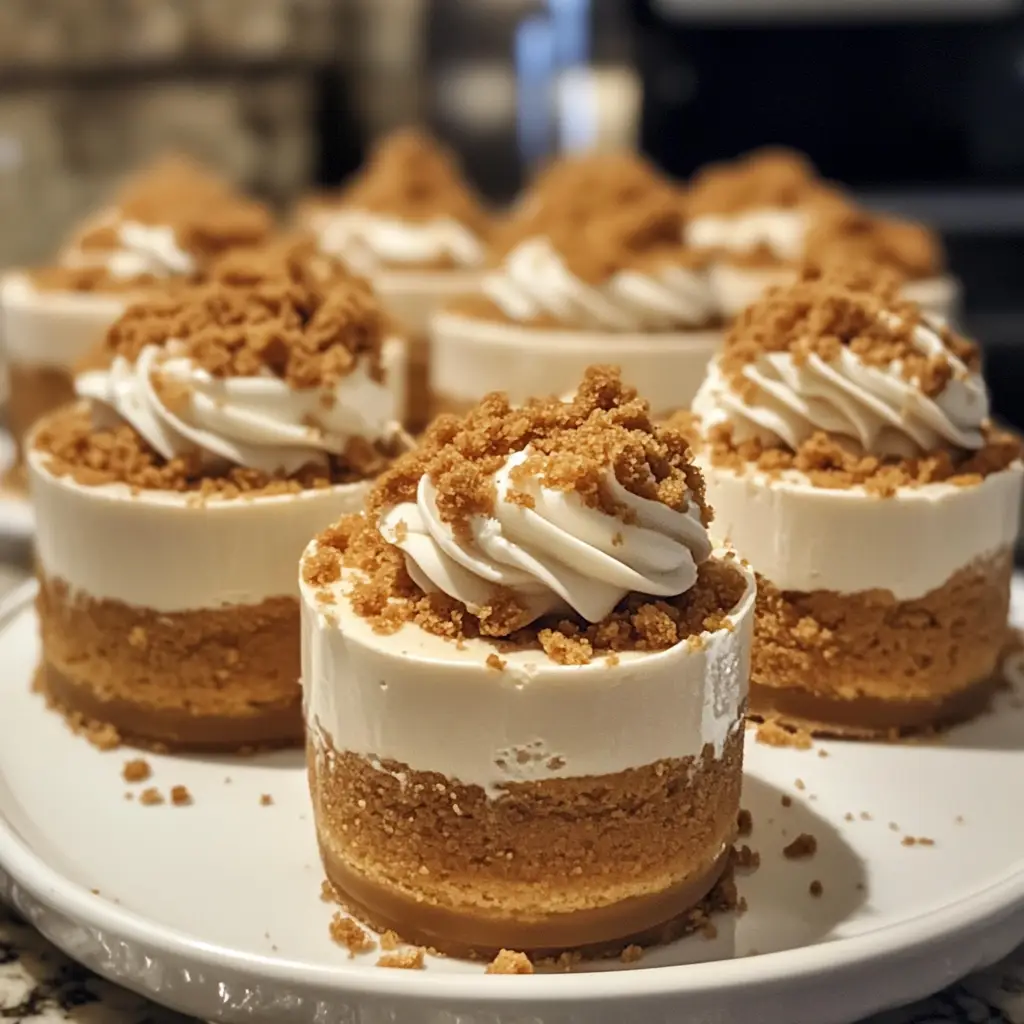
Introduction to Mini Biscoff Cheesecakes
As a busy mom, I know how precious time can be, especially when it comes to whipping up something sweet. That’s why I’m excited to share my recipe for Mini Biscoff Cheesecakes! These little delights are not just easy to make; they’re a perfect treat to impress your loved ones or to indulge in after a long day. The creamy texture of cheesecake combined with the unique flavor of Biscoff cookies creates a dessert that feels special, yet is simple enough for any occasion. Trust me, once you try these, they’ll become a go-to in your dessert repertoire!
Why You’ll Love This Mini Biscoff Cheesecakes
These Mini Biscoff Cheesecakes are a dream come true for anyone short on time but big on flavor. They come together in just a few simple steps, making them perfect for busy weeknights or last-minute gatherings. Plus, the combination of creamy cheesecake and the caramel-like crunch of Biscoff cookies is simply irresistible. You’ll love how they satisfy your sweet tooth without requiring hours in the kitchen!
Ingredients for Mini Biscoff Cheesecakes
Gathering the right ingredients is the first step to creating these delightful Mini Biscoff Cheesecakes. Here’s what you’ll need:
- Cream Cheese: The star of the show! It gives the cheesecake its rich and creamy texture.
- Powdered Sugar: This sweetener blends smoothly into the cream cheese, adding just the right amount of sweetness.
- Heavy Cream: Whipping this into the mixture makes the cheesecake light and fluffy, elevating the overall texture.
- Vanilla Extract: A splash of this adds warmth and depth to the flavor profile, making each bite more delightful.
- Biscoff Cookies: These are the secret ingredient! Their unique caramel flavor and crunch create a delicious base and mix-in.
- Unsalted Butter: This helps bind the crushed cookies together for a sturdy crust that holds up beautifully.
- Additional Biscoff Cookies: For topping! They add a lovely finishing touch and a bit of extra crunch.
If you’re looking for alternatives, you can use gluten-free cookies for a gluten-free version. And if you’re short on time, feel free to make these cheesecakes a day in advance. The flavors meld beautifully overnight! For exact measurements, check the bottom of the article where you can find everything available for printing.
How to Make Mini Biscoff Cheesecakes
Now that you have your ingredients ready, let’s dive into the fun part—making these Mini Biscoff Cheesecakes! Follow these simple steps, and you’ll have a delightful dessert that’s sure to impress.
Step 1: Preheat the Oven
First things first, preheat your oven to 350°F (175°C). Preheating is crucial because it ensures that your cheesecakes bake evenly. A hot oven helps set the filling just right, giving you that perfect creamy texture.
Step 2: Prepare the Crust
In a mixing bowl, combine the crushed Biscoff cookies with melted butter. Stir until the mixture resembles wet sand. This is your crust! Now, press this mixture firmly into the bottom of your mini cheesecake cups. Make sure it’s compact; this will hold everything together beautifully.
Step 3: Make the Cheesecake Filling
In another bowl, beat the softened cream cheese and powdered sugar together until smooth. This step is key for a creamy filling! Next, add the heavy cream and vanilla extract. Beat again until the mixture is fluffy and light. You want it to be airy, so don’t rush this part!
Step 4: Fold in Biscoff Cookies
Now, gently fold in the crushed Biscoff cookies into your cheesecake mixture. Use a spatula to combine, being careful not to deflate the fluffy texture you just created. This step adds that delicious Biscoff flavor throughout the filling.
Step 5: Assemble the Cheesecakes
Pour the cheesecake mixture over the crust in each mini cup. Fill them about three-quarters full to allow room for rising. Smooth the tops with a spatula for a nice finish. It’s like giving your cheesecakes a little spa treatment!
Step 6: Bake the Cheesecakes
Place your mini cheesecakes in the preheated oven and bake for 15-20 minutes. Keep an eye on them! They should be set but still slightly jiggly in the center. This means they’ll firm up perfectly as they cool.
Step 7: Cool and Refrigerate
Once baked, remove the cheesecakes from the oven and let them cool at room temperature for about 30 minutes. Then, transfer them to the refrigerator. Chill for at least 2 hours before serving. This step is essential for the flavors to meld and the texture to set.
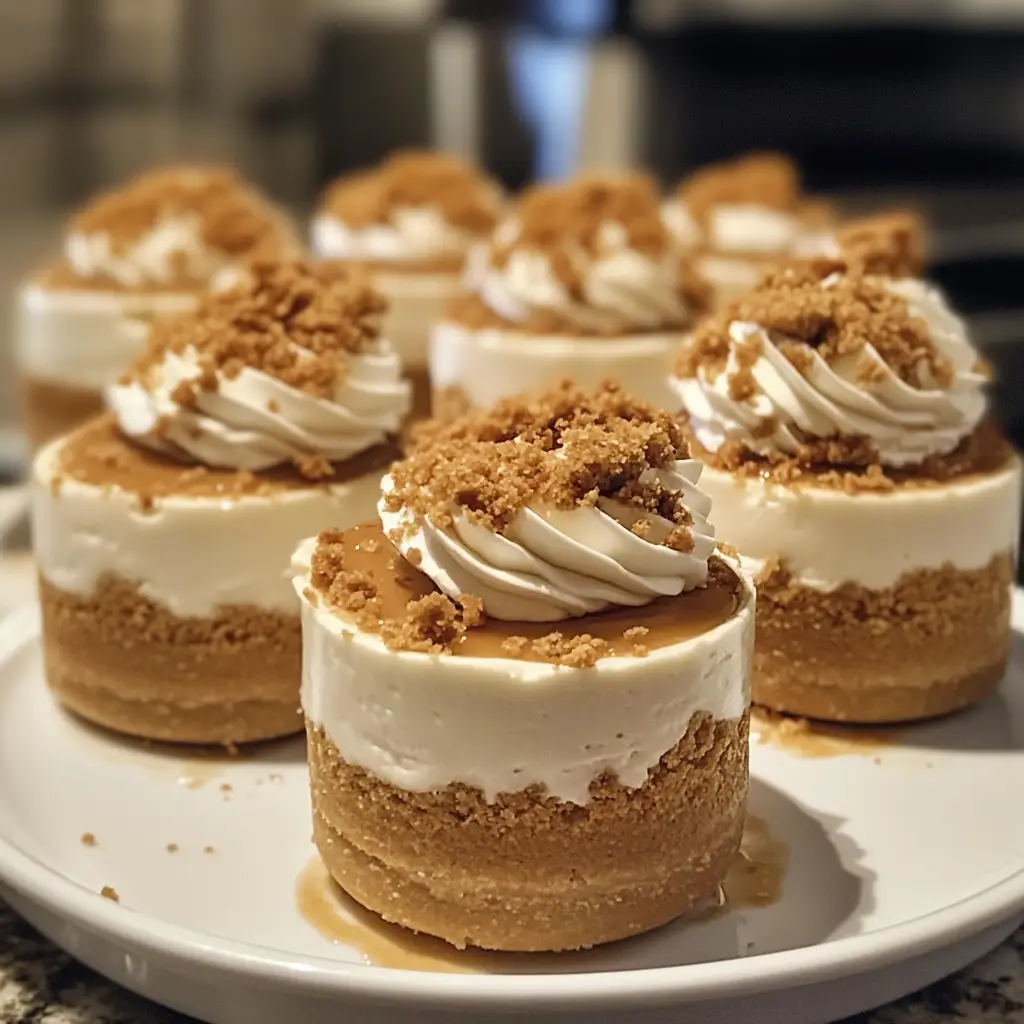
Step 8: Add Toppings
Before serving, top each mini cheesecake with an additional Biscoff cookie. This not only looks beautiful but adds an extra crunch that everyone will love. It’s the cherry on top of your delicious creation!
Tips for Success
- Make sure your cream cheese is at room temperature for easy mixing.
- Don’t skip the chilling time; it’s crucial for the best texture.
- Use a spatula to fold in the cookies gently to maintain fluffiness.
- For a fun twist, try adding a pinch of cinnamon to the filling.
- Keep an eye on the baking time; every oven is different!
Equipment Needed
- Mixing Bowls: Use any size, but a medium bowl works best for mixing the filling.
- Electric Mixer: A hand mixer is perfect, but a whisk can work if you’re feeling strong!
- Mini Cheesecake Cups: Silicone or metal cups are great; muffin tins can also do the trick.
- Spatula: Essential for folding and smoothing the cheesecake mixture.
- Oven: A standard oven is all you need for baking these treats.
Variations
- Chocolate Drizzle: Drizzle melted chocolate over the top for a decadent twist.
- Nutty Addition: Add chopped nuts like pecans or walnuts to the crust for extra crunch.
- Fruit Topping: Top with fresh berries or a fruit compote for a refreshing contrast.
- Vegan Version: Substitute cream cheese with a vegan alternative and use coconut cream for a dairy-free option.
- Spiced Up: Incorporate a dash of pumpkin spice or cinnamon into the filling for a seasonal flavor.
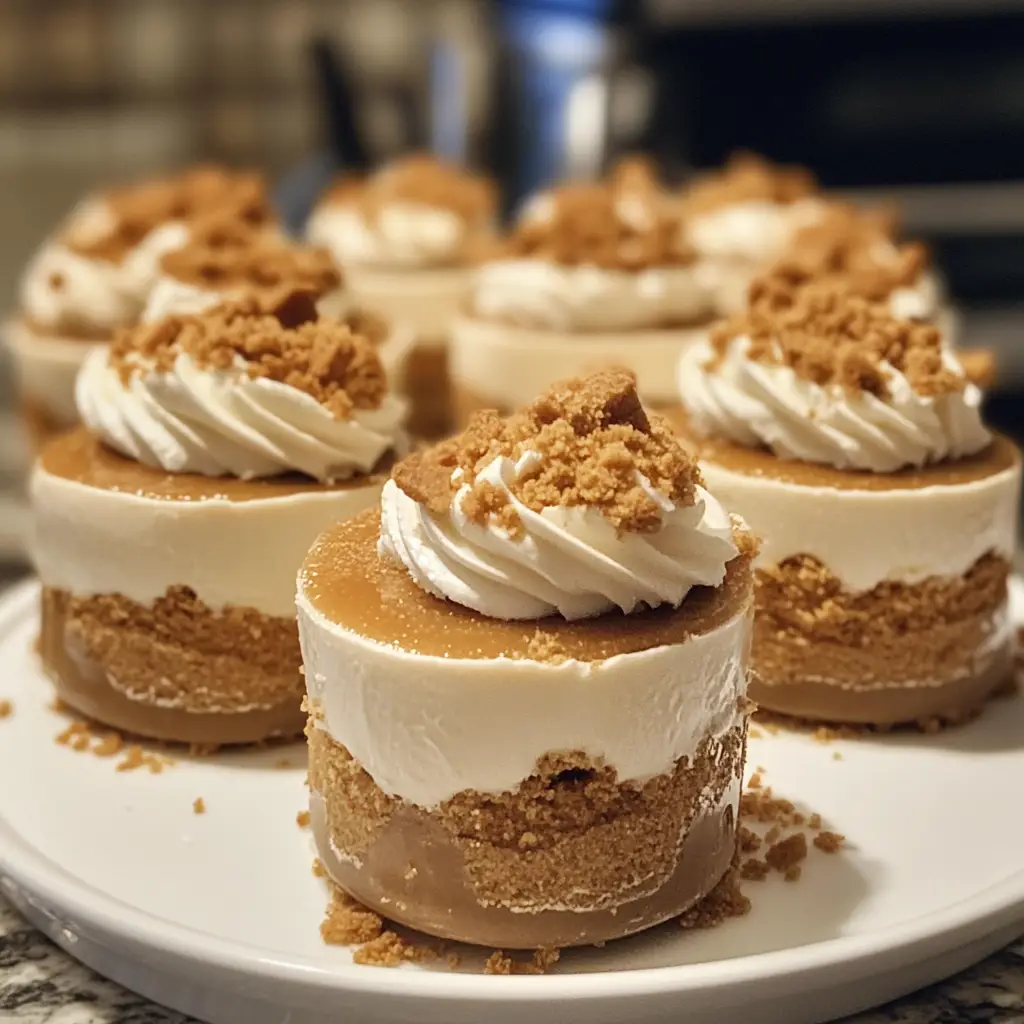
Serving Suggestions
- Pair with a dollop of whipped cream for an extra creamy touch.
- Serve alongside a cup of coffee or tea for a delightful afternoon treat.
- Garnish with fresh mint leaves for a pop of color and freshness.
- Present on a beautiful platter for a stunning dessert display.
FAQs about Mini Biscoff Cheesecakes
Can I make Mini Biscoff Cheesecakes ahead of time?
Absolutely! These cheesecakes can be made a day in advance. Just store them in the refrigerator, and they’ll be even more delicious the next day as the flavors meld together.
What can I use instead of Biscoff cookies?
If you can’t find Biscoff cookies, you can substitute them with graham crackers or any other cookie with a similar texture. Just keep in mind that the flavor will change slightly.
How do I know when the cheesecakes are done baking?
Look for a slight jiggle in the center of the cheesecakes. They should be set around the edges but still a bit soft in the middle. They will firm up as they cool.
Can I freeze Mini Biscoff Cheesecakes?
Yes, you can freeze them! Just make sure they are well-wrapped in plastic wrap and stored in an airtight container. Thaw them in the refrigerator before serving.
Are Mini Biscoff Cheesecakes gluten-free?
To make these cheesecakes gluten-free, simply use gluten-free Biscoff cookies or any gluten-free cookie alternative for the crust. Enjoy without worry!
Final Thoughts
Making Mini Biscoff Cheesecakes is more than just baking; it’s about creating sweet moments with family and friends. The joy of watching their faces light up as they take that first bite is priceless. These little treats are perfect for any occasion, whether it’s a cozy family dinner or a festive gathering. Plus, the ease of preparation means you can whip them up without stress. So, roll up your sleeves, gather your ingredients, and let the delightful aroma fill your kitchen. Trust me, these cheesecakes will become a cherished favorite in your home!
Print
Mini Biscoff Cheesecakes: Indulge in this Easy Recipe!
- Total Time: 2 hours 40 minutes
- Yield: 12 mini cheesecakes 1x
- Diet: Vegetarian
Description
Mini Biscoff Cheesecakes are a delightful dessert that combines the creamy texture of cheesecake with the unique flavor of Biscoff cookies, making them a perfect treat for any occasion.
Ingredients
- 8 oz cream cheese, softened
- 1/2 cup powdered sugar
- 1/2 cup heavy cream
- 1 tsp vanilla extract
- 6 Biscoff cookies, crushed
- 4 Biscoff cookies, for topping
- 1/4 cup unsalted butter, melted
Instructions
- Preheat the oven to 350°F (175°C).
- In a bowl, mix crushed Biscoff cookies with melted butter and press the mixture into the bottom of mini cheesecake cups.
- In another bowl, beat the cream cheese and powdered sugar until smooth.
- Add heavy cream and vanilla extract to the cream cheese mixture and beat until fluffy.
- Fold in the crushed Biscoff cookies.
- Pour the cheesecake mixture over the crust in the mini cups.
- Bake for 15-20 minutes or until set.
- Let cool and refrigerate for at least 2 hours before serving.
- Top with additional Biscoff cookies before serving.
Notes
- For a gluten-free version, use gluten-free cookies.
- These cheesecakes can be made a day in advance for convenience.
- Store leftovers in the refrigerator for up to 3 days.
- Prep Time: 20 minutes
- Cook Time: 20 minutes
- Category: Dessert
- Method: Baking
- Cuisine: American
Nutrition
- Serving Size: 1 mini cheesecake
- Calories: 180
- Sugar: 10g
- Sodium: 150mg
- Fat: 12g
- Saturated Fat: 7g
- Unsaturated Fat: 3g
- Trans Fat: 0g
- Carbohydrates: 15g
- Fiber: 1g
- Protein: 2g
- Cholesterol: 30mg
Keywords: Mini Biscoff Cheesecakes, easy cheesecake recipe, dessert, Biscoff cookies
