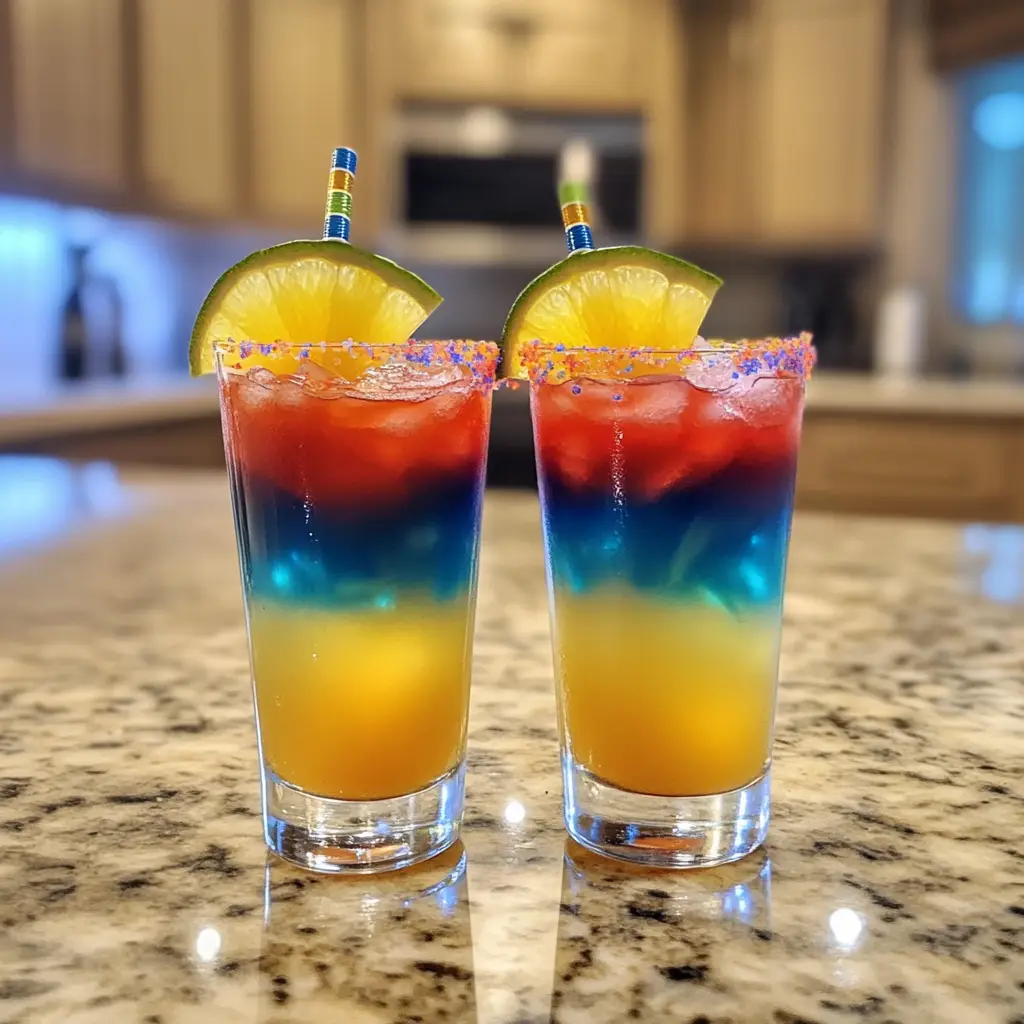
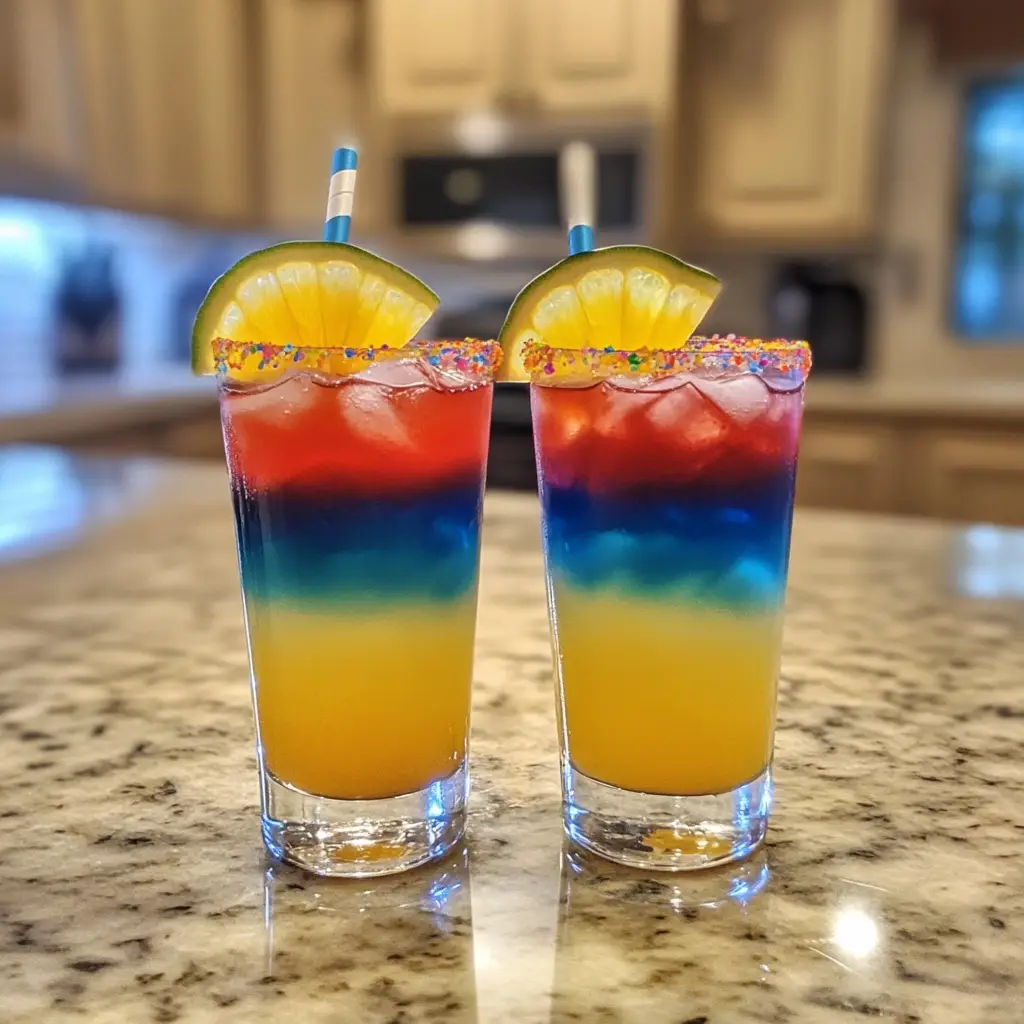
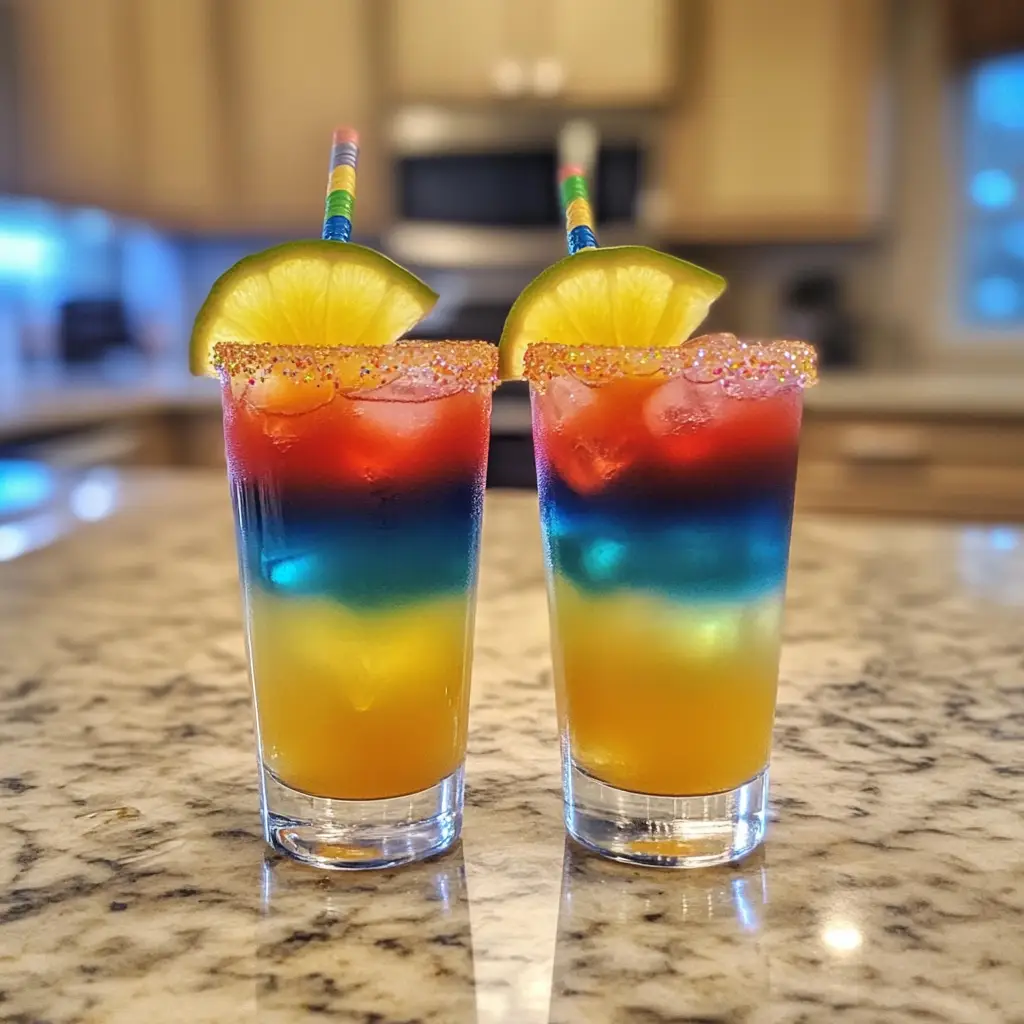
When it comes to drinks that make a statement at any celebration, Rainbow Rocket Shots top the list. With vibrant layers of color and a delightful mix of fruity liqueurs, these miniature beverages are as photogenic as they are delicious. Whether you’re throwing a summer bash, a pride-themed event, or just want to wow your guests with a jaw-dropping visual treat, these rainbow shots deliver bold impact in small glasses.
They’re fun to make, exciting to serve, and even more thrilling to taste. Let’s dive into the world of layered drinks and explore why Rainbow Rocket Shots have become a viral party trend.
Why Is This Recipe So Popular?
Rainbow Rocket Shots exploded in popularity thanks to their eye-catching aesthetics, customizable flavors, and Instagram-worthy presentation. Each layer in the shot not only adds a pop of color but also brings a unique taste, creating a multisensory experience in just one small sip.
Bartenders love making them because they showcase skill in layering techniques, while guests can’t get enough of the vibrant surprise. TikTok, Pinterest, and Instagram have helped push this recipe to the forefront, making it a go-to drink for parties, pride events, and colorful celebrations.
Why You’ll Love This Recipe:
-
Stunning Visual Appeal: These shots are rainbow-colored and completely layered—every shot looks like a piece of art.
-
Fruity Flavor Profile: Each layer brings something unique—sweet, tart, tropical, citrusy, or creamy.
-
Party Favorite: Your guests will be pulling out their phones before taking a sip.
-
Customizable: You can mix and match liqueurs, juices, and even use non-alcoholic versions.
-
Beginner-Friendly: Master a few tricks, and you’ll be layering like a pro in no time.
Ingredients:
For a 6-layer Rainbow Rocket Shot (makes ~6 shots):
Layer 1 – Red
-
1 oz grenadine (heavy syrup)
Layer 2 – Orange
-
1 oz peach schnapps
-
1 oz orange juice
Layer 3 – Yellow
-
1 oz pineapple juice
Layer 4 – Green
-
1 oz melon liqueur (like Midori)
Layer 5 – Blue
-
1 oz blue curaçao
Layer 6 – Purple
-
1 oz black raspberry liqueur (like Chambord or crème de cassis)
Optional Garnish:
-
Whipped cream
-
Rainbow sprinkles
-
Edible glitter
Equipment:
-
Bar spoon
-
Shot glasses (preferably tall and narrow)
-
Pouring tool or syringe for layering
-
Steady hands!
Preparation:
Step 1: Start with the red layer
Pour a small amount of grenadine into the bottom of each shot glass. Since it’s the densest, it will naturally settle at the bottom. Let it sit for a minute.
Step 2: Layer orange carefully
In a shaker, mix peach schnapps and orange juice. Slowly pour it over the back of a bar spoon, held just above the grenadine layer. This ensures the layers stay separate.
Step 3: Add the yellow pineapple juice
Again, using the spoon, slowly layer in the pineapple juice. Because it’s lighter than the orange layer, it should float above nicely. Patience is key.
Step 4: Pour in green melon liqueur
Slowly and gently layer in Midori (or another green liqueur) over the pineapple juice. You’ll start to see the rainbow forming!
Step 5: Float blue curaçao
Use the same spoon layering method to add the vivid blue curaçao layer. The colors should now be creating a stunning gradient.
Step 6: Finish with purple liqueur
Complete your shot with a slow pour of Chambord or crème de cassis to get that final, royal purple stripe on top.
Pro Tip: Chill each ingredient beforehand and pour slowly for the best layering results.
Variation:
-
Tropical Twist: Use coconut rum and mango juice for a beachy version.
-
Candy Rainbow Shots: Add flavored vodkas (like cotton candy or bubblegum) for a sweeter taste.
-
Non-Alcoholic Rainbow Shots: Use juices like cranberry, mango nectar, pineapple, limeade, blue sports drink, and grape juice for a mocktail version.
-
Frozen Layered Slush Shots: Freeze each layer separately and spoon in to make rainbow slushy shooters.
-
Glow-In-The-Dark Shots: Add tonic water (which glows under blacklight) to clear layers for a party vibe.
Cooking Note:
This drink is about density and timing. Always layer from heaviest (more sugar content) to lightest. Syrups and juices go at the bottom, and alcohols like liqueurs float on top. Avoid mixing liquids with carbonation or fizz, as they break the separation and ruin the visual effect.
Let each layer settle for at least 30 seconds before adding the next. Room temperature ingredients can mess up layering—chill all liquids before assembling.
Serving Suggestions:
-
Serve immediately after layering to preserve the colors.
-
Use tall, narrow shooter glasses for the best presentation.
-
Add whipped cream and rainbow sprinkles for a dessert-style twist.
-
Present them on a neon-lit tray or a mirror for extra visual appeal.
-
Pair with rainbow-themed party treats like unicorn cupcakes or rainbow fruit skewers.
Tips:
-
Use the back of a spoon to gently layer liquids.
-
Slow is smooth: If you rush, you’ll end up with a murky mess.
-
Practice makes perfect: It may take a few tries to get perfect stripes.
-
Chill ingredients: Cold liquids are more likely to layer properly.
-
Use a syringe or pipette for precise layering if you don’t have a bar spoon.
-
Avoid shaking or moving the shots after assembling.
-
Use clear liqueurs with vibrant dyes to keep the colors bold.
Prep Time:
10 minutes (plus chilling time)
Cooking Time:
0 minutes
Total Time:
10–15 minutes
Nutritional Information (per shot, approx.):
Note: These values vary based on brands used.
-
Calories: 85–110
-
Protein: 0g
-
Sodium: 5mg
-
Fats: 0g
Conclusion:
Rainbow Rocket Shots are the ultimate show-stopper. They’re not just drinks—they’re a form of edible art. Whether you’re hosting a neon night, celebrating Pride Month, or just want to bring a splash of color to your event, these vibrant shots will have guests talking long after the party ends. While they require a little bit of patience and a steady hand, the reward is absolutely worth it: a line of beautifully layered, delicious mini-drinks that look like they were made by a pro bartender.
Now that you know all the tricks, grab your spoon, pick your favorite colors, and blast off with Rainbow Rocket Shots at your next celebration!
Print
Rainbow Rocket Shots: Bold Colors, Bolder Flavor!
- Total Time: 15 minutes
Description
Make stunning Rainbow Rocket Shots with layered colorful liqueurs and juices. Perfect for parties, easy to prepare, and deliciously fun!
Ingredients
For a 6-layer Rainbow Rocket Shot (makes ~6 shots):
Layer 1 – Red
-
1 oz grenadine (heavy syrup)
Layer 2 – Orange
-
1 oz peach schnapps
-
1 oz orange juice
Layer 3 – Yellow
-
1 oz pineapple juice
Layer 4 – Green
-
1 oz melon liqueur (like Midori)
Layer 5 – Blue
-
1 oz blue curaçao
Layer 6 – Purple
-
1 oz black raspberry liqueur (like Chambord or crème de cassis)
Optional Garnish:
-
Whipped cream
-
Rainbow sprinkles
-
Edible glitter
Equipment:
-
Bar spoon
-
Shot glasses (preferably tall and narrow)
-
Pouring tool or syringe for layering
-
Steady hands!
Instructions
Step 1: Start with the red layer
Pour a small amount of grenadine into the bottom of each shot glass. Since it’s the densest, it will naturally settle at the bottom. Let it sit for a minute.
Step 2: Layer orange carefully
In a shaker, mix peach schnapps and orange juice. Slowly pour it over the back of a bar spoon, held just above the grenadine layer. This ensures the layers stay separate.
Step 3: Add the yellow pineapple juice
Again, using the spoon, slowly layer in the pineapple juice. Because it’s lighter than the orange layer, it should float above nicely. Patience is key.
Step 4: Pour in green melon liqueur
Slowly and gently layer in Midori (or another green liqueur) over the pineapple juice. You’ll start to see the rainbow forming!
Step 5: Float blue curaçao
Use the same spoon layering method to add the vivid blue curaçao layer. The colors should now be creating a stunning gradient.
Step 6: Finish with purple liqueur
Complete your shot with a slow pour of Chambord or crème de cassis to get that final, royal purple stripe on top.
Pro Tip: Chill each ingredient beforehand and pour slowly for the best layering results.
Notes
This drink is about density and timing. Always layer from heaviest (more sugar content) to lightest. Syrups and juices go at the bottom, and alcohols like liqueurs float on top. Avoid mixing liquids with carbonation or fizz, as they break the separation and ruin the visual effect.
Let each layer settle for at least 30 seconds before adding the next. Room temperature ingredients can mess up layering—chill all liquids before assembling.
- Prep Time: 10 minutes
- Cook Time: None
- Category: Drinks
- Cuisine: American
Nutrition
- Calories: 110
- Sodium: 5mg
- Fat: 0g
- Protein: 0g


