
Baking bread often evokes the comforts of home—wafting aromas curling through the air, the warm embrace of a freshly baked loaf pulling you into its delicious grip. Imagine, for a moment, being enveloped in the golden warmth of your kitchen, and as you crack open the oven door, a symphony of sounds fills the air: the gentle hiss of steam escaping, and the quiet thud of crust forming beautifully on each loaf. This is the magic of homemade bread—incredibly simple, yet profoundly gratifying. When crafting Bread in a Bag, you discover a delightful method that keeps the mess to a minimum while ensuring that each loaf bursts with flavor and heartiness.
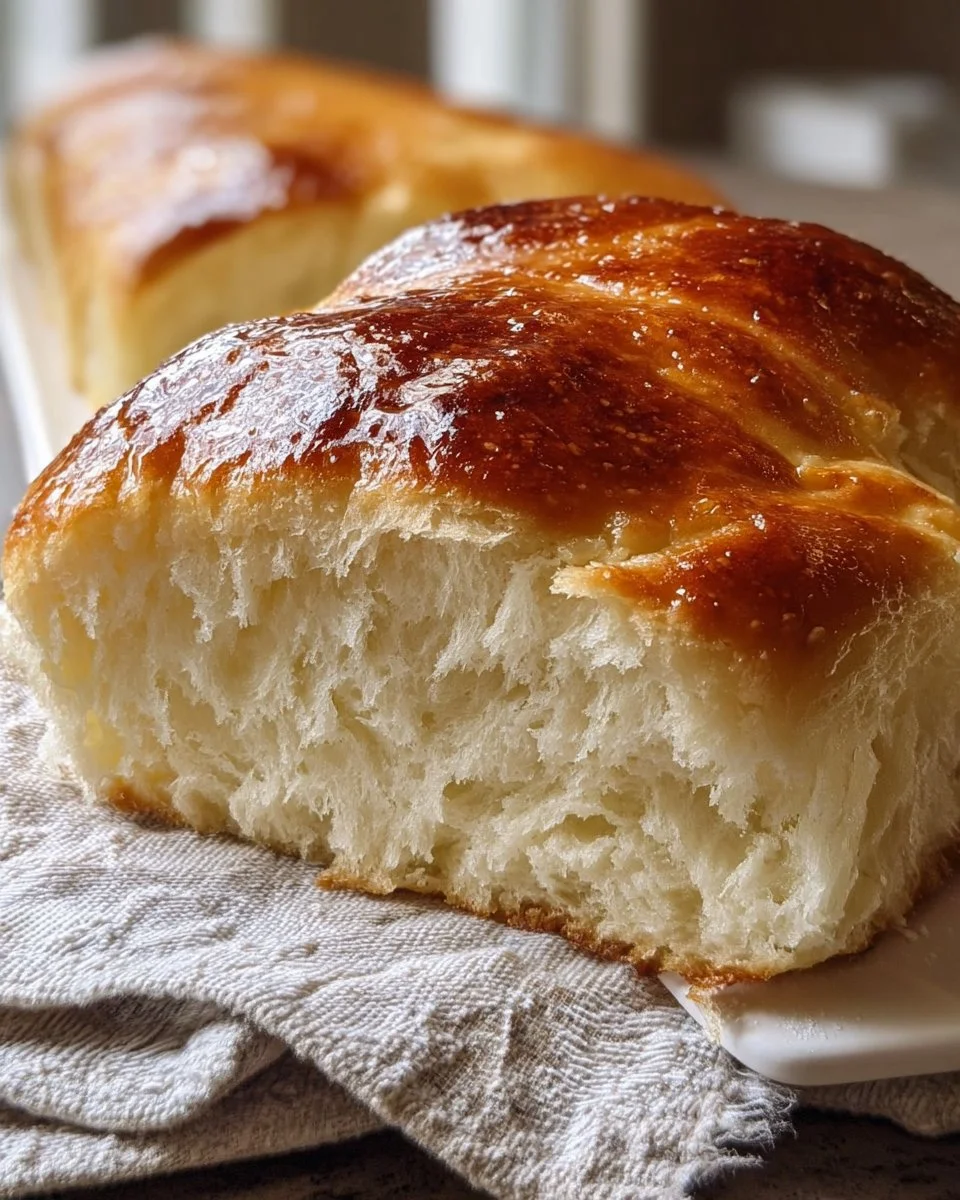
As you knead the dough within a zip-top bag, the experience becomes tactile and enjoyable. Your senses dance as you feel the dough transform from a sticky mass into a smooth and elastic ball. With each squeeze, anticipation builds: What will emerge after baking? Expect glorious loaves with a crunchy crust, soft and fluffy interior, and an aroma that beckons the whole household to gather around as it cools. You’ll find yourself breathing deeper, enjoying every moment of the process, knowing that soon you’ll savor bread that feels like a warm hug.
Why You’ll Love This Bread in a Bag
This Bread in a Bag recipe delivers more than just sustenance; it crafts a rich experience that merges simplicity with an element of fun. You will revel in the sheer convenience of this technique—clean-up is a breeze, and yet the results are nothing short of sensational. Soft and warm loaves (perfect for sandwiches, toast, or enjoying with butter) become the centerpiece of your dining adventures. Imagine pulling out a loaf while hosting friends, and watching their faces light up as they savor that first bite.
Here’s why this recipe stands out:
- Ease of Preparation: The all-in-one zip-top approach makes it incredibly user-friendly, even for novice bakers.
- Versatility: Use it for hearty sandwiches or to accompany your favorite soups and stews. The options are endless!
- Family Activity: Kneading bags of dough together becomes a cherished family memory.
- Customizable: Feel free to jazz up your loaves with herbs, cheeses, or even sundried tomatoes. The choice is yours!
Preparation Phase & Tools to Use
Before diving into your baking adventure, ensure you have a few essential tools at your fingertips for smooth sailing:
- Large Zip-Top Bag: This is the star of the show! It contains messy dough while letting you knead without flouring your entire countertop.
- Mixing Bowl: A bowl may come in handy for mixing the wet ingredients before transferring them to the bag.
- Oven: The heart of your baking, where magic transforms raw dough into golden loaves.
- Parchment Paper: Line your baking sheets for effortless cleanup and easy bread release.
- Thermometer: Use this to ensure water is at the perfect temperature when activating the yeast (usually around 110°F).
Preparation Tips:
- Always make sure your yeast is fresh. Check the expiration date!
- For best results, measure your flour by spooning it into a cup and leveling it off—this prevents compacting.
Ingredients for Bread in a Bag
- 2 cups all-purpose flour: This is the foundation of your bread. For a heartier texture, consider substituting half of this with whole wheat flour or a gluten-free blend.
- 1 packet active dry yeast: Yeast breathes life into your bread, making it rise beautifully.
- 1 cup warm water: Water temperature can make or break your dough; stick to a lukewarm range.
- 2 tablespoons sugar: This sweetener feeds the yeast, improving the rise and flavor of the bread.
- 1 teaspoon salt: Adds depth to the taste and strengthens the dough structure.
- 2 tablespoons olive oil: This adds moisture and a lovely aroma, giving your bread a slight Italian twist.
How to Make Bread in a Bag
- Begin by adding 1 cup of warm water, 2 tablespoons of sugar, and 1 packet of active dry yeast into a large zip-top bag. Seal it and let it rest for 5-10 minutes until it froths—a sign that your yeast is awake and ready!
- Add in 2 cups of all-purpose flour, 1 teaspoon of salt, and 2 tablespoons of olive oil. Seal the bag tightly, and start kneading with your hands, pressing and rolling until the ingredients coalesce into a soft, elastic ball.
- Find a warm spot and let your fragrant dough rise in the bag for about 30-60 minutes, or until it doubles in size. Patience pays off here!
- While the dough is rising, preheat your oven to 375°F (190°C).
- Once the dough has risen, gently punch it down to release the air. Cut it in half to shape into two beautiful loaves. Place them on a baking sheet lined with parchment paper.
- Bake your loaves for 25-30 minutes until they turn golden brown; a hollow thump when tapped indicates they’re ready.
- Let them cool slightly before slicing—this might be the hardest part, but the aroma will keep you with bated breath. Enjoy!
Chef’s Notes & Helpful Tips
- Make-Ahead Tips: You can prepare the dough in advance and refrigerate it for up to 24 hours. Just bring it back to room temperature before baking.
- Cooking Alternatives: For a quicker method, try an air fryer if your model can accommodate the loaves—keep an eye on cooking times!
- Customization Ideas: Feeling adventurous? Toss in some chopped herbs like rosemary or oregano, or fold in cheese for a delightful twist. You could also mix in caramelized onions or roasted garlic for added flavor.
Common Mistakes to Avoid
- Skipping the Yeast Activation: Skipping this crucial step denatures the yeast; always wait for that frothy reaction.
- Too Much Flour: Avoid dry bread by measuring flour correctly. Too much flour leads to a dense texture.
- Not Checking Oven Temperature: Every oven is different; always check with an oven thermometer to ensure the right baking environment.
What to Serve With Bread in a Bag
The delightful versatility of this bread opens up a myriad of pairing possibilities:
- Homemade Soups: Nothing beats a warm loaf dunked into a hearty soup.
- Fresh Salads: A crisp salad topped with croutons made from your own bread enhances the meal.
- Aged Cheeses: Pair warm slices with tangy cheese for a sophisticated touch.
- Bruschetta: Use toasted slices to enjoy this Italian classic topped with tomatoes, basil, and balsamic reduction.
- Patés or Dips: Serve with dips for a delightful appetizer.
- Grilled Meats: The perfect sidekick to burgers or grilled chicken.
Storage & Reheating Instructions
- Refrigerator: Store bread in an airtight container for up to 3 days.
- Freezer: Wrap in foil and freeze for up to 3 months. When you’re ready, let it thaw at room temperature.
- Reheating: A simple low oven (300°F) for 10-15 minutes will bring back that fresh-baked feeling.
Estimated Nutrition Information
Here’s a rough estimate for one slice (based on 16 slices per loaf):
- Calories: 130
- Carbohydrates: 26g
- Protein: 3g
- Fat: 2.5g
- Fiber: 1g
Note: Values may vary based on ingredient brands and quantities.
FAQs
1. Can I use instant yeast instead of active dry yeast?
Absolutely! You can switch to instant yeast and skip the activation step. Just mix it directly with your flour.
2. What if my dough doesn’t rise?
Ensure your yeast is fresh and your water temperature is between 100°F to 110°F. If the area is too cool, find a warmer spot for it to rise.
3. How can I tell when the bread is done baking?
It’s golden brown on top, and if it sounds hollow when tapped, it’s ready. Use a thermometer if you have one—internal temperature should reach 190°F for bread.
4. Can I create different flavors?
Definitely! Mix in herbs, spices, or even nuts and dried fruit. The possibilities are endless!
5. What’s the best way to slice the bread?
Use a serrated knife for clean cuts; it prevents crushing the fluffy interior and keeps your loaves looking beautiful.
Ending this baking adventure with a warm, golden loaf of Bread in a Bag invites not just flavor but memories, laughter, and some truly magical moments in the kitchen. So roll up your sleeves and relish the process—your taste buds will thank you, and your family will celebrate each slice. If you’ve never attempted homemade bread before, this is your invitation to dive into the delicious world of baking. This simple recipe offers pleasure not just in the eating, but in the making, sharing, and enjoying life around the table. It’s time to get baking!
Print
Bread in a Bag
- Total Time: 40 minutes
- Yield: 16 slices 1x
- Diet: Vegetarian
Description
A simple and fun method for making homemade bread with minimal mess, resulting in deliciously soft loaves.
Ingredients
- 2 cups all-purpose flour
- 1 packet active dry yeast
- 1 cup warm water
- 2 tablespoons sugar
- 1 teaspoon salt
- 2 tablespoons olive oil
Instructions
- Add 1 cup of warm water, 2 tablespoons of sugar, and 1 packet of active dry yeast into a large zip-top bag. Seal it and let it rest for 5-10 minutes until it froths.
- Add in 2 cups of all-purpose flour, 1 teaspoon of salt, and 2 tablespoons of olive oil. Seal the bag tightly, and start kneading with your hands.
- Find a warm spot and let your dough rise in the bag for about 30-60 minutes, or until it doubles in size.
- Preheat your oven to 375°F (190°C).
- Punch down the dough to release the air. Cut it in half to shape into two loaves. Place them on a baking sheet lined with parchment paper.
- Bake your loaves for 25-30 minutes until they turn golden brown.
- Let them cool slightly before slicing.
Notes
Ensure your yeast is fresh for the best rise. Customize the bread with herbs or cheese for extra flavor.
- Prep Time: 10 minutes
- Cook Time: 30 minutes
- Category: Bread
- Method: Baking
- Cuisine: Homemade
Nutrition
- Serving Size: 1 slice
- Calories: 130
- Sugar: 2g
- Sodium: 300mg
- Fat: 2.5g
- Saturated Fat: 0.5g
- Unsaturated Fat: 2g
- Trans Fat: 0g
- Carbohydrates: 26g
- Fiber: 1g
- Protein: 3g
- Cholesterol: 0mg
Keywords: bread, homemade bread, easy bread recipe, baking, family recipe
